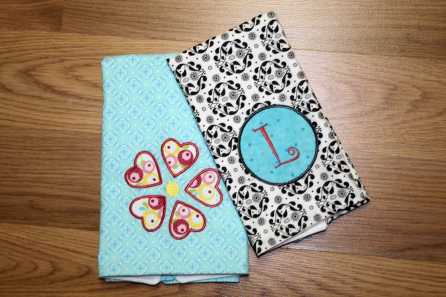
Yes, I know - I do lots of baby stuff. I can't help it - my girls and all their friends are at that age and baby things are part of our everyday conversations. And baby items are fun to make. Now muy youngest daughter has four friends due from March to May this year. Last week she was busy making a nursing cover for one of these friends. She didn't use embroidery but if you want the instructions there is a link all the way at the bottom of the blog. This friend is having her first girl so she needs everything. I had made a cute heart flower and didn't have a plan for it yet so I decided to make some burp cloths (you can download my flower below too.). I didn't have any prefold diapers but I did have some nice flannel and leftover fabric from other projects. Here are the ones that I made for Emily:
Here is what you need:
13"X 18" rectangle cotton
13" X 18" rectangle flannel
Scraps of fabric for petals if using the heart flower design.
Embroidery design for 4x4 hoop (Download the heart flower here)
Cutaway or Tearaway stabilizer
Embroidery and sewing thread
Fusible for Appliqué (optional)
Here is what you do:
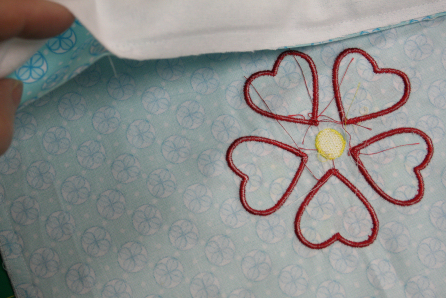
1. Center the design in the lower third of the cotton. Embroider the design.
a. The heart flower is an appliqué. For each heart petal:
i. sew the placement run (the first thread color)
ii. place a small square over the area and sew the tackdown run (second thread color)
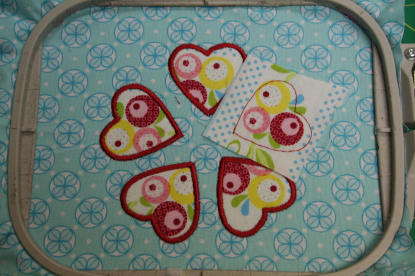
iii. trim closely around the outside of the tackdown stitches.
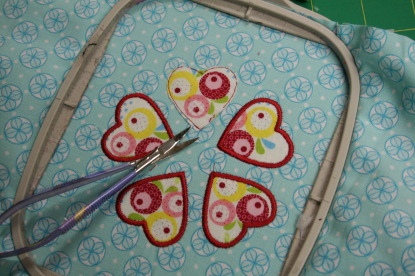
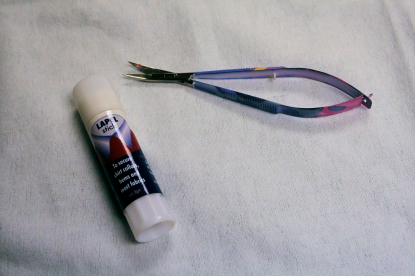
Note: I used this Lapel stick to hold the little fabric squares in place and I love my little
snips.
iv. Sew the appliqué run to complete the heart petal.
2. Complete the design. Remove from the hoop and remove the excess stabilizer.
3. Place the cotton and flannel with the right sides together. Using a 1/2" seam allowance, sew around the outside leaving and opening for turning. Trim the corners. Turn right side out and press.
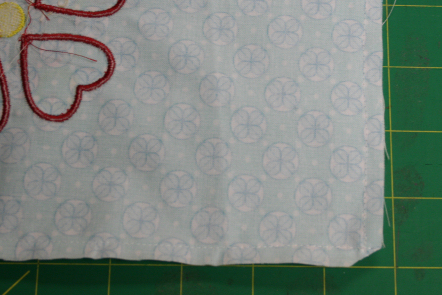
4. Top stitch 1/4" from edge all the way around.
The size of these burp cloths can vary depending on the size of your scraps just so long as they are long and wide enough to stay put and cover the mother's shoulder well. We decided we like them more than the diaper ones since they seem to stay on the shoulder better and are less bulky in the diaper bag.
For the other one pictured you just need an appliqué circle and either lettering software like Alphabet Xpress or an embroidery Alphabet like this.
If you like the prefold diapers click here to see my Themed Burp cloth blog from awhile ago.
Easy, fun and never two alike. Just my kind of project when the house is full of little girls.
And if you had fun with these you might like to try these Designer Baby Ts.
Take care,
DB
PS. Here are the instructions for the nursing cover.