I am not sure why but many of our favorite shops for infant clothes have gone out of business over the past year or so. These shops featured handmade items that were unique but really reasonable in price. In the past, when life was too busy to sew we frequently bought clothes for the girls at these cute little boutiques. I know there are shops online with cute things that you won't see on every other child and maybe we are nuts but we really like to see and touch what we are buying as often as possible. Plus with this being the third little girl on its way our daughter wants to use as many things as possible from the two before her. So, one day she brought over all her old "designer" diapers and we tried to figure out what to do for a July baby (both the others were born in the winter). After digging in my stash and a quick visit to the fabric store here is what we came up with:
Baby Wrap style T shirts washed, dried and ironed if needed.
Two sided fusible interfacing such as Trans-WebTM or HeatnBond®
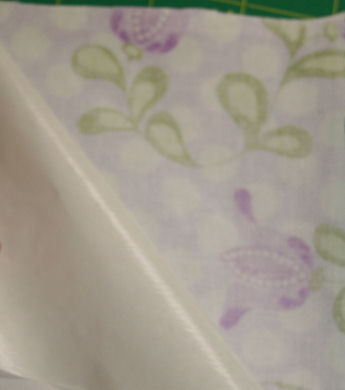
Fabric Square that is larger than the embroidery appliqué shape (I cut mine 5")
Soft cut away stabilizer
Temporary adhesive spray
Large straight sewing pins
Embroidery appliqué shape (To download free ones see the link below)
Embroidery thread to coordinate
What you do for appliqué T:
1. Following directions on fusible package fuse the interfacing to back side of the fabric square. Remove the backing if there is one. (You do not have to use the fusible but since infant items are washed so often I always do.)
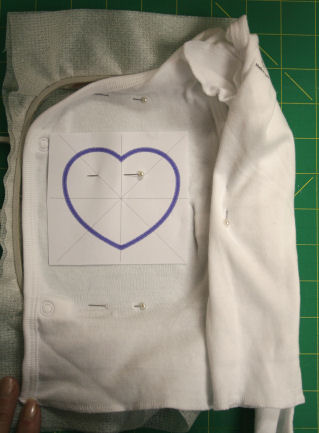
2. Print out a template of the appliqué shape. Cut it out and pin in place on the T-shirt front.
3. Hoop 2 layers of the stabilizer. Spray a little adhesive around the edges of the inside of the hoop. Gently center the T-shirt with the template and press in place. Be careful that you do not pull it out of shape. I put a pin at the top and bottom of the hoop as extra security. I also roll up the rest of the T and pin so it will not get caught under the hoop later.
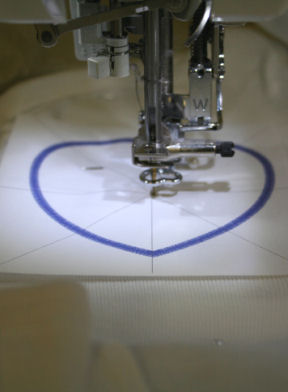
4. Carefully place the hoop on your machine making sure the template center is lined up with the needle. Remove the template and embroider the first color.
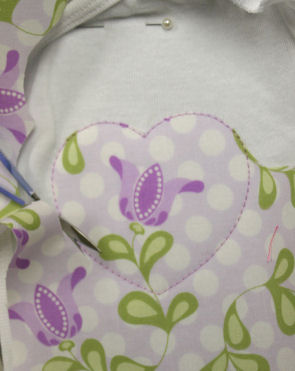
5. Place the fabric square in place on top of the T-shirt. Embroider the second color. Carefully remove the hoop and place on a flat surface. Cut around the outside of the embroidered shape close to the sewn line.
6. Carefully place the hoop back on the machine and embroider the rest of the design.
7. Cut around the stabilizer. Press the appliqué to fuse it to the T-shirt.
Note: These little irons are great for this but you can use your big one if you like.
For T-shirts with embroidery designs that are not appliqué:
Baby Wrap style T shirts washed, dried and ironed if needed.
Fabric Square that is larger than the embroidery appliqué shape (I cut mine 5")
Soft cut away stabilizer
Temporary adhesive spray
Large straight sewing pins
Embroidery design
Embroidery thread to coordinate
What you do:
1. Print out a template of the embroidery design. Cut it out and pin in place on the T-shirt front.
2. Hoop 2 layers of the stabilizer. Spray a little adhesive around the edges of the inside of the hoop. Gently center the T-shirt with the template and press in place. Be careful that you do not pull it out of shape. I put a pin at the top and bottom of the hoop as extra security. I also roll up the rest of the T and pin so it will not get caught under the hoop later.
4. Carefully place the hoop on your machine making sure the template center is lined up with the needle. Remove the template and embroider the design.
5. Cut around the stabilizer.
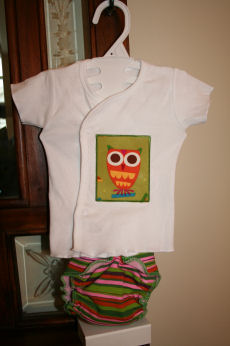
Here are some more we embroidered since babies use lots of these:
Here are links to the designs we used:
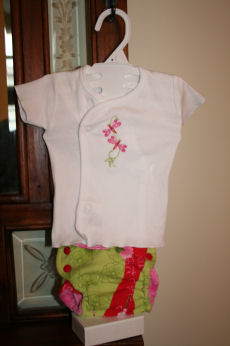
The dragonfly
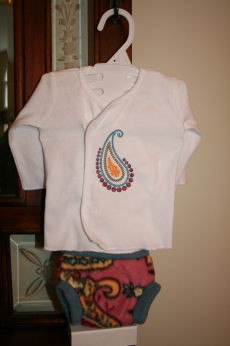
The paisley
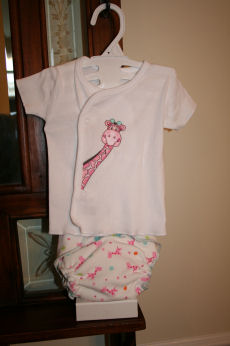
The Giraffe
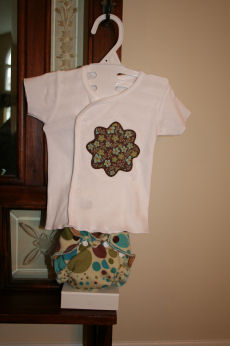
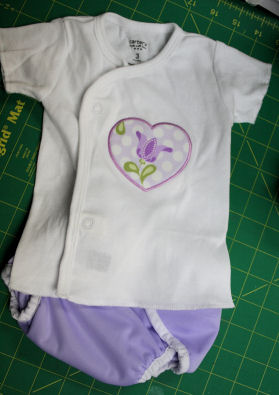
Click here to download the the flower and heart appliqué shapes.
And here is a whole collection of applique frames.
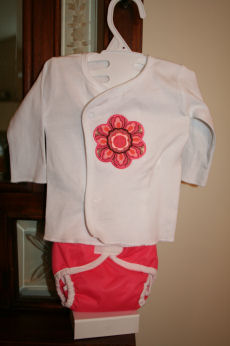
I know we look back at the baby pictures of our girls and sometimes have to take them out and look on the back to remember which one it is since they often had on the same outfit. With these we will surely be able to tell which pictures belong to this special little girl. And there will be little chance that we will see another child sporting the same outfit this summer.
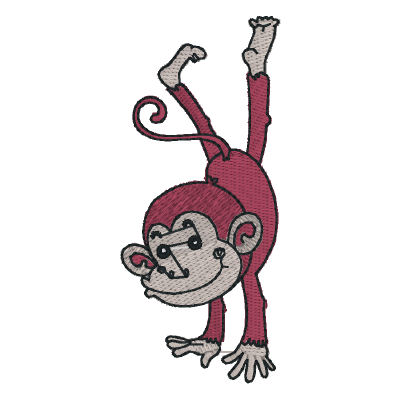
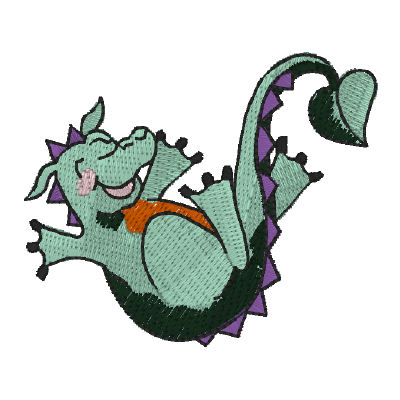
If you have little boys to sew for here are some design links that could work as well as using the appliqué rectangle.
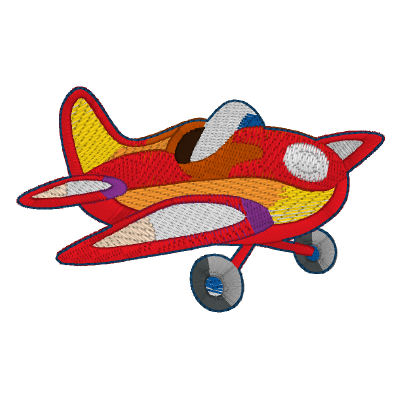 Kids Toys
 Nursery Decor
 Once Upon a Time
If you are sewing for infants you might like these blogs as well
Designer Infant Gowns
Touch and Feel blanket
Enjoy the spring but be sure to take time to do what you love.
Take care,
DB