Happy September everyone.
Today I have a quick project and set of free fall leaf designs to kick
off autumn. The simple mug mats were
going to be what I made last year for my girls group gifts when it was my turn
to host. Due to a family commitment I
had to drop out of this group for a while so the idea never came into
reality. Now I have another reason to
make some quick Fall hostess gifts and since I have LOTS of scraps and not much
free time I decided to make these. Here
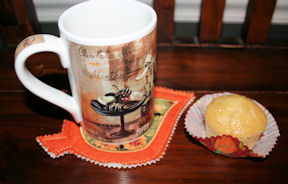
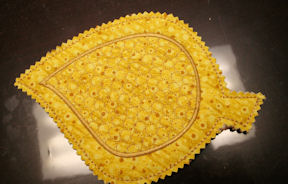
is the first one that I made in just a few minutes:
Here is what you need:
Three coordinating scraps of fabric about 7”X8” in size.
Scrap of batting about 7”X8” in size
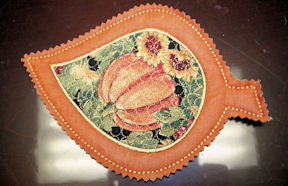
Mug Mat leaf design (you can download this one at the bottom of the blog)
Cutaway stabilizer
Coordinating embroidery thread and matching bobbin
Lapel stick or another temporary adhesive
Pinking shears
Here is what you do:
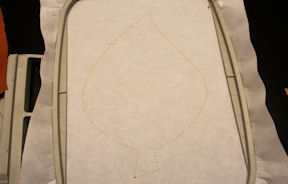
Hoop the soft cut-a-way stabilizer in your hoop.
Load the design and sew the first color run on
the stabilizer.
3. Remove the hoop flip it over and using a little
temporary adhesive (Lapel Sticks are great for this) adhere the corners of your
back piece with right side facing you making sure to cover the design
completely.

4.Flip the hoop over and adhere the batting and
then the front bottom rectangle of fabric facing up. 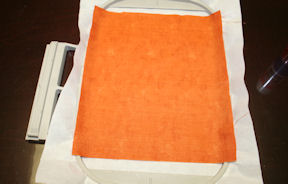
5.Carefully slid the hoop back on the machine and
sew the second color run. Do not cut
anything yet.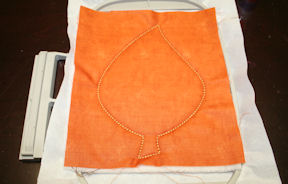

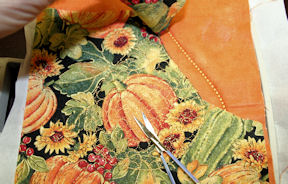
6. Sew the third color run. Remove the hoop and adhere the front top,
face up, covering the design completely.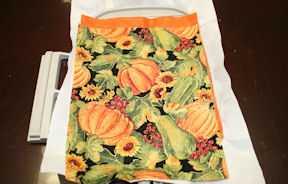
7. Sew the fourth run and fifth pattern fill color
run. Carefully slide the hoop off and cut just around
the front top design stitching using small embroidery snips or scissors.
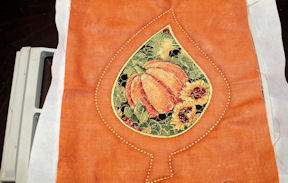
8. Sew the final color run. Remove the design from the hoop. Use pinking shears to trim around the outside
of the design.
Front
 Back
Back
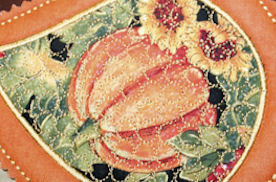 Detail
The open fill stitch sets it off perfectly and they are so quick and
easy to make. Perfect for “the girls”, teachers,
school bazar items, etc. Or just make a few
and toss them around the table center as a Fall accent. I have included a larger size that I made as
well for those who have a larger hoop. The
larger one makes a good hot mat for serving or hostess gift.
Just for fun!
Take care,
DB
Mug Mat 5x7.zip (61.6KB)
Mug Mat large hoop.zip (43.1KB)