The Avid Embroiderer Presents - A waist is a terrible thing to waste. A freebie for rough and tumble kids.

It seems that women who are no longer a size 8 tend to wear baggy clothing. They wear loose clothing to (I think) hide their full figures. Just because a woman no longer the hourglass figure she once had, does not mean she has to give up a 'shape.' Curves are beautiful.


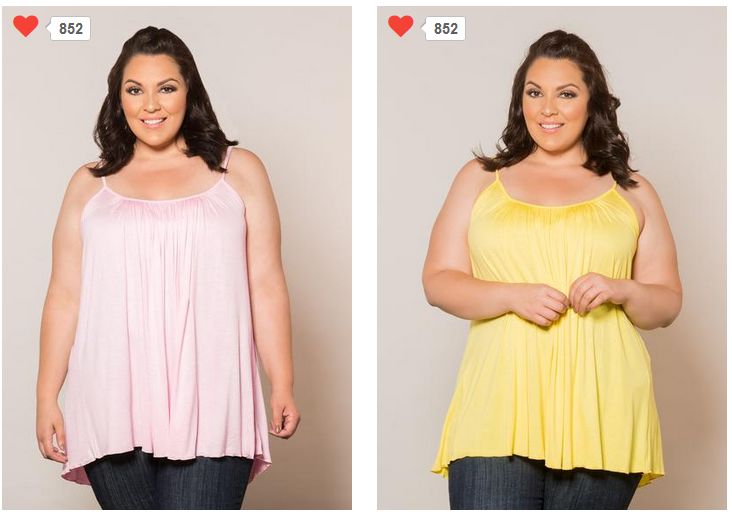
Photo courtesy of https://www.swakdesigns.com/collections/plus-size-new-arrivals

Using some sort of gathering implement around her waist and I personally feel that the second photo makes her look slimmer at all points - bust line, waist and (ugh) hips. She could have used a belt, scarf or even an interesting piece of rope to achieve just a little definition.

Somewhere in your closet awaits a pair of jeans, slacks or skirt that does NOT fit your waistline anymore. Breathing would be optional if you decided to wear that favorite outfit but you cannot give up on yourself or it.

Enter, embroidery at work. Not all crafts need to be for giving and sharing, fixing something for yourself is very rewarding. I did a blog on "Is Mending Obsolete?" you may find interesting.

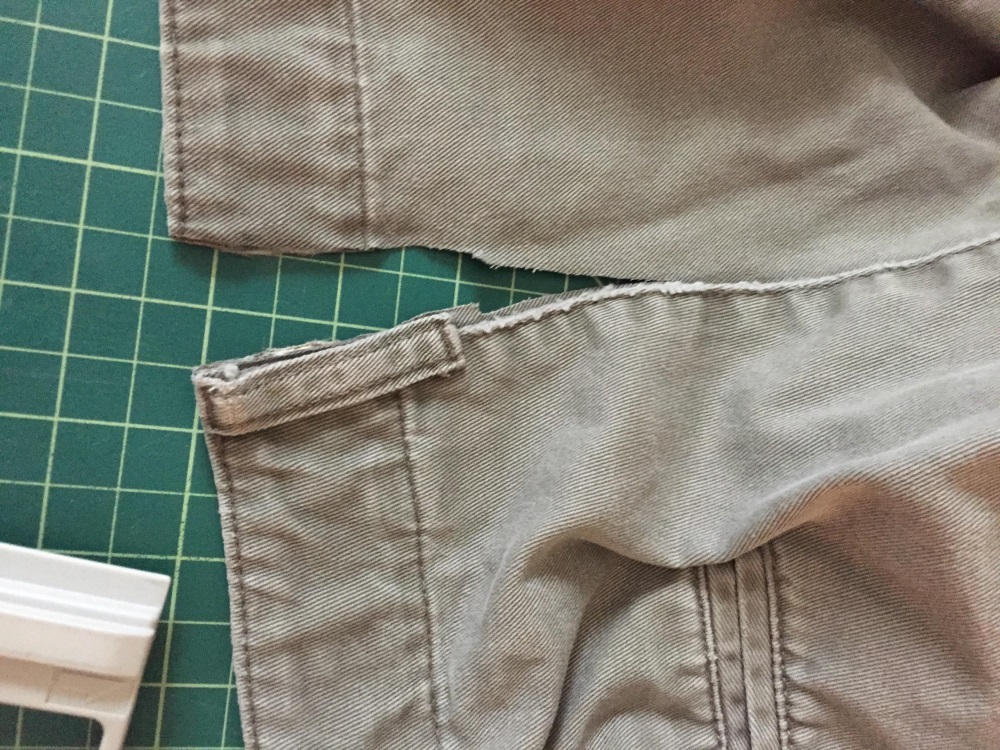
I need to create some room in my brother's pants, they won't button up anymore.  Here is how it went - - (did someone say "measure twice and cut once?" - - I am embarrassed!)

I cut the waist down 5" on the back seam. If need be, I could have made the cut on either side of the waist band, resulting in 2 patches.  I am using a simple patch because he is not really into florals or cute sayings.


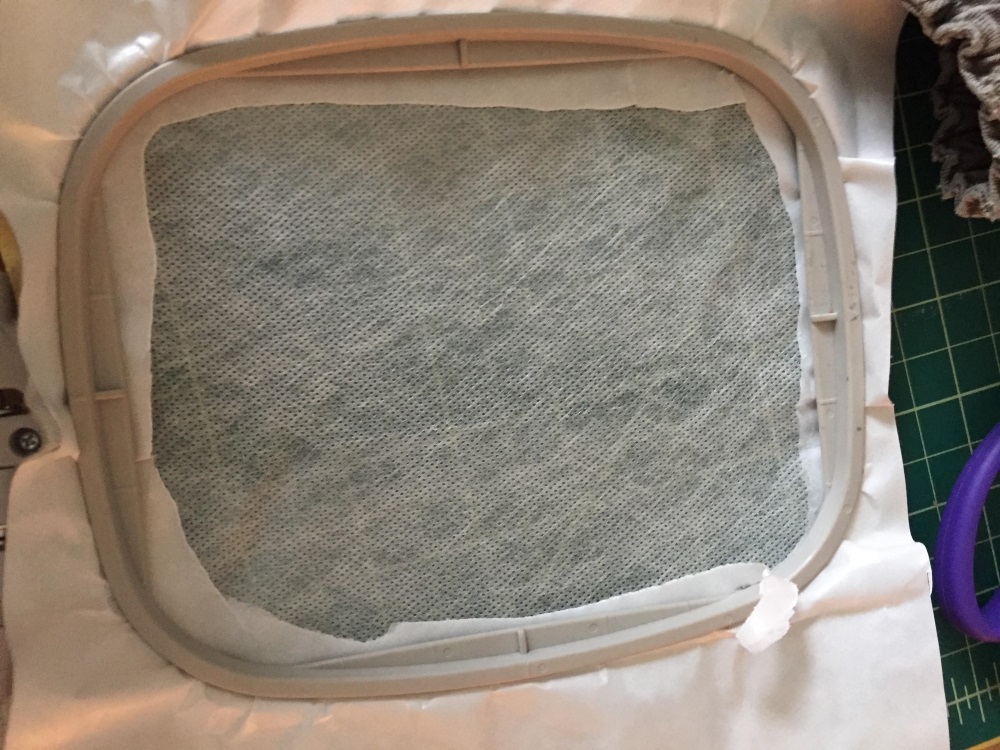
I have prepared my adhesive/water soluble stabilizer. This is one of the very best adhesive stabilizers I have found, you can get it right here at AnnTheGran. If you compare, yard for yard to other brands, Ann's stabilizers are an excellent buy. 


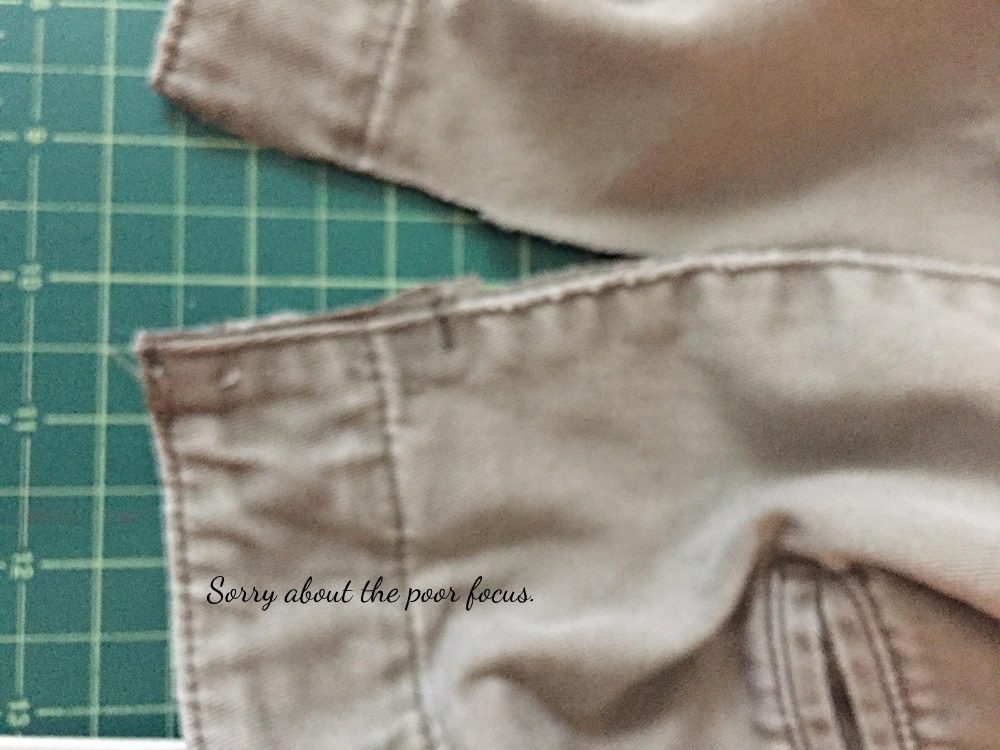
I did have to remove the belt loop that was in the line of fire/stitches. It actually came off easily.

The moment of truth shows that I measured only once. . . I can fix that by adjusting the freebie design included with this blog. I really hope you are enjoying the freebies. I try to do something that you likely don't have in your stash, and this one is a good one. 


.

One and a quarter inches should be enough to with stand a lot of 'growing' for him, he is 78 years old. The best brother on the planet!!

Be sure to place some fabric below your patch. (LOL, guess who did not do that??)


For ladies' garments, there are so many beautiful designs to chose from that the patch is not necessary. I tried to match the thread to the fabric or you can use a contrasting thread for some interest.

Here are two sizes of the patch I created. They are 2" by 2" (50mm by 50mm) and 2" by 4" (50mm by 100mm). Don't forget the basic rule for 'resizing' a design - never go beyond 20% +/-.  I have tried and had some interesting outcomes - mostly large areas of blank fabric where there should be stitches.

patch 2x2 from The Avid Embroiderer.zip (66.1KB)
patch 2x4 from The Avid Embroiderer.zip (140.1KB)

Comments (6) -

kathy_gamble 8/5/2017 12:21:12 PM

I just read your 2010 blog, "Is mending obsolete?", linked from this article. The Schiffli Lace design you highlighted in that blog is beautiful, but I cannot locate the design or the collection on Annthegran. Do you know if the designs are still available? Thanks! BTW, I was amused by a comment on that blog about being green. Those of us who learned thriftiness and mended/recycled everything out of necessity have been 'green' and 'eco-friendly' long before it was fashionable! What goes around, comes around...

I love your comments! It is true, we are a generation who did not invent 'green' we lived it!

That design can be found here: ultimatestash.com/product_info.php

I had a question - "How did you finish the pants?"

As noted, I made the patch 4" but the cut was 5". However, I thought of several solutions -
☻Leave it as it is, it gives more 'room' for the waist and I would have tucked the left over fabric under the embroidery/fabric. (Just turn it downward and tuck it into the waist band.)
☻I could have used the smaller patch (freebie) to sew into the gap. These were work pants, so a little error is not a big deal. If you are doing something like a tuxedo or wedding gown, check with a dry cleaners for someone to take care of that. This idea is for work/play items.
☻If it had been for a woman's garment, I would use something that is full of stitches or an applique rather than a redwork or whitework. Here are some examples: www.annthegran.com/.../All.aspx  
☻I might even do a FSL (free standing lace) design for that opening. Depending on where that opening is, an FSL might be perfect. www.annthegran.com/brw/All.aspx?SearchText=fsl

Hope this helps!

I missed that completion technique on the blog. Oh well, when I am perfect, I know my children will let me know. . .

Pat, The Avid Embroiderer

maria-colon 11/4/2017 6:38:00 PM

I just read your article on mending. I never would have thought to use my embroidery machine for this purpose. What a great idea. Now I can get to that stack of clothes that I have on my guest bed to fix! Thank you for the patch.

This is a way to enjoy mending clothes - something I dread. There is a pile of mending and I am lacking motivation.

In the case of mending different items, you can use your creativity to make things new again.
♪ A girl/lady's outfit might be adorned with something floral.
♪ For boys/men, you can use something that they are interested in such as airplanes or antique cars.

“You can’t use up creativity. The more you use, the more you have.” — Maya Angelou.  
Pat, The Avid Embroiderer

My apologies, my regular blog failed for an unknown reason. I will try to get it to upload for this weekend.

May you be blessed in ways you have not yet imagined.  

Pat, The Avid Embroiderer

Please login to comment