A favorite part of American Sewing Guild and other sewing group meetings is often Show and Tell. When I showed my envelope pouches at a meeting recently, one of the other members asked whether the construction could be altered to allow boxed corners at the bottom, as she wanted to make fabric replacements for manila file folders. I told her that it would be possible and that I would figure out how.
To test the new variation, I made this cover for a large box of crayons
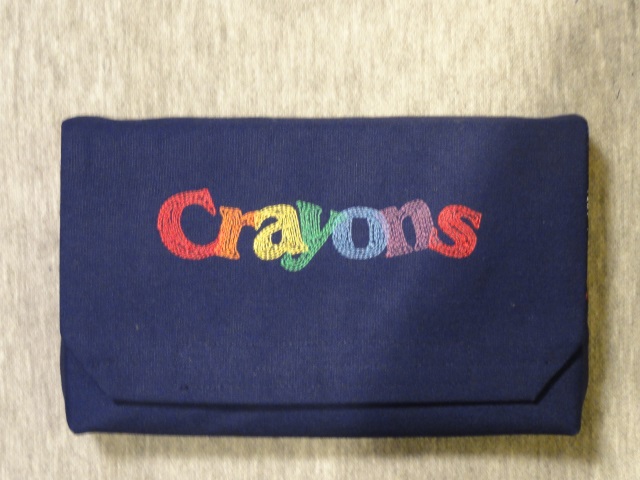
The outside of the pouch is navy poplin and the inside is a really
pretty fireworks fabric I recently found. I stitched "Crayons" using my 40 mm size of
Contour Print alphabet. Instead of lining up the letters in the usual way, I tilted and overlapped them just as I do my
Fancy
Jumbles alphabet.
In the original
Envelope Pouches, I
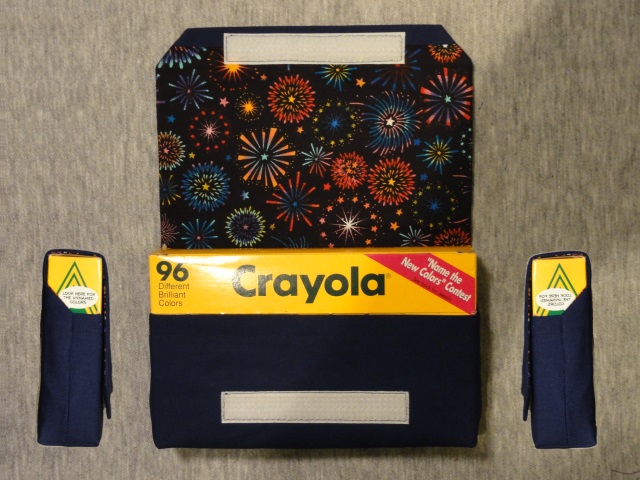
stitch one seam on each side of the pouch, completing the flap and the pouch pocket at once. For this crayon box pouch, I stitched the bottom
part of the pouch first so that I could box the corners for the outside and the lining separately. The inside of the pouch looks just as neat as
the flat envelopes do.
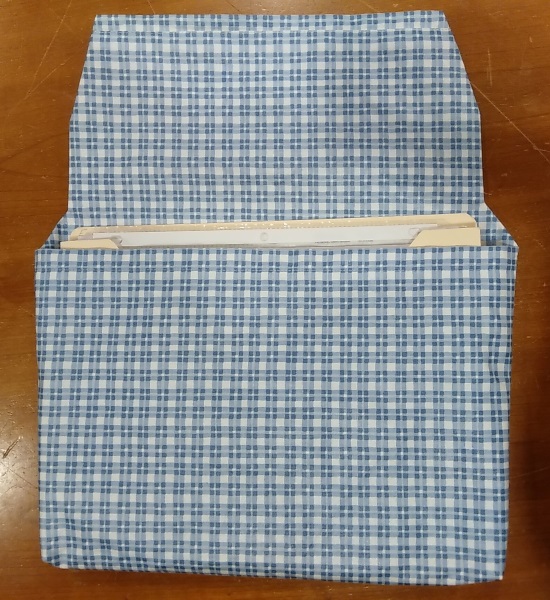
Here is the pouch my sewing guild friend made. She plans to make many more.
My next idea was to make a lunch bag using the same construction. It worked, but it was difficult to keep the finished front edge of the
pouch out of the seams that finish the back and the flap. I could have angled the edges at the sides of the flap as I did for the crayon box
pouch, but then it would have been awkward to close the flap.
To improve the design, I reduced the hem allowance on the bag front to 1/2", the same as the seam allowances everywhere else. I stitched all of
the side seams and bottom corners of the outer bag and lining. Next, beginning at one top edge of the flap and ending at the other, I
stitched the two layers of fabric together. Before turning the bag right side out, I stitched the lining and outer bag bottom corners to
each other. Now the lining won't pull loose when I reach my hand into the bag. Here is a picture of the openings of both lunch bags:
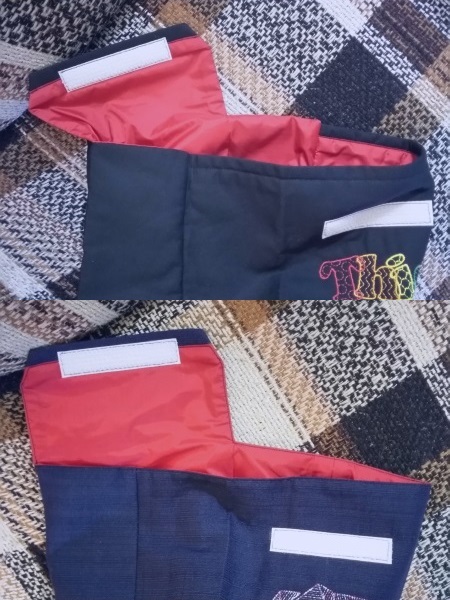
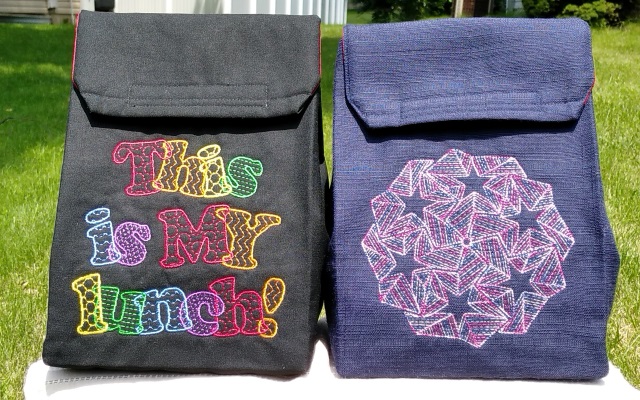
For the first lunch bag, I stitched "This is MY lunch!" in my
Fancy Jumbles alphabet on black poplin. I picked six fill patterns to go with the six thread colors. (The text was my husband's fun idea.) For the second bag, I used a 144 mm
Star Swirl design in Superior Rainbows #823 on navy linen-like fabric. (The Rainbow line of threads is being phased out, but I look forward to trying Superior Fantastico #5125, another red,
white, and blue variegation.) For both lunch bags I used red Ripstop nylon for the linings; it is easy to wipe clean if any food spills.
The instructions for this project show you how to draft and construct the two types of bags. I include the measurements I used for these
pouches, but you can also use the same instructions to plan your own bags. Can you think of other pouches you'd like to make this way?
3-D_Envelope_Pouches.pdf (5.4MB)
I suggest reading through the entire document before you begin to draft your pattern. I also recommend viewing the instructions on a computer or tablet rather than printing them out. Not only will you save a tree, but you will be able to zoom in on the (numerous!) pictures to see them more clearly.