It has been a busy couple of weeks. Our youngest has a baby girl now overdue. But for several weeks she was put on bed rest - mostly due to extreme swelling. So the rest of the family shared taking care of the other two (five years and two years old). We kept them at our house on Saturday nights and took them to "Sunday Church" as they call it. As with most two-year-olds we have to be prepared for an accident and since my purse is very small this is what it looked like when I was walking around the church building.
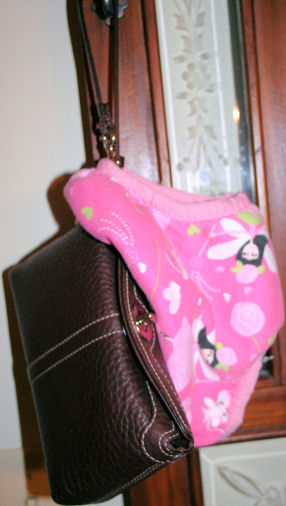
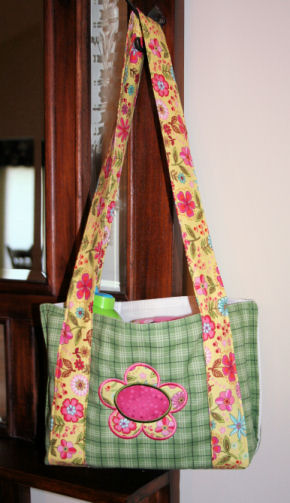
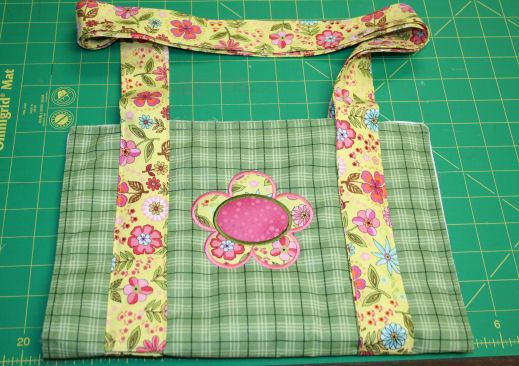
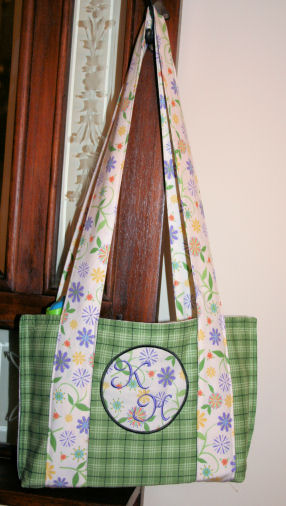
Needless to say, I received many varying comments on my new style but the diaper bag seemed like overkill when all I really needed was some extra trainers and a bag of fruit snacks. This inspired the quick Sunday bag - perfect for those quick trips when you need just a diaper (or trainers), some wipes and a bottle (or cup). Here is the one I made for our little girl.
And since I have had a number of questions lately about trimming appliqué in the hoop I decided to address that here as well and give you a design to practice with.
Here is what you need:
One placemat 12' X 16"(mine are repurposed ones that were never used much)
Half yard of fabric cut as follows:
2 strips 4" X 44"
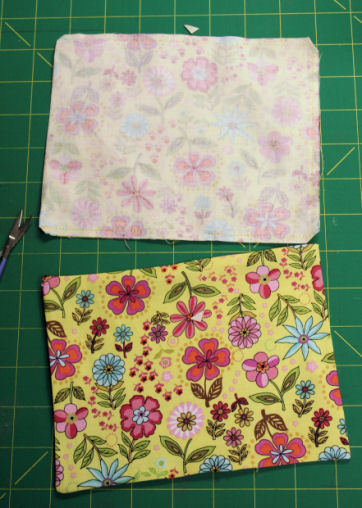
2 rectangles 6" X 15"
1 Square 4" X 4"
Another square of solid color fabric that coordinates 3" X 3" (for daisy center)
Embroidery and Sewing Threads
Cut-away Stabilizer
8" piece of 1/2" elastic
Appliqué Design (Click here for the flower appliqué)
Here is what you do:
1. Fold the placemat in half so it is 12" wide X 8" tall.
2. Place the center of your design about 3 1/2" from the top edge and in the center of the horizontal width. (You will lose 1" of the height when you make the box bottom so do not center vertically)
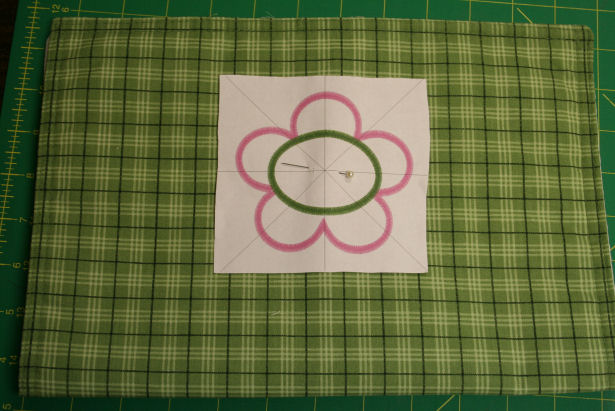
3. Unfold the placemat. Hoop the stabilizer and the placemat centering your mark or template in the hoop.(See note*1)
4. Embroidery the first color of the flower. It is important that you use a color that you can see for the first two colors.
5. Place the 4" X 4" square over the top so that is completely covers the outline of stitches. (You can use a bit of temporary adhesive on the edges if you like.)
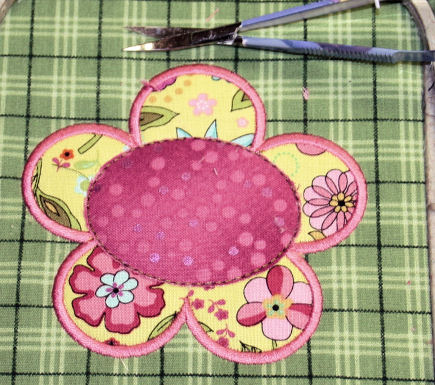
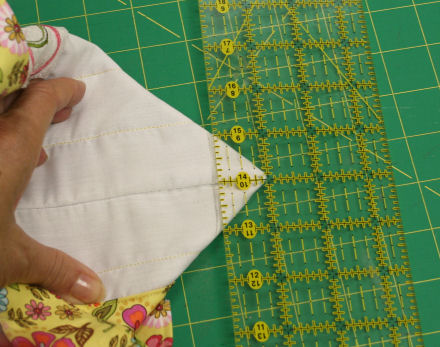
6. Embroider the second color of the flower. Carefully remove the hoop and lay it on a flat surface. Trim the top layer of fabric around the outside of the stitches as closely as possible.
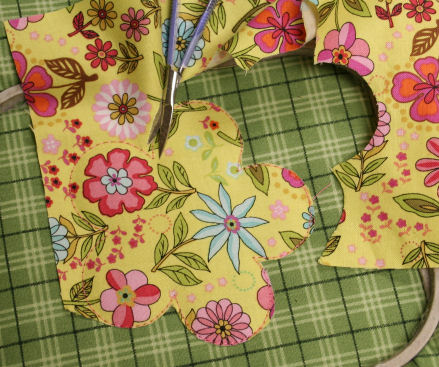
I have these great little trimmers that were given to me as a gift years ago. They work tons better than any other scissors that I have for appliqué trimming. I couldn't find where mine came from but Annthegran has some here.
7. Carefully place the hoop back on the machine and embroider the third color.
8. Repeat steps 4-7 for the flower center.
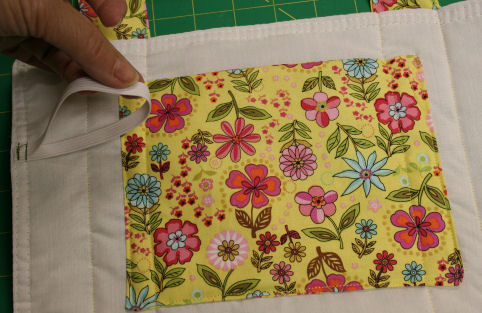
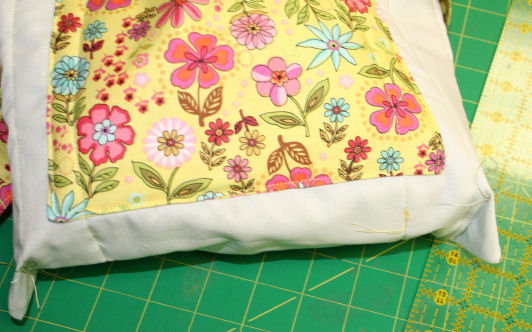
9. Make the pockets. With right sides together fold the 6" X 15" rectangles in half so they are 6" tall X 7 1/2" wide. Beginning at the fold and sew, using 1/4" seam, all the way around leaving an opening at the bottom for turning. Trim corners, turn and press. Repeat for the other pocket.
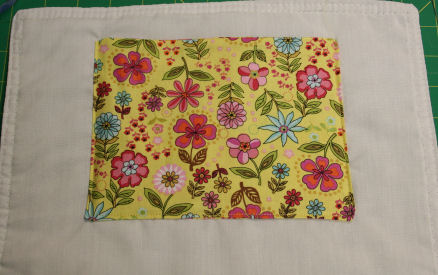
10. Place the first pocket on the backside of the placemat (on the half that will be the bag back) centering horizontally and placing the top pocket edge 1 1/2" from the placemat edge. Sew, around three sides, using 1/8" seam, leaving the top open.
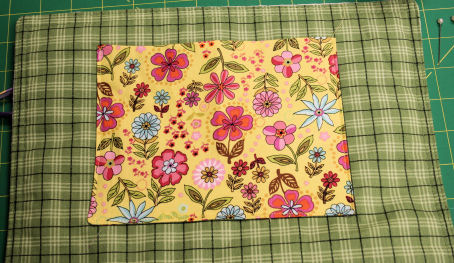
11. Turn the placemat over and using the stitching from the first pocket place the second pocket and sew in on leaving the top open.
12. Make the straps. Sew the ends of the two long strips together creating a long strip 4" X 88". With right sides together fold in half and press to make a strip 2" X 88" long. Sew, using 1/4" around the raw edges leaving an opening near the center for turning (this just makes it easier to turn in my opinion. Clip corners, turn right side out and press.
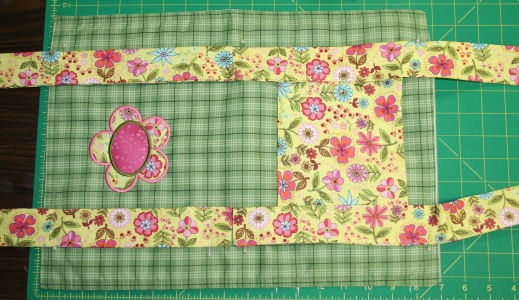
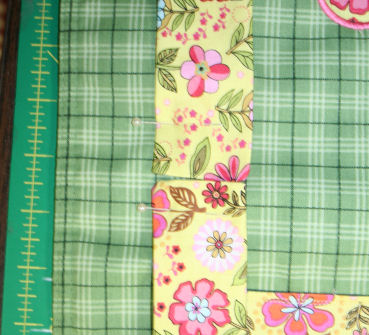
13. Make sure the placemat is folded in half so that it is 12" wide by 8" tall. Beginning at the fold and measuring in 2" from the side pin the strip up the of the placemat. Align the other end butting the ends together and pin up the back side of the placemat 2" from side.
14. Using the seam where you sewed the two strips together at the fold do the same for the other side up the front and back. Pick your bag up by the top of the straps to be sure you do not have them twisted.
15. Beginning at one end of the strip, to stitch across the end and all the way around both sides of the straps ending with the other end of the strip.
16. Add the elastic loop like this:
17. Fold the placemat again to make the bag. Sew down both sides of the placemat.
18. Turn the bag inside out. Pull the corner out to a point aligning the side seam with the bottom fold. Draw a line 1" in and sew along that line. Turn bag right side out and tack the points down inside if desired (I did not cut them off since the bag is not really lined)
Optional: You can make a sturdy bottom for your bag if you like. I glued two layers of heavy Timtex together to make mine.
Our oldest granddaughter thought we needed one for the new baby. Here is the one we made for her using lettering.
The flower design is pretty easy to trim but if you want to practice with simple shapes Annthegran has some you could try.
*1-Pat has come design centering ideas in one of her blogs.
If you find you like applique as much as I do Sew Many Designs has lots of great ones.
Here are some that I have sewn.
Easter Jacket
Christmas Stockings
Ballerina Bag
Baby Duck Bath set
Daisy Back Pack
And this naptime quilt and pillowcase were made with test sews and Ann's applique Frames.
I guess this ends my new purse fashion since I will no longer be hanging panties on my purse strap. Our granddaughter is thrilled with her "Big Girl Bag" as she calls it. Maybe by next week we will have another little girl and momma will be back in action.
Take care,
DB