AnnTheGran has placed these threads on sale!! Check it out at Madeira.
Dotted swiss was very popular in the 1950's for women and children's garments. I remember the wonderful billowy curtains that blossomed in the summer breezes. No matter how old or tattered, the fabric always seems fresh and timeless.
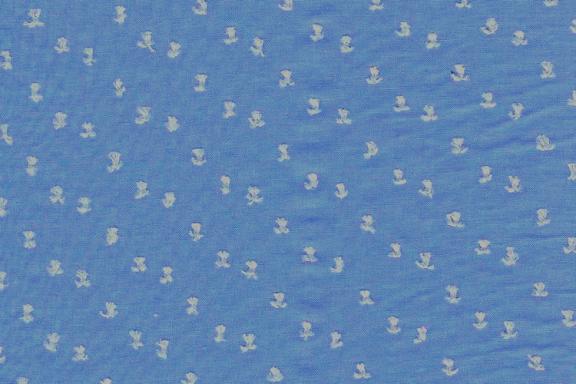
I remember the wonderful mother and daughter dresses my mother made for us. The dresses were yellow and white dotted swiss. The fabric originated in Switzerland in 1750. I only remember that fabric, but I understand that the dots may have been woven, flocked, printed, or embroidered.
Dotted swiss is not just limited to fabrics, it is also used when referring to other things including pottery and cake decorating.
When I see the term Shabby Chic, I noticed that they use the light weight fabrics, but real Shabby Chic (IMHO) needs to have dotted swiss for a true old fashioned warmth.
When I looked around southern California, I could not find much in the way of dotted swiss. I did find a very sad beige color and an unsuitable (IMHO) black. They did not possess any of the quality I remember. I finally found it on the Net at a reasonable price and delivery charge. You can check out my source at https://www.trendyfabrics.com.
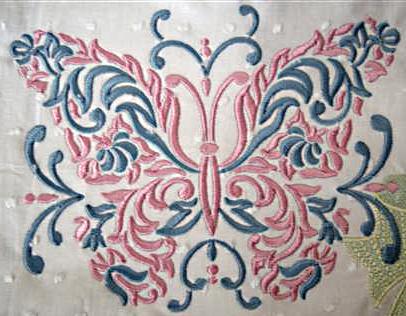
In my ‘discovery sew' (aka test sewout), I found that I need more stabilizer and a greater contrast of thread. The bow would be nice if I made those changes, but when I did the butterfly, the plan came into focus immediately. I used the Madeira threads available here at AnnTheGran.
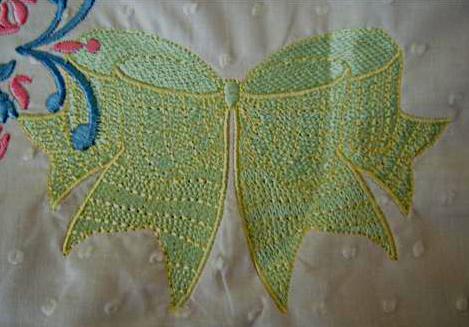
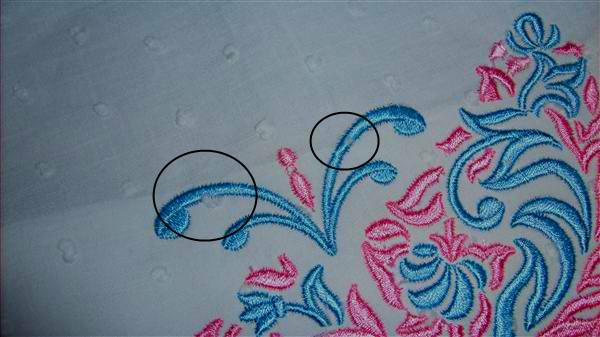
I love the fact that the dots were peeking out from under the stitching. While difficult to see, I have circled two of them from my discovery sew.
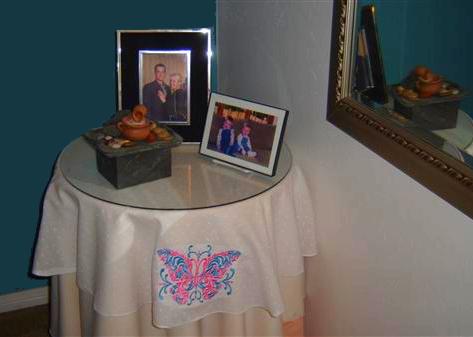
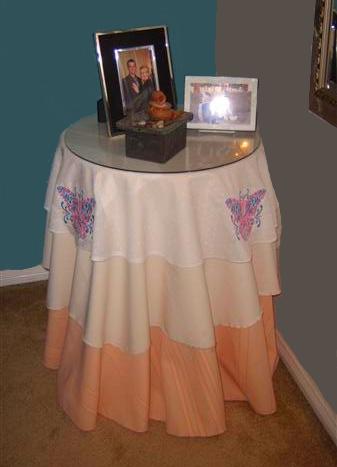
When I received my fabric, it felt so soft, just as I had remembered it. Because I was going to make a round table topper, I folded the fabric into quarters. Then I folded it in a first and second triangle.
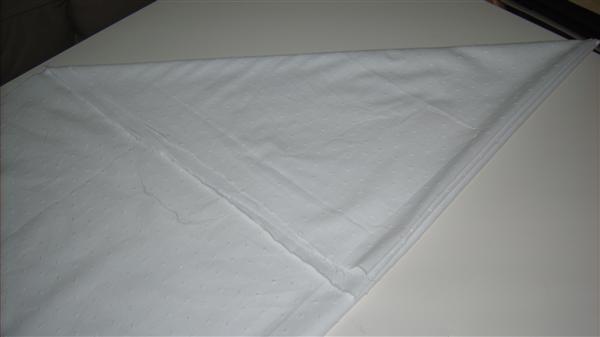
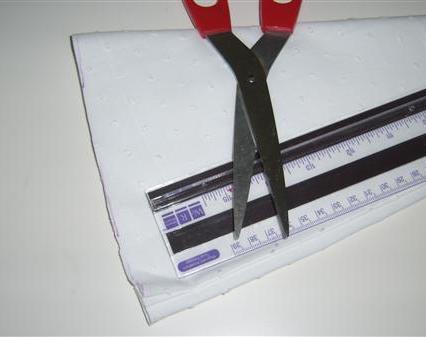
I carefully marked the fabric in an arc to match a circle, and cut.
I measured my table and determined that I would have a ‘nice' drop if I would have the butterfly lower edge about 1.2" (30 mm) from the hem. After considering whether to use 4 or 6 butterflies, I marked 4 of those positions. The butterfly is rather large, nearly 27,000 stitches.
After completing my 4 butterflies, I had several options that I wanted to do for the hem. I finally selected a rolled hem stitch. This is done by using a special foot that you may already have.
The rolled hem, often seen on fine linens, is a challenge to perform by a home seamstress (at least for me. . . ) However, the soft light dotted swiss fabric was perfect for this project.
You can see that the foot has a turned edge and I have attempted to illustrate how to do it in these photos.
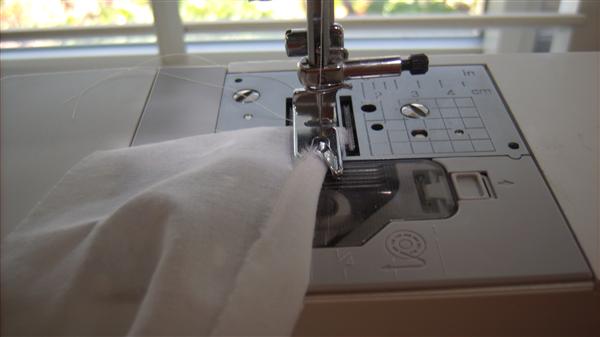
I start by folding over a little less than ¼" of fabric. I am working on the back of the fabric turning over the front for the stitching. I create a couple of stitches as a start, and leave the needle in the down position to hold the fabric. At that time, I am holding up a small amount of fabric.
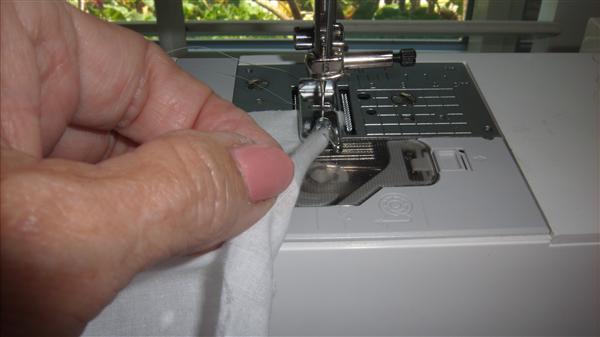
I am working at the medium speed of my machine, and it feels slow. Going faster would be a bad idea for me!!
I continued all around. Did I miss a few places because of the curve? Yes, but I went back and removed a few stitches and restarted. I was pleased with the outcome. I could not get a decent photo of it.
Remember the dots that peeked from the embroidery? Well, they peeked from the hem edge too. It is really doing its own thing!
Then, a quick wash to get rid of the markings, a light pressing and, well, the outcome speaks for itself -