I guess that I just have DIY in my
DNA or something, but I love to try new things.
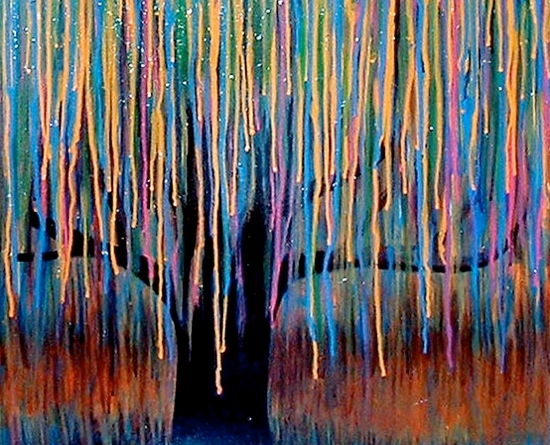
When the melted crayon pictures started showing up on the net, I was so
excited. It looked so easy. . .

Well my friends, this one has more
twists and turns that a Twister Game.
First, it is not as easy as it looks (that is a given). After so many attempts and instructions from
the Net, I was not able to create one of my own. That should not stop me from completing a
great facsimile.
The steps include a heating gun that
I and likely, you, don't own. These are
truly heat guns and quite unlike a
hair dryer. The heat gun gently blows
air whereas, even on the lowest settings, the dryer blows an entirely too strong
wind. I would say that an artist might
use that sort of gun for work that they have in progress so that makes sense
for them.
 This one is available at Amazon. I do recall people telling me that heat guns are temper mental, probably because they might just over heat.
The next thing that they politely
don't mention is that the underlying fabric/paper/canvas needs to be of a limited
absorption potential. Canvas is truly a
great medium for crayon dripping because it has texture to add to the
waxed liquid but does not absorb it so
much that the color/texture is soaked into the canvas.
The other piece of information is
that you need a LOT OF CRAYONS. I
counted 57 crayons on the top photo, and you will need a minimum of twice that
number. For a shorter area, you need
double the same color. Since I did not
manage to create this design, I can only assume double is the number. If the crayon is doing a long distance, it
could be triple.
I laid mine out and glued it to the
paper (paper is not a good background for this). I use an iron just atop the paper on the
crayon. I thought I figured it out, but
the next thing I know, the crayon slipped out of the wrapper. Laughing at my obvious error, I figured that
removal of the paper was the best idea that escaped me.
Down toward the ending drip, I
suspect someone placed some ice chips to create new texture. But I never got that far.
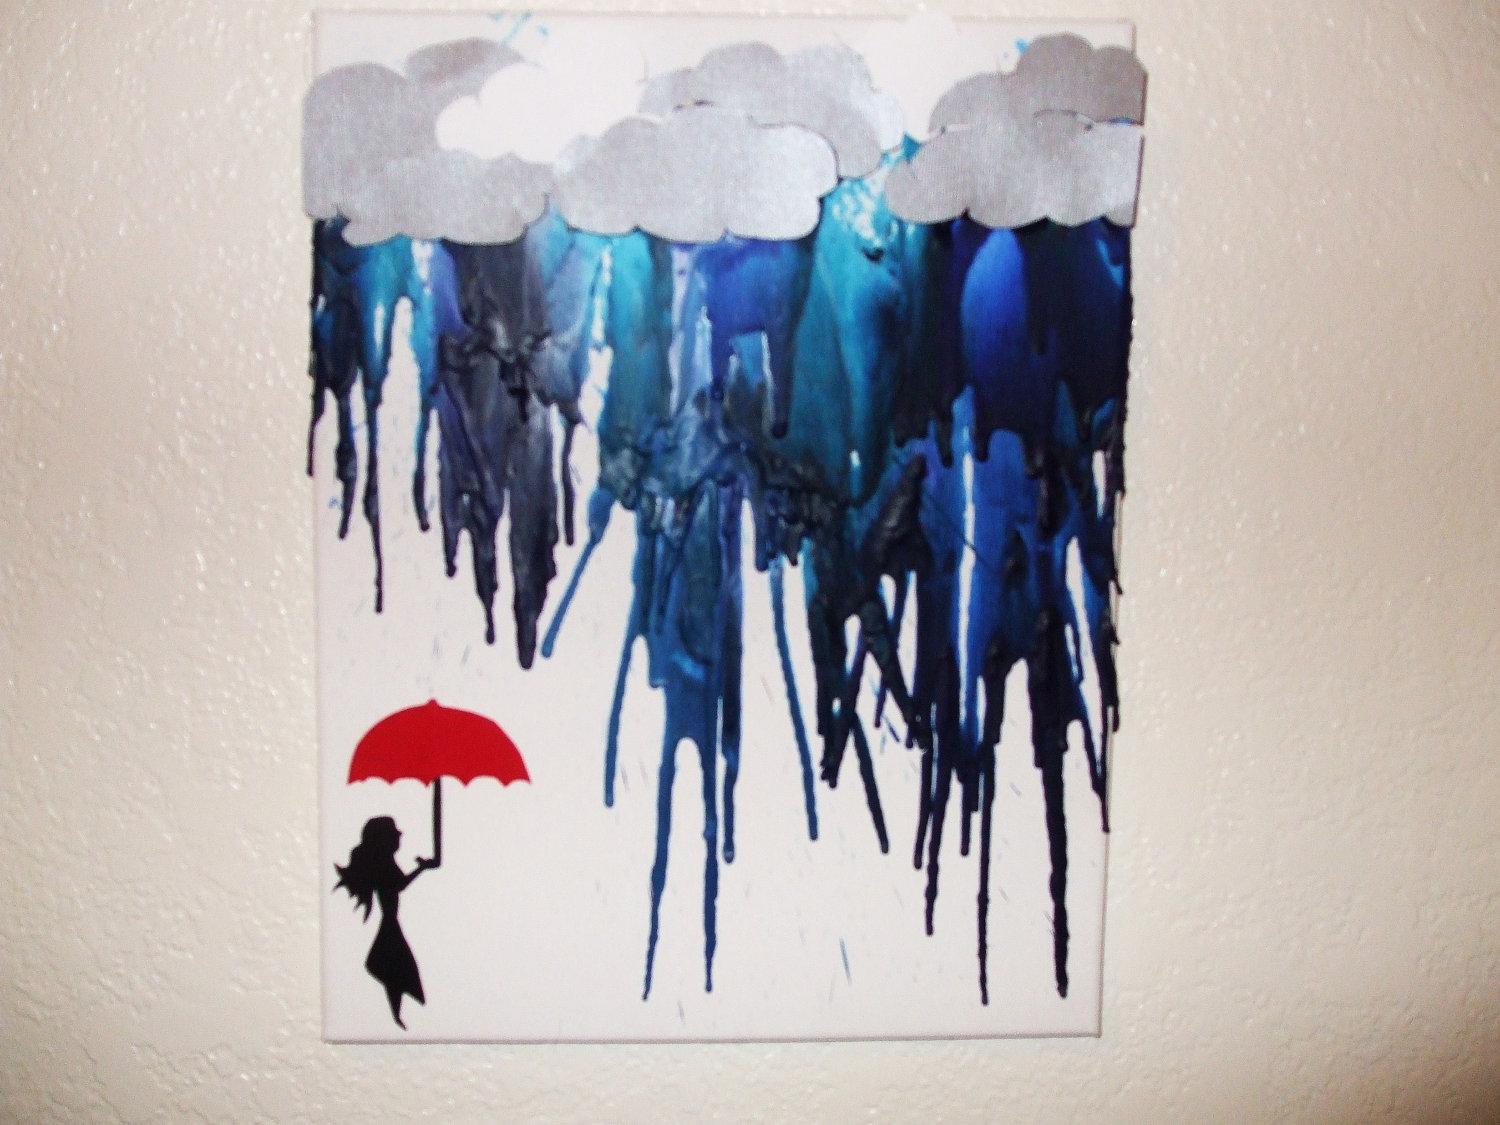
After all the wax has set up, place
new glue on the board and set the accurate colors to match the streaks. In the photo, it shows the word
"Crayon" on top, I think I would place the color name on top instead.
During my research, I found so many
cool things. Perhaps you will enjoy doing something like these.

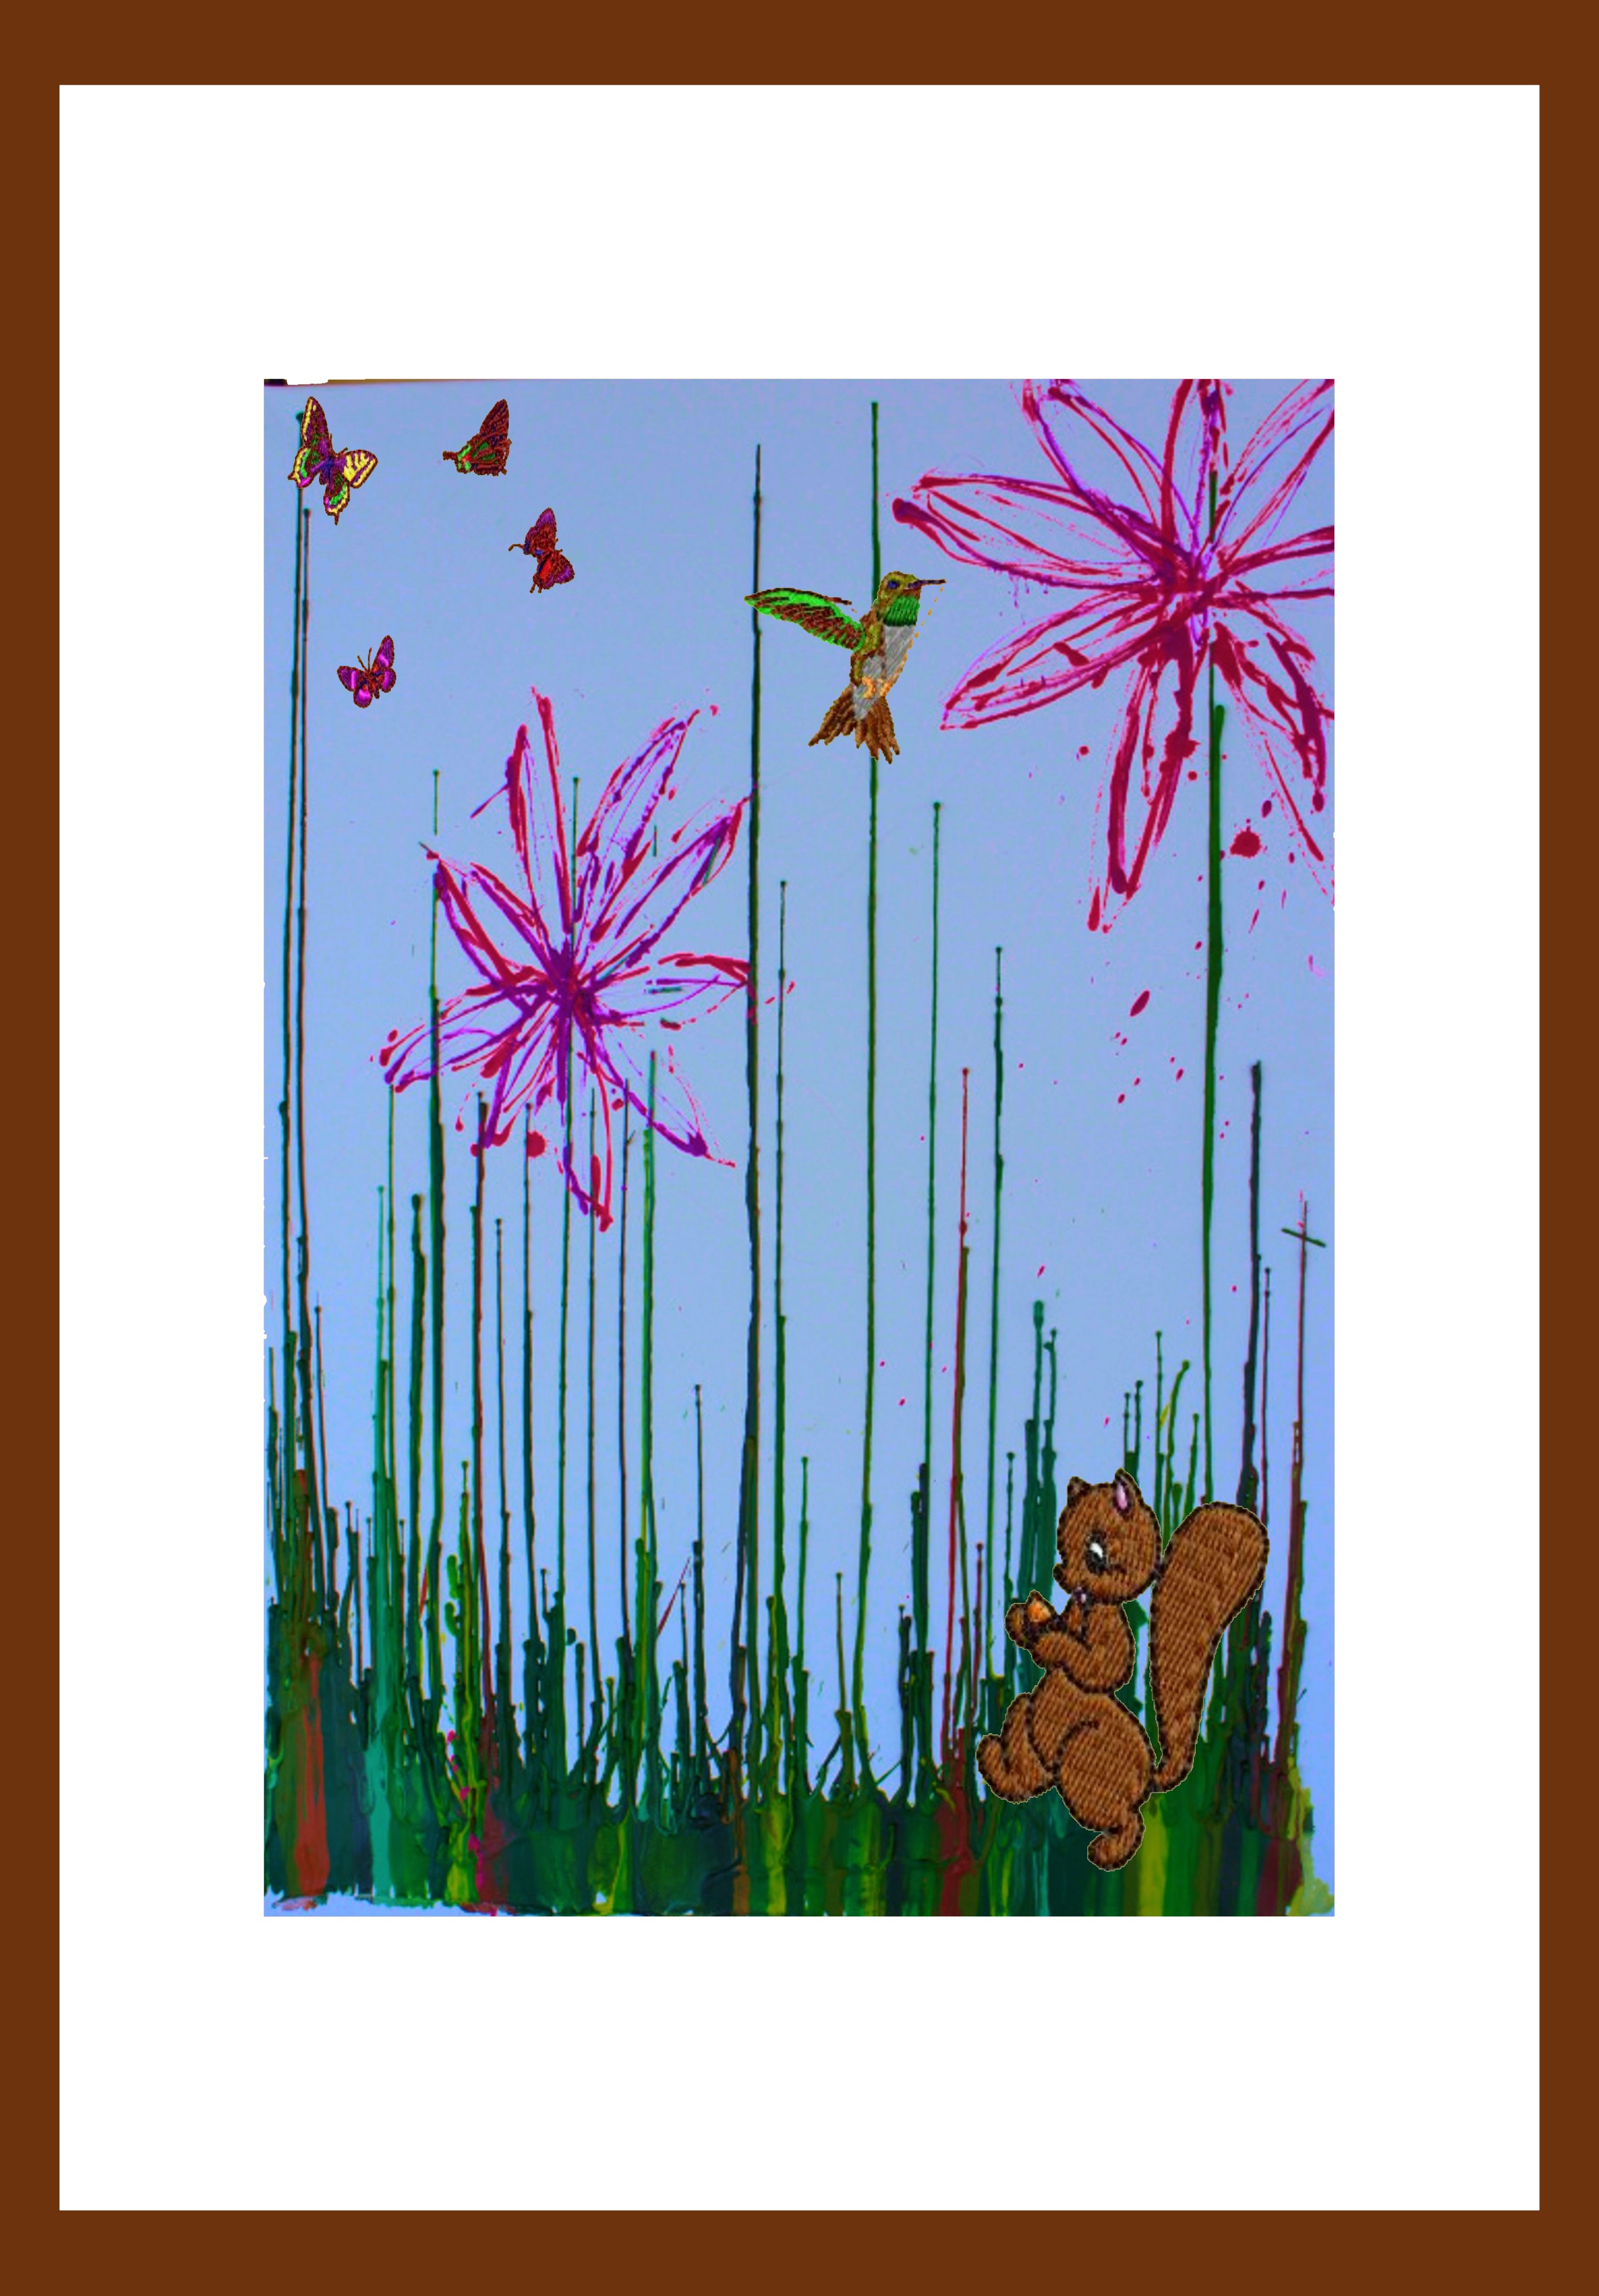
I used the 'up-side-downers' to create a little girls wall
hanging (or in a scrapbook) and designed this. Since I am still unable to develop the crayon area, I decided I will be making a photo of the crayon and doing the embroidery on a cotton with a cut-away stabilizer. When the embroidery is done, I am going to cut the designs and glue them to the photograph. It is cheating, but essentially, I will have gotten the look I want.
Tip - Did you need to make a brick stick
to cement? What about two very dissimilar surfaces? Well, your issues are now easy to handle. (I don't get any funds for this) Check out:
https://www.gorillaglue.com/
They have a lot of comments regarding DIY uses. One even said that they use White Gorilla Glue rather than hot glue. Frankly, I have never gotten the hang of that hot glue gun, so this is good news for me. I have used the glue for years but did not
know how many products they make. They
even have self-standing bags!
If truth be told awesome!