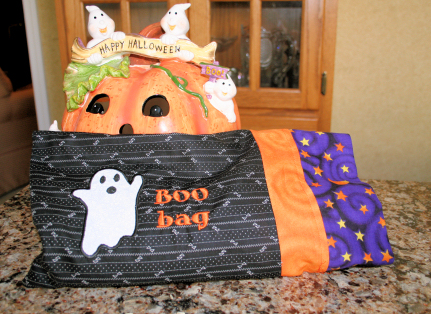
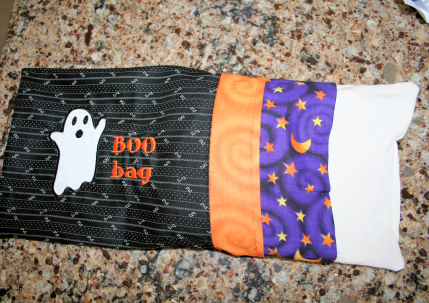
Today's blog started out on my stocking stuffer list but I was just in the mood to try one after finding an old package of rice in the back of the pantry this week. So, I went ahead and made a couple with washable covers in the theme of Halloween. Rice therapy bags can be heated in the microwave and are great for relieving aches and pains. I made one for my daughter and the other for my brother. They both loved them so I thought I would share them with you this week. Here is the first one I made along with the instructions. You can download the design below.
What you need:
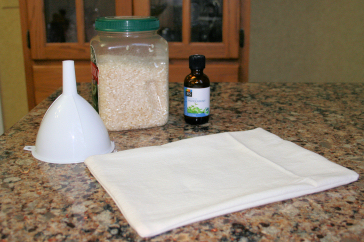
For the rice bag:
Two 100% cotton rectangles cut 8" X 10 1/2"
About 2 pounds of rice (It sounds like a lot but it really isn't)
Cotton thread
A few drops of essential oil (this is optional and you do not need much. I used peppermint for one and orange for the other since that is what I had.)
What you do for the rice bag:
1. With right sides together and using a 1/2" seam sew the bag leaving about a 3" opening on one side.
2. Turn right side out.
3. Sprinkle the rice with just a few drops of scented oil if desired and shake or stir it up.
4. Using a funnel, fill the bag with the rice. Sew the opening closed. Set aside.
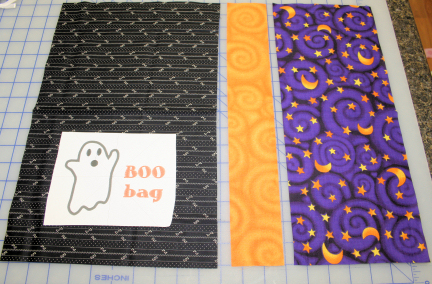
For the washable cover:
One rectangle base fabric for the appliqué cut 16" X 10 1/4"
One strip accent fabric cut 16" X 21/2"
One strip accent fabric cut 16" X 6 1/2"
One white scrap for the ghost around 4" X 5"
Boo bag design (you can download it here)
Printed template of the design (Catalog Xpress and Alphabet Xpress both let you print templates)
Cut away stabilizer
Embroidery thread
Heat N Bond lite (optional but nice if it will be washed a lot)
Lapel stick or other temporary adhesive
sewing thread
What you do for the washable cover:
1. If using the Heat N Bond lite apply it to the back of the small white rectangle scrap according to the manufacturer's directions. Remove the paper backing and set aside.
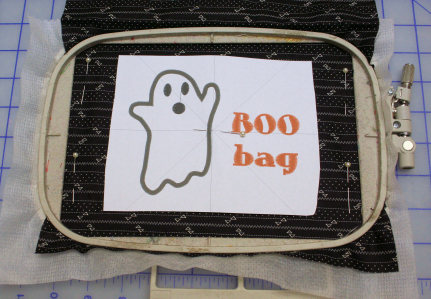
2. Lay the 16" X 10 1/4" rectangle face up vertically. Position the boo bag design on the lower half and pin in place.
3. Put a little label stick (or temporary adhesive) on the sides and hoop with the stabilizer. (Since I knew the foot would not go to the outer edges of the hoop I put a couple of pins in too to hold my fabric. You could cut the fabric larger and then re-cut after embroidering if you prefer.)
4. Center the needle and remove the template. Embroider the first color. Place the white fabric rectangle face up over the shape. Embroider the second color. Carefully remove the hoop and lay on a flat surface. Trim closely around the outside of the appliqué shape stitching here are some little clippers that are great for this). Slide the hoop back on the machine and embroider the rest of the design.
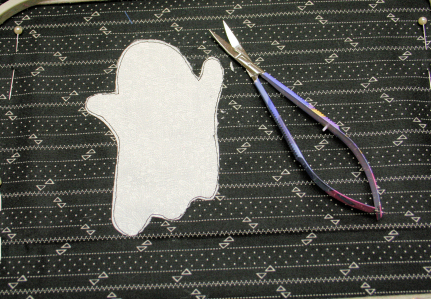
5. Cut away the excess stabilizer and press the appliqué.
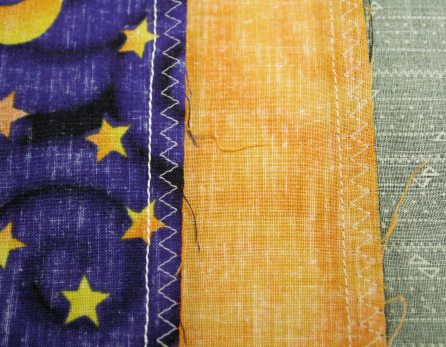
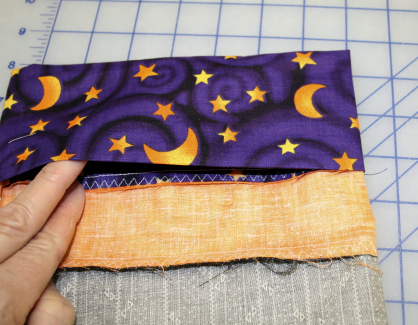
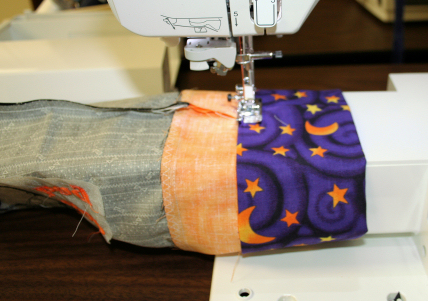
6. With right sides together pin the 16" X 2 1/2" strip to the embroidered rectangle making sure that the design will end up where you want it. Using a scant 1/2" seam sew these together then zig zag the raw edges. Repeat to add the 16" X 6 1/2" strip. Press the seams downward.
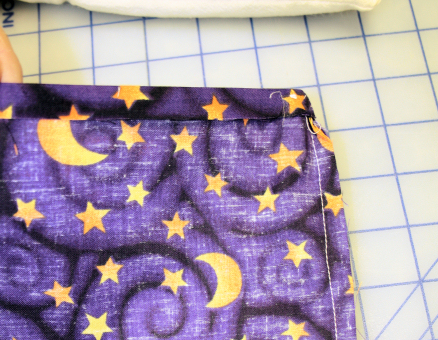
7. With right sides together fold so that the rectangle looks like a pillowcase. Sew the bottom and long side to create the cover.
8. Fold the open edge down, wrong sides together, about 1/2" and press. Fold down again, wrong sides together, until it just covers the raw edges of its original seam. Remove the sewing bed on your machine and slide the open bag over the cuff bed. Topstitch close to the edge all the way around.
9. Turn the bag right side out and press. Slide the rice bag inside and add a tag telling the receiver to heat the inner bag for 1-3 minutes in the microwave. All finished and ready to go.
You can make these any size you want. The one for my brother is longer since I know he will want to wrap it around his neck and shoulder area.
I think that I will make some smaller ones for the girls to use as foot warmers too. Pocket warmers might be another good idea for stocking stuffers. What a way to use up some of those scraps!
Here are a couple of other blogs with Halloween designs for some additonal quick projects:
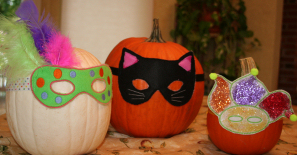
Pumpkin masks with free designs
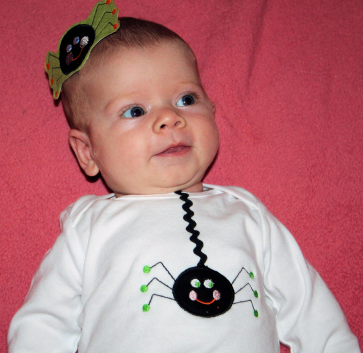
Ruffles, spiders and ghosts
Easy Tutus and black cats
Quick fall decorating
Happy Halloween.
Take care,
DB