April 15, 2011
starbird99
Not rated yet
|
It seems that we all need more time these days, I sure know I do. Don’t you just wish that sometimes there were more than 24 hours in a day? You have work, your husband, the kids or grandkids, laundry and dishes, so when does a girl find time for her hobbies?
Wouldn’t it be nice to make that clock on the wall a little more time friendly? Embroidered Clocks are just what you need! You can’t find clocks like these at your local home interiors store, which, wait a minute, is a good thing.
|
 |
 |
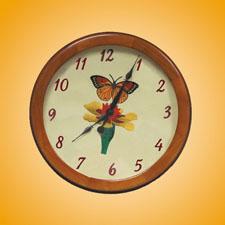
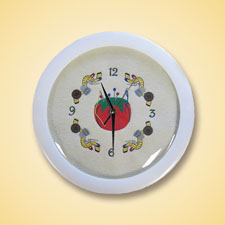
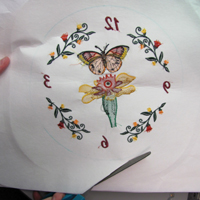
Give me a moment to show you 4 new embroidered clock designs from Starbird Stock Designs that can make any or every room in your home a little easier on your time. You can cheer up your kitchen or living room with the Butterfly or Flower Clocks or snap up your sewing or hobby room with the Sewing Clocks. There are even Lighthouse Clocks for your boathouse or weekend getaway home by the sea, where I am sure time just flies by!
|
 |
Each clock scene comes in either a 6 1/2” or 8” size to fit the clock of your specific needs, and has 3 different options for the outside ring. Each design pack also comes with all the individual designs so that you can make many accessories for your room to go along with that new clock on the wall. See below for step by step instructions on how to decorate your clocks.
|
 |
Let’s make time on our side, embroider yourself & your home a new clock today!
Embroidered Clocks Project Instructions
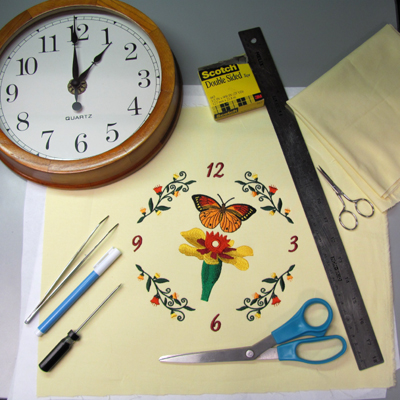
Materials:
1. Clock Designs from any of Starbird Stock Design's 8 Clock Design Packs
2. Fabric
3. 10/70 sharp needle or 11 sharp or smaller
4. Spray Adhesive
5. Cutaway backing
6. Screw driver
7. Scissors
8. Double sided tape
Step 1:
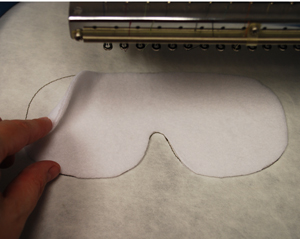
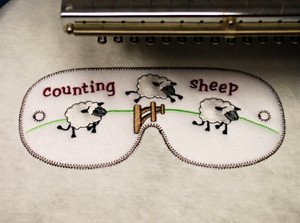
Choose the correct design size by measuring the face of your clock and then embroider the design onto your fabric.
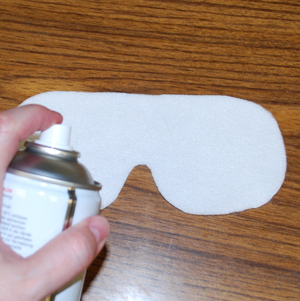
Step 2:
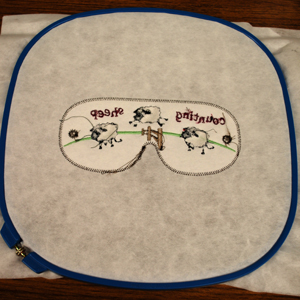
For this step you need spray adhesive, the fabric and 2 pieces of cut away fabric. Using your spray adhesive, spray the top piece of backing and place the other piece of backing on top of it. Spray the top of this backing and place the fabric down so the top of the fabric is facing up.
Step 3:
Using a screw driver remove the back of the clock.
Step 4:
Gently remove the arms on the front of the clock.

Step 5:
Using a small very sharp scissors click out the fabric in the center hole of the clock.
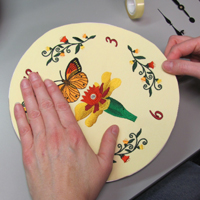
Step 6:
Place the fabric face up on the clock, then turn it over and draw a line around the clock with a fabric marker. Then cut along the line you have just drawn.
Step 7:
Now place the double sided tape on the face of the clock. Then center the embroidered fabric on your clock face and press it down.
Step 8:
Reassemble the clock and add a battery.
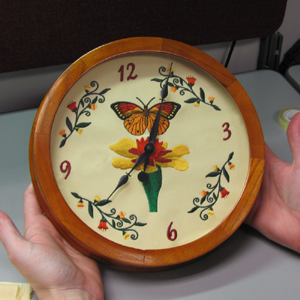
Step 9:
Enjoy your completed clock!
Click Below To View More Clock Designs
Butterfly Clocks
Flower Clocks
Sewing Clocks
Lighthouse Clocks