Mary, Mary, quite contrary, how does your garden grow? With silver bells and cockle shells & pretty 3D Flowers all in a row?
Isn’t that how the nursery rhyme goes? It does here at Starbird Stock Designs. We can’t always rely on the weather here in Minnesota to grow pretty flowers, so we just embroider them ourselves!
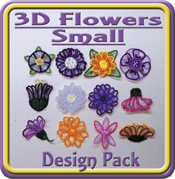
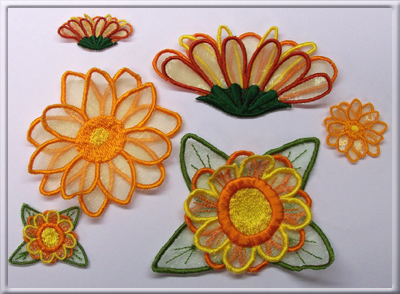
Here are 2 design packs that you can use to grow your own pretty little flowers. Our 3D Flowers Large & 3D Flowers Small Design Packs are just what you need to plant right into your garden of embroidery designs.

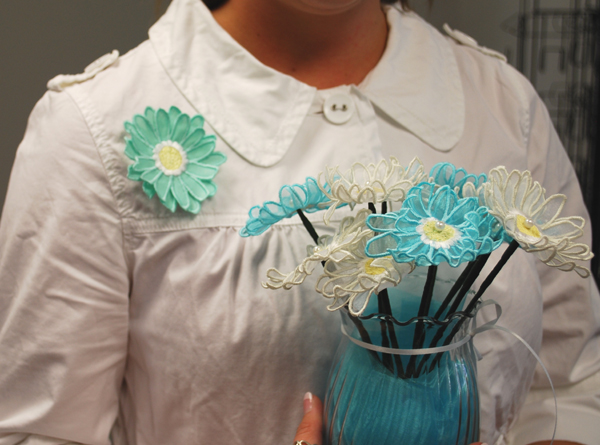
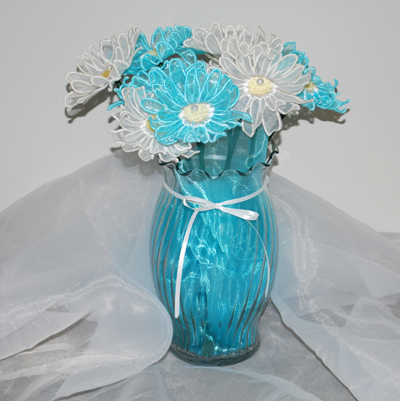
As Emma Goldman said, “I’d rather have roses on my table than diamonds on my neck.” Now you can make a whole bunch of flowers for that vase on your table following our project instructions for a floral bouquet.
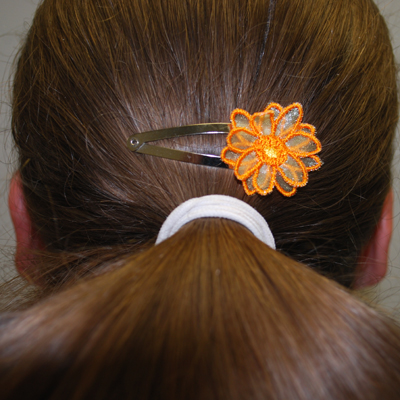
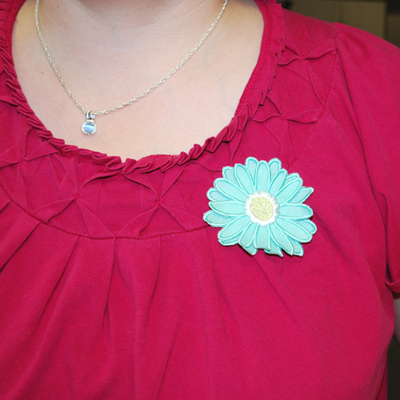
You can also pin a flower in your hair, or on your jacket, with our pin or hair barrette project as well.
Just follow our easy instructions shown below for multiple uses of these designs, and in no time you can have a whole embroidery garden right at your fingertips.
3D FlOWER EMBROIDERING INSTRUCTIONS
Materials:
1 3D Flower design from the 3D Flowers Design Pack
Organza or linen fabric
Embroidery thread
Spray Adhesive or Fabric glue
Sharp Scissors (Optional: Large and Small)
|
Please have the design color stop information in front of you and read
through these instructions before starting.
You will need to know if the flower you have chosen has 2 or 3 layers of flower petals.
If the design has 2 layers, you will need 2 pieces of organza/linen fabric.
If the design had 3 layers, you will need 3 pieces of organza/linen fabric.
Below you will find a list of the designs with their file numbers.
There are 2 design packs listed below; 3D Flower Large and 3D Flowers Small.
The instructions below will work with both sizes.
|
2 Layers
|
Name
|
Large design
|
Small design
|
|
3D Flower #1
|
CD031910FA
|
CD032010FA
|
|
3D Flower #2
|
CD031910FB
|
CD032010FB
|
|
3D Flower #3
|
CD031910FC
|
CD032010FC
|
|
3D Flower #4
|
CD031910FD
|
CD032010FD
|
|
3D Flower #5
|
CD031910FE
|
CD032010FE
|
|
3D Flower #7
|
CD031910FG
|
CD032010FG
|
|
3D Flower #9
|
CD031910FI
|
CD032010FI
|
|
3D Flower #10
|
CD031910FJ
|
CD032010FJ
|
|
3 Layers
|
Name
|
Large design
|
Small design
|
|
3D Flower #6
|
CD031910FF
|
CD032010FF
|
|
3D Flower #8
|
CD031910FH
|
CD032010FH
|
|
3D Flower #11
|
CD031910FK
|
CD032010FK
|
|
3D Flower #12
|
CD031910FL
|
CD032010FL
|
|
|
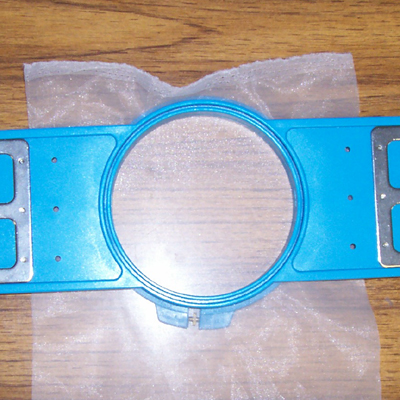
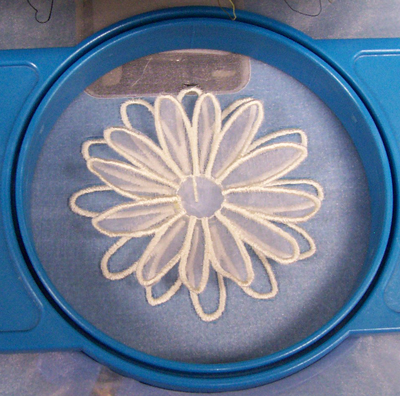
Step 1: First hoop 1 piece of organza or linen fabric in your hoop. Load the embroidery file into your machine.
Step 2: Embroider the first color stop and remove the hoop from your machine.
(This is the top layer of flower petals for the design.)
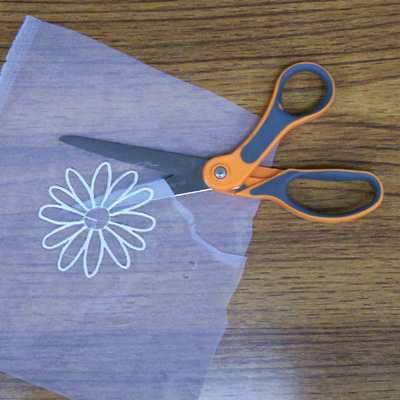
Step 3: Remove the fabric from the hoop.
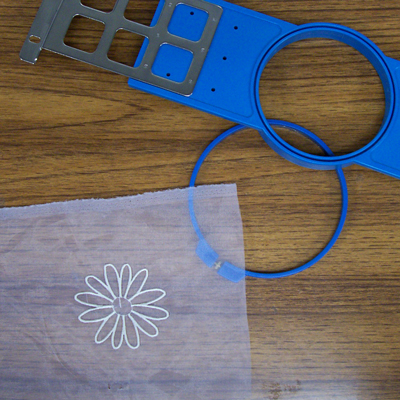
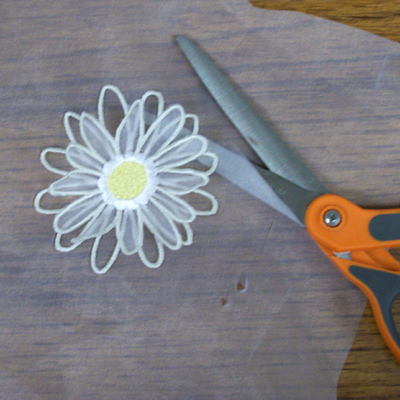
Step 4: Gently cut the organza away from the design by cutting along the edges of the outline stitches.
(Be careful not to cut any of the stitches.)
Step 5: Hoop another piece of organza.
*If your design had 3 layers, repeat steps 2 through 5.
*If you only have 2 layers,
continue to Step 6.
Step 6: Return the hoop to your machine and embroider the next color stop.
(This will be the bottom layer.)
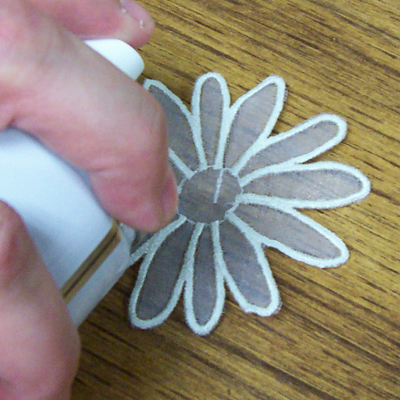
Step 7: Use Spray Adhesive or Fabric Glue and apply to the center of the flower only.
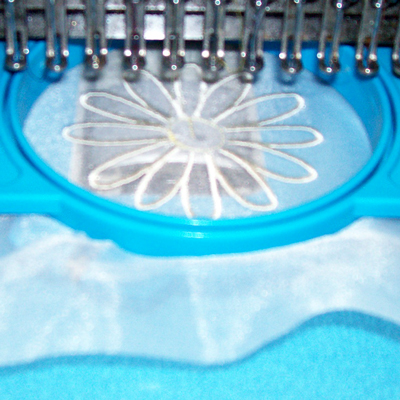
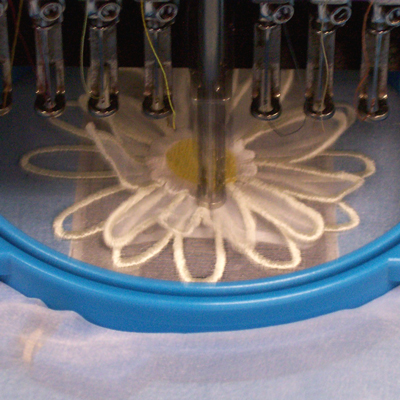
Step 8: 2 Layer design: Place the top layer on the bottom layer. Use the lines in the center to line up the top and bottom layers.
Continue to Step 10.
3 Layer design: Place the Middle layer on the bottom layer. Use the lines in the center to line up the top and middle layers. Embroider the next color stop and stop the machine. Repeat Step 8 with the top layer and place the top layer on the middle layer in your hoop. Continue to Step 10.
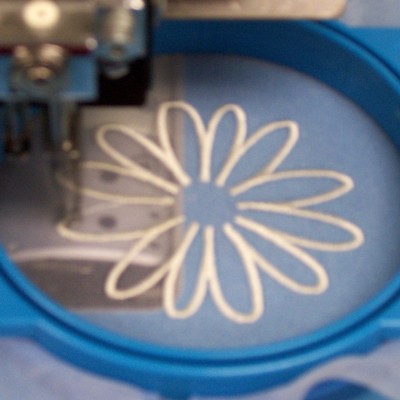
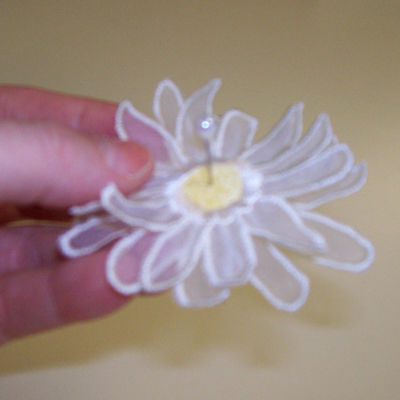
Shown in the picture above is a 2 layer design with the top layer placed on the bottom layer.
Step 9: Start the machine again and embroidery the design until you have completed all of the color stops.
(Stay at the machine for this step! You may need to stop the machine and press down the top layer of petals as they may tend to curl up.)
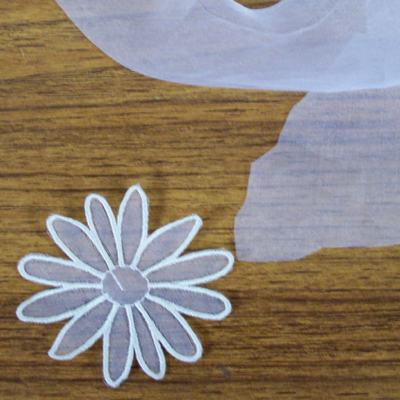
Step 10: Remove the hoop from your machine. Remove the fabric from the hoop and gently cut the fabric away from the bottom layer of the design. Be careful not to cut the stitches.
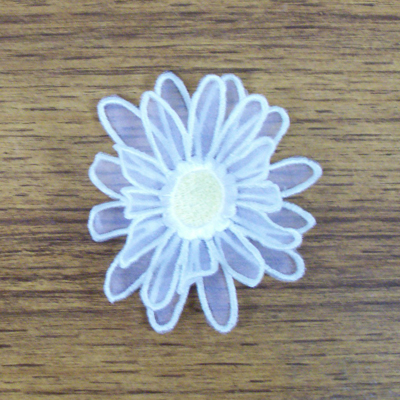
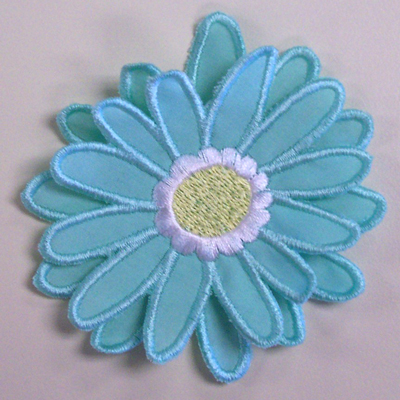
Step 11: Now you have the completed design.
Create a floral bouquet.
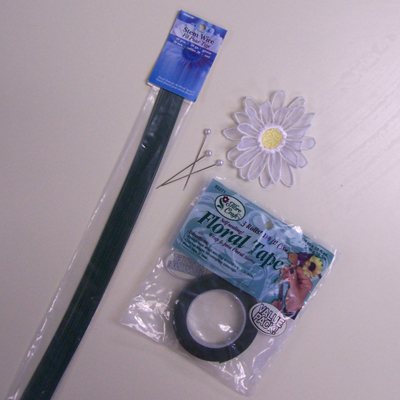
Materials:
3D Flower designs from the 3D Flowers Design Pack
Straight Pins
Floral Tape
Stem Wire (20ga Green)
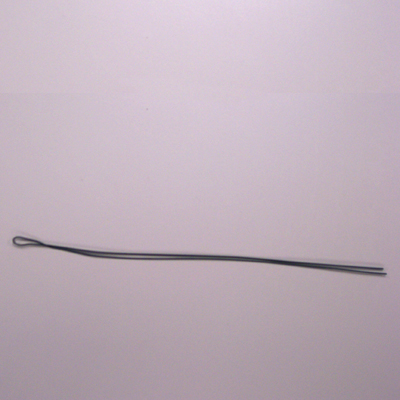
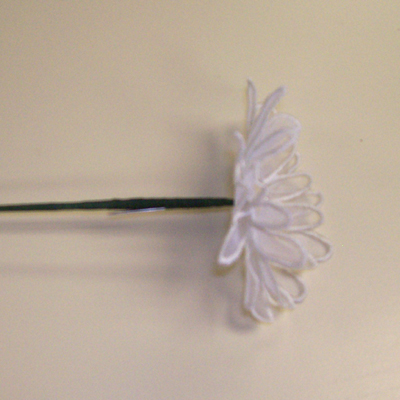
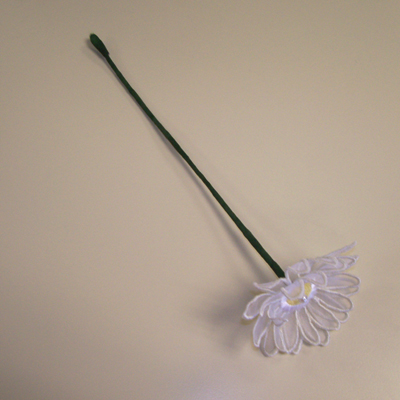
Step 1: Bend one piece of the stem wire in half.
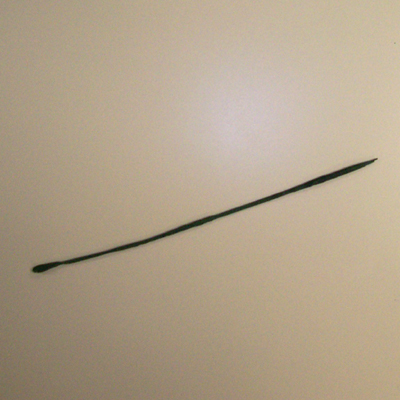
Step 2: Now wrap floral tape tightly around the stem wire from bottom to top.
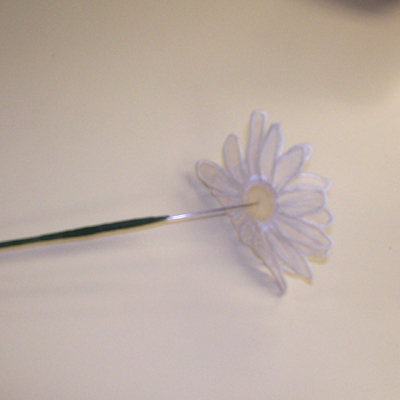
Step 3: Hold the flower face up and poke a straight pin thru the center of the flower.
Step 4: Push the pin into the top of the stem wire. The end of the needle might stick out a little bit.
Step 5: Wrap floral tape tightly around the stem starting just under the flower and going to the bottom of the stem.
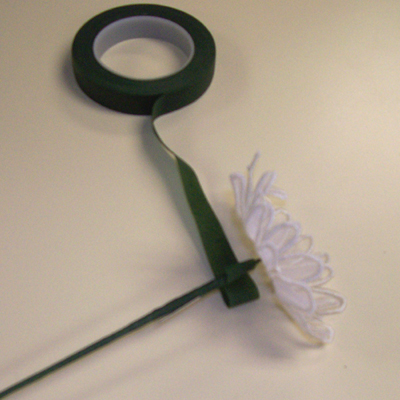
Step 6: This flower is now complete. Repeat the above process with as name flowers as you would like to fill your vase.
Create a Barrette.

Materials:
3D Flower designs from the 3D Flowers Large or Small Design Packs
Barrettes
Glue Gun
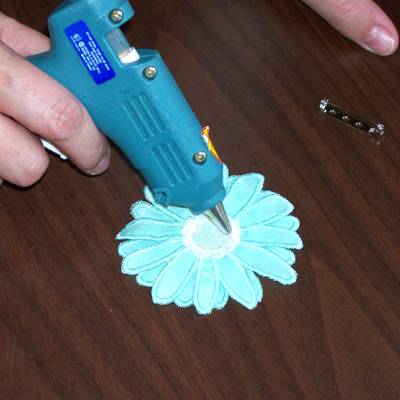
Step 1: Place the flower upside down, the apply glue to the center of the flower.
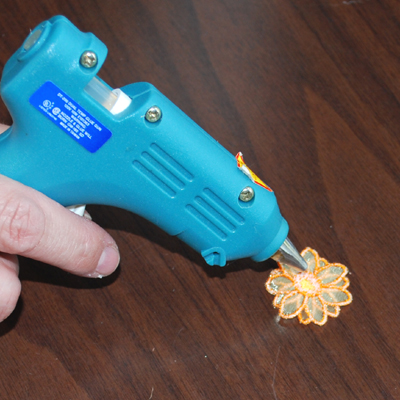
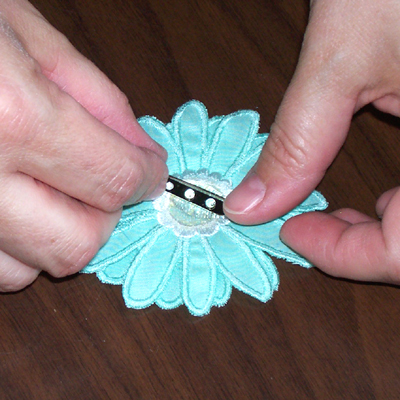
Step 2: Quickly place the large end of the barrette top side facing down on the center of the flower. Hold it there for a little while until the glue cools.
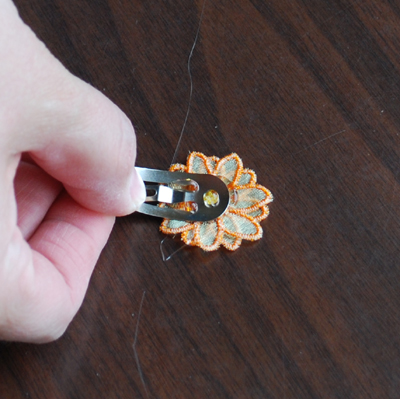
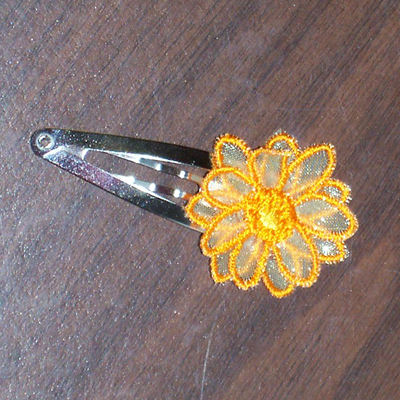
Step 3: Now you have a cute inexpensive floral barrette.
Create a Pin.
Materials:
3D Flower designs from the 3D Flowers Large or Small Design Packs
Pins
Glue Gun
Step 1: Embroider the design.
Remove the hoop from your machine. Remove the fabric from the hoop and gently cut the fabric away from the bottom layer of the design.
(Be careful not to cut the stitches.)
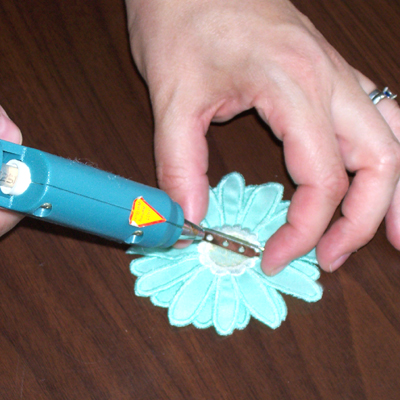
Step 2: Turn the flower over and add a line of glue on the center back, about the same size as the pin.
Step 3: Place the pin on the back and hold it for about 15 seconds. Then add a thin layer of glue over the pin base.
Step 4: Now you have a completed pin ready to wear.