First things first- our little girl is finally here! There is a picture of our beautiful granddaughter at the end of the blog. So we were keeping our other two and trying to find ways to keep them busy. We could swim in the evenings but the days here have been in the very upper 90s with high humidity. Not the best for outdoor activities. So, what better way to keep cool than think about Christmas. We got out the nativity and told the story with the characters like we do at Christmastime. We pretended Santa Claus using the saved gift bags from last year, we made Christmas lists and talked about how to decorate this year's tree. Then the girls helped make Christmas cards. Of course since they like to sew with me we had to do some using the embroidery machine. Here are some that we made using cardstock and glitter coated card stock.
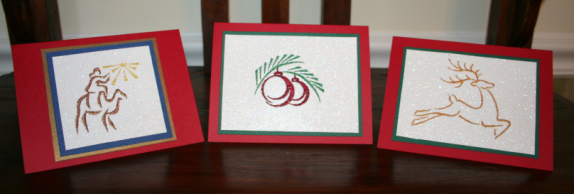
The glitter coated paper holds up much better when embroidered than plain cardstock. If you use open designs like the new Christmas Glitz designs by Amazing Designs you could have a stack of cards in no time at all.
Here is what you need for the ornament one like we made:
1 rectangle of red cardstock 5 1/2" X 8 1/2"
1 rectangle of green cardstock 4 3/4" X 3 1/2"
1 rectangle of white glitter coated cardstock 4 1/2" X 3 1/4"
Stabilizer - medium weight cut away works well for these.
Design that is approximately 2 1/2" wide X 2" tall
Spray adhesive or removable double sided tape
Photo mounting squares or craft glue
Here is what you do:
1. Hoop the stabilizer. Using the adhesive or tape only on the edges adhere the glitter coated paper in the center of the hoop.
2. Embroider the design. Remove from the hoop and cut away the stabilizer around the design . Do not tear it away even if you used a tear away stabilizer.
3. Center the white glitter coated rectangle on the green cardstock rectangle and adhere with photo mounting squares, scrapbooking tape or craft glue.
4. Fold the red rectangle in have so the front measures 5 1/2" X 4 1/4". Center the green and white rectangle piece and adhere. Your card is ready for your greeting.
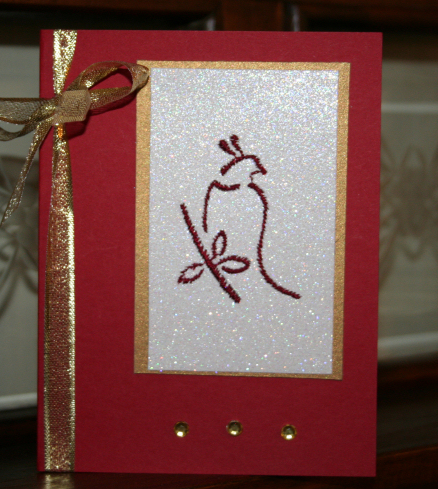
If desired, add ribbon, crystals, or other embellishments to make each card unique.
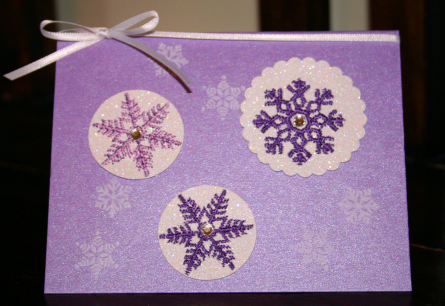
Here is a snowflake one that we like. We will make a set of six of these note cards to give as a hostess gift this holiday season.
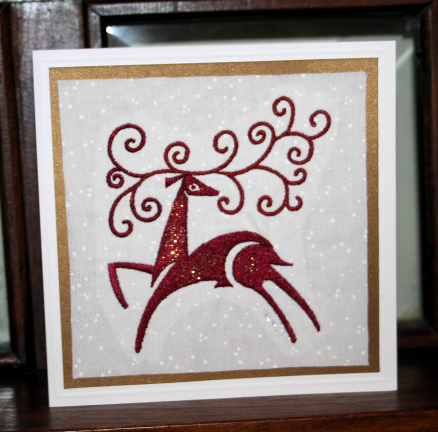
Here is one made on fabric for those of you who just don't do paper embroidery.
I used a two sided fusible like you would for appliqué so that the edges wouldn't fray. Then I rubbed some Stickles glitter glue on the reindeer to make him sparkle.
And here is our baby girl. As soon as I have some time I will post a couple of her in the Designer T's we made earlier.

Take care,
DB