Most of you know that one of my goals in 2009 was to use up as much of my fabric stash as possible and not purchase any new fabrics. Well, I did make a dent in those stacks of cotton but I am still working on using it up. And since another goal is to "go green" whenever possible we are starting a new tradition this year - reusable Easter baskets.
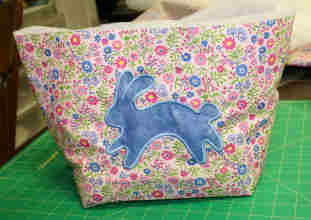
Here is the first one we made.
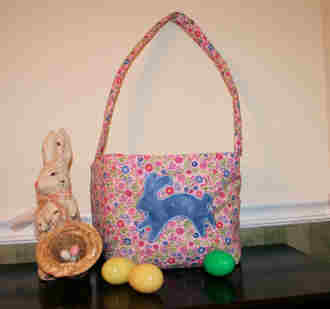
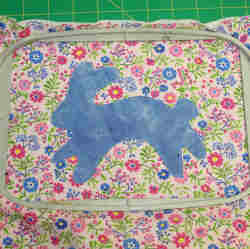
Fabric Easter Basket
What you need:
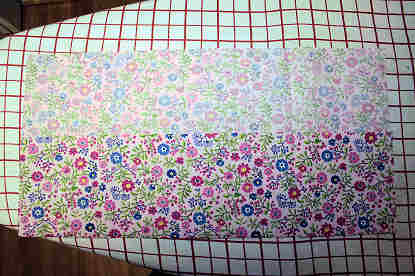
Two cotton rectangles 17"wX13"t for the outside
Two cotton rectangles 17"wX13"t for the lining
Two rectangles of batting 17" X 13"
One fabric strip 4" X 30" (this is what I used for this one but I am going to do the others 4" x 24" so they are not so long)
One strip batting 3" X 30"
One fabric rectangle for the bunny (mine was 7" X5"
embroidery design (click here to download the appliqué bunny)
embroidery thread
Medium weight tear away or cut away stabilizer
sewing thread
What you do:
Step 1: Print a template of the design. (Both Alphabet Xpress and Catalog Xpress will do this. So will many other software programs for embroidery)
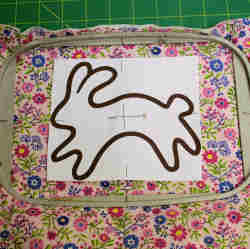
Step 2: Place one of the outside fabric rectangles face down on the iron board. Fold the bottom up 4 1/2" and press lightly. Fold each side in 4 1/2" and press lightly. Now open and position the template in the front square. Pin to secure.

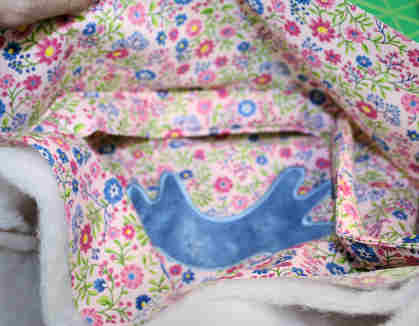
Step 3: Aligning the template with the marks on your inside hoop, hoop the stabilizer and fabric front rectangle. Place on the machine and remove the template. Embroider the placement thread color. Place the 7"X 5" rectangle fabric so that it covers all the placement stitches. Embroider the tack-down thread color (second color).
Step 4: Carefully remove the hoop and place on a flat surface. Cut around the outside edge of the tack-down stitches. Carefully place the hoop back on the machine and embroider the appliqué thread color. Remove from the hoop and tear or cut away the excess stabilizer.
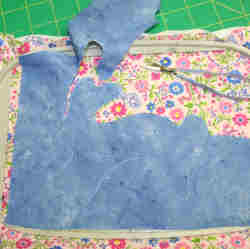
Step 5: Place one batting rectangle on a flat surface. Place on outside fabric rectangle face up on top of the batting. Place the embroidered outside rectangle face down on top of the first front rectangle. Place the other batting rectangle on top. Pin.
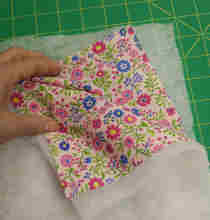
Step 6: Using a 1/2" seam and beginning on the right side sew down the side, across the bottom and up the other side of the rectangles. Leave the top open. You should have an inside out rectangle..
Step 7: Place the lining rectangles right sides together. Using a 1/2" seam and beginning on the right side sew down the side and about 6" across the bottom. Skip 3-4" and continue across the bottom and up the left side. Leave the top open. You should have an inside out rectangle with an opening in the bottom.
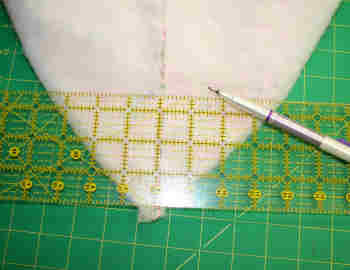
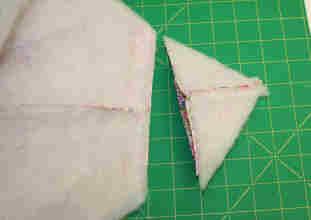
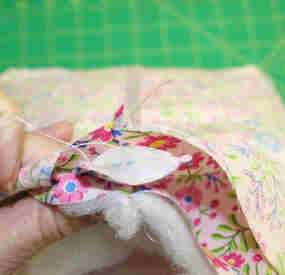
Step 8: Grab the bottom corner of the front of the bag (still inside out). Align the seams and pull out to a point. Pin to keep in place if desired. Measure in from the point 4" and draw a line across the bag. Sew across this line. Repeat for the other side of the bag to make a flat bottom. Set the bag on the table and make sure you have an inside out square basket. If so, cut off the corners you just made 1/2" from seam. Turn the bag right side out.
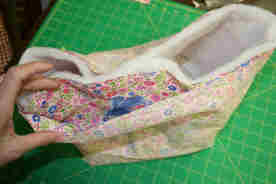
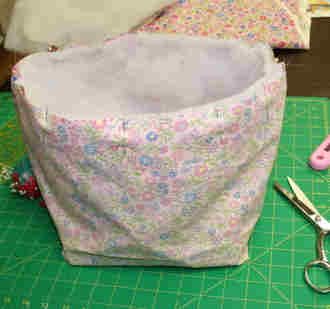
Step 9: Repeat for the lining. Leave the lining inside out. Place the front basket inside of the lining. Set aside.
Step 10: Place the handle strip right side down on the iron board. Lay the batting strip down the center. Press the sides over the batting strip and pin to secure. Fold in have lenghtwise and press and pin all the way down.
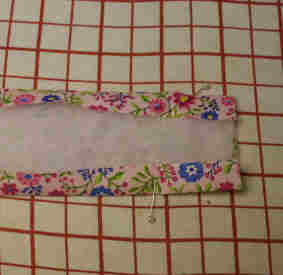
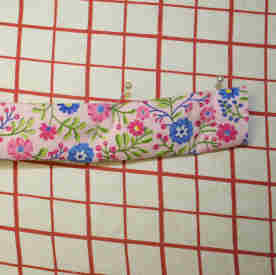
Step 11: Top stitch close to the open edge down the length of the strip. Turn and do the same on the folded side. (see my story below for why I did it this way.)
Step 12: Now, being careful not to twist it place the handle between the front and lining basket. Align the ends with the side seams and pin in place. Pin along the top edge of the basket. Using 1/2" seam sew along the top edge of the basket.
Step 13: Turn the basket right side out through the opening in the lining bottom. Make sure all is the way you want it. Then sew the opening closed.
Step 14: Top stitch along the top of the basket. Give the basket to your favorite little egg hunter.
If appliqué isn't your thing there are lots of easter designs here at Annthegran that would be cute. Here are some of my favorites for on a child's easter basket:
Baby's First Easter
Egg Basket Swirls
Chicks in a Basket
The below are applique but very cute:
Spring easter basket
First easter applique
Happy easter
Leave the handle off and make the basket a little shorter and you could have a nice Easter bread basket.
Create a great outside fabric by first sewing strips together for a springy patchwork look. or quilt your basket.
Make them bigger or smaller and see the smiles you receive from others when you present them with fabric baskets.
Take care,
DB
PS: Now, I am sure some of you are wondering why I did not make a tube for the handle and stuff it. Well, I am just stuffed out! This past Christmas my daughter decided to make a bunch of sock monkeys. She got behind and we spend several evenings stuffing those tube legs, arms and tails. These were supposed to be "quick sew" gifts and although the sewing was quick and easy the stuffing was not. Anyway, it will be a long time before either of us make another one. There must be a trick we missed. They were cute though.