The following tips can be used for both Windows XP and Vista.
Operating systems vary, if in doubt, check with your provider and/or technical support.
If you ask me what I most enjoy about the AnnTheGran site, it would have to be the people on both sides of the computer who make up the community. From the helpful support system and great items for sale to the Forum Users and bloggers who (she says modestly. . .) have clever things to share, the people on this site are really great!
We all have something in common; we get pleasure from doing really beautiful things and truly enjoy sharing those projects with others. However, one thing that I see happening on the site is that people are uncertain as to how to upload their photos. So this blog is going to be a step-by-step discussion as to how to accomplish that.
Some who might be potential project posters have been rejected because of issues with the photo before it even gets a chance to be posted. This has caused some embroiderers to stop attempting to post. If you cannot determine why it is being rejected, how can you fix it?
It has been my experience that the most common reason that a photo does not ‘make it on line,' regardless of the site, is that it is too large for posting on the Internet. The following program, which is FREE (naturally) is easy to use and requires very little hard drive space.
Check out: www.johnsadventures.com . You will want to download the Image Converter which is at: https://johnsadventures.com/software/imageconverter/ . The Image converter needs just a couple of things to be really effective. Tell John that Pat71896 sent you! Consider a small donation because this is a really great program. Additionally, he has a Background Switcher for your Desktop too. You will love that program too.
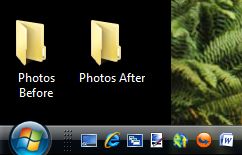
After downloading Image Converter, place two files wherever you will be working on your photos. I personally placed mine on the desktop. I call them "Photos Before and Photos After," how clever is that?
When my photo software has completed the upload from my camera, the next thing that I do is copy them to ‘photos before.'
I utilize the software, and then set the new size to 432 by 324 pixels. That gives you a photo that is 6" by 4.5" which is great for printing.
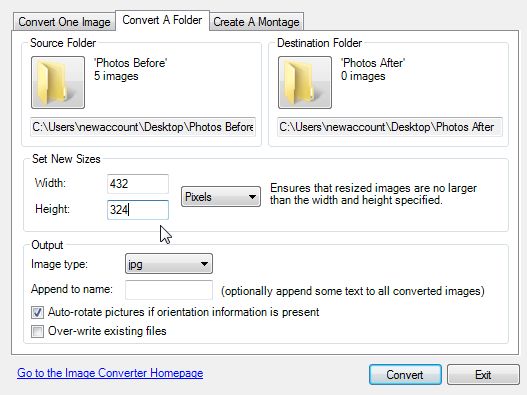
You still have your original photos in their original size, and the ‘after.' Notice the large difference in the KB/MB.

This is what is meant by the size being too large, not the physical size of the photo.
Now that my photo is ready, let's discuss how to get them uploaded.
There are two places that you can upload photos, the Forums and the Galleries. The functions are generally the same, but don't forget, you must be signed in as a member to do any upload.
In the Forum, you can either ‘Reply' to someone's post, or ‘Write a New Post' yourself. In either event, you will be in the writing section to upload your photo. Incidentally, you can also upload a small video or utube file in the same place.
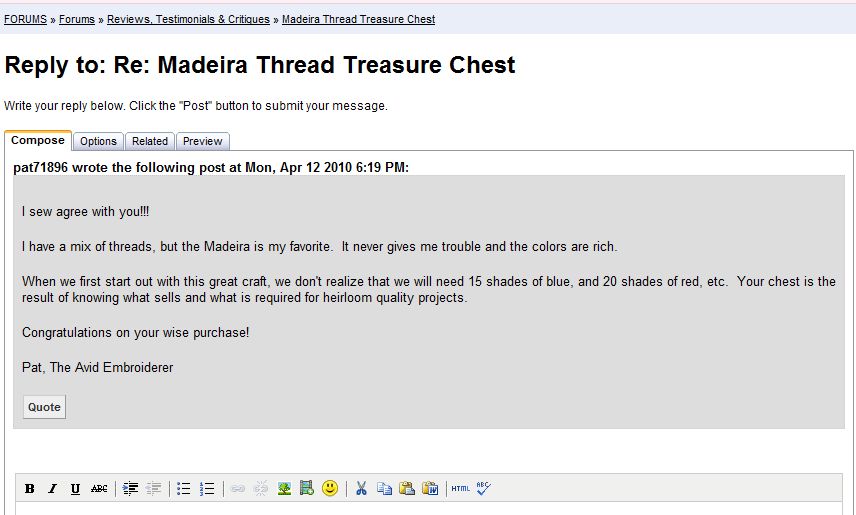
Now, select Insert Media.

The remainder of the information is the same for both the Forum and Galleries uploads.
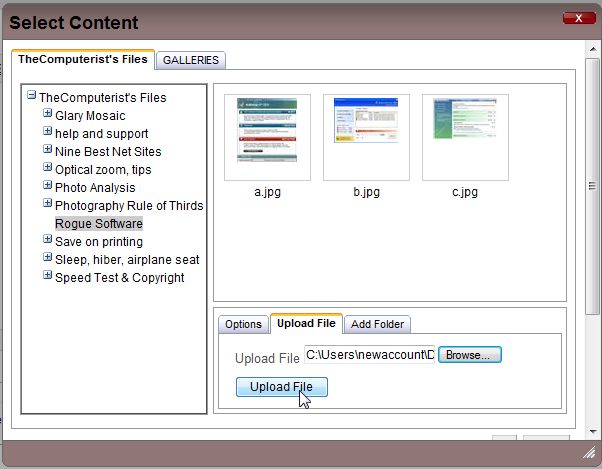
If your photo is already online, you can enter the URL here and Select Insert. You would be done. However, most of your photos are still on your pc. Select Browse.
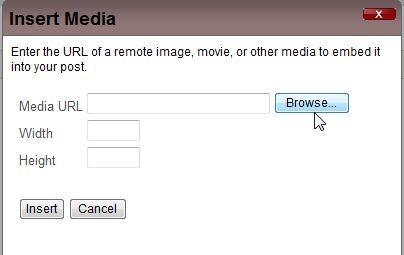
Next, you will Select Upload File to get the photo from your pc.

Retrieve your photo from your pc, and Select Upload File.
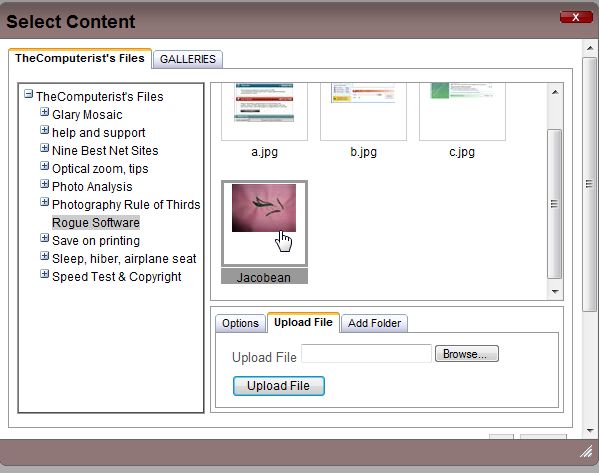
Select your file with a double click of your mouse and it will be placed in your posting.
Your file is too large so, we will adjust it.
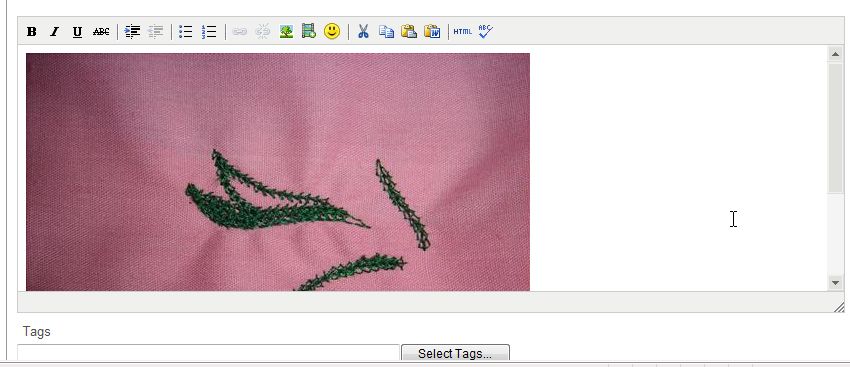
Click on the photo to reveal the ‘Handles' and select a corner with your mouse. Drag it down to a smaller, but still easily seen, size.
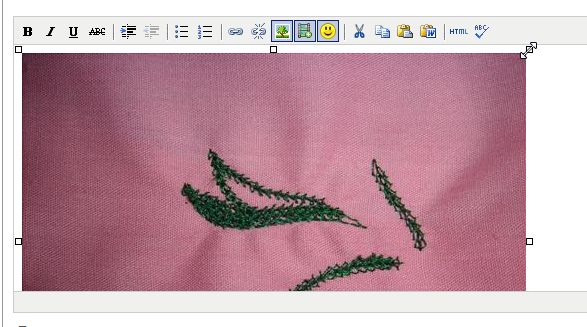
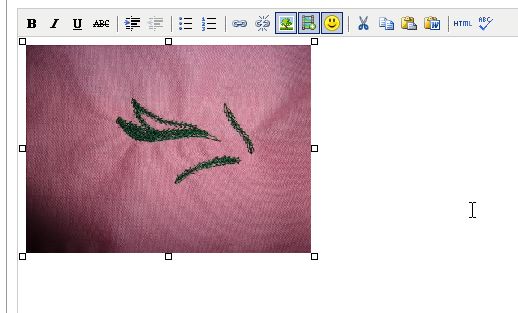
This is a photo from my The Avid Embroiderer, Jacobean Style which shows the details that Morango puts into its digitizing. The detail was very important while keeping the photo a reasonable size. That is it! Nothing more to do except make a statement about your beautiful project!
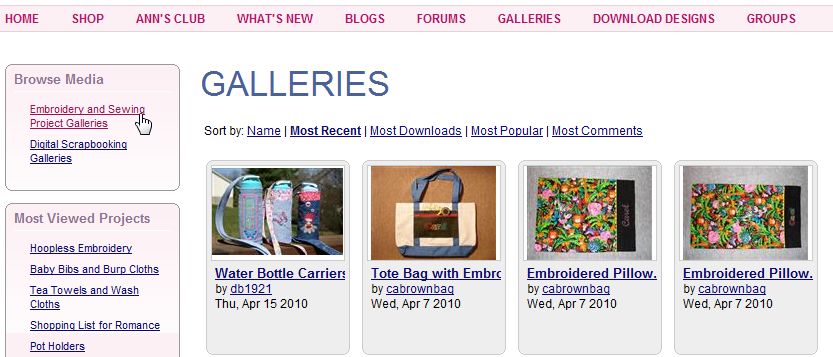
For uploading to the Galleries, Select the Gallery you want, either Embroidery or Scrapbooking.
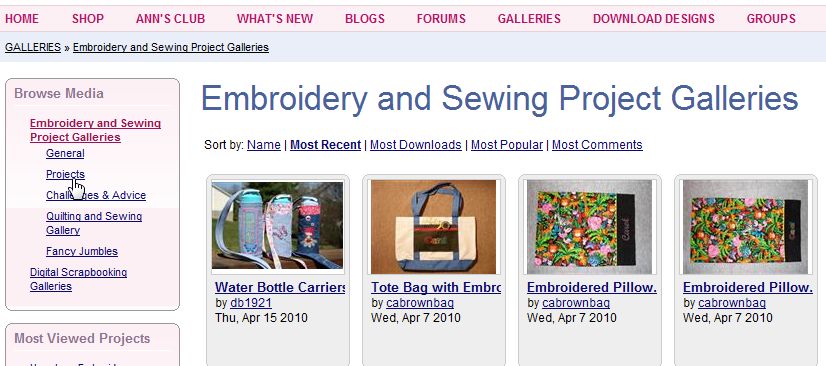
Select a subcategory.
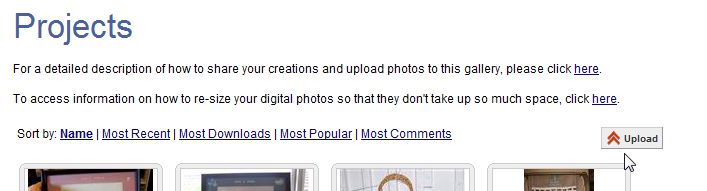
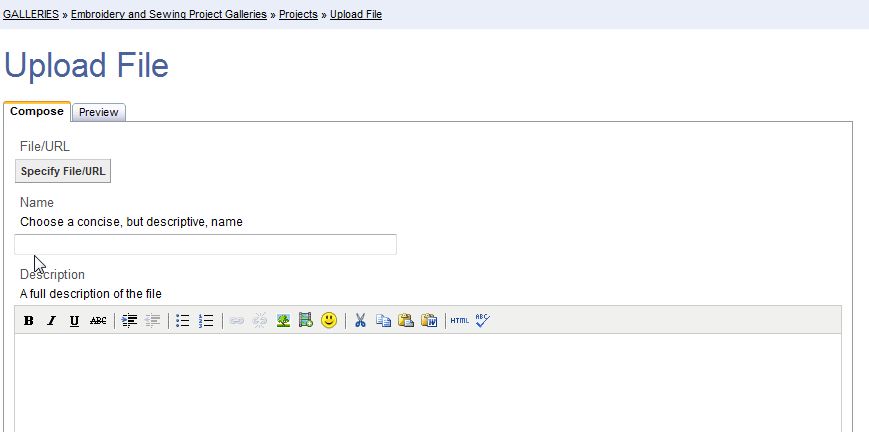
And, after that, you will select the ‘Upload' icon. Remember that you need to be ‘signed in' in order to see the ‘upload' icon.
Fill in a descriptive name, and then use the icon "Specify File/URL." By uploading from your PC, the photo will be available in your post.
Occasionally, some of the subtitles may not work. You can try another subtitle, perhaps "General" rather than "Projects."
It takes longer for you to read this information than it does to do it, so there is no excuse! Get those photos of your best and worst projects. We all learn from a well done and a disaster project. Share your love for your craft.
And, don't forget to check out the terrific sales here at AnnTheGran, shop where you learn!