Thanks for responding to my request for what you wanted to talk about! Endless Hooping was the winner by far.
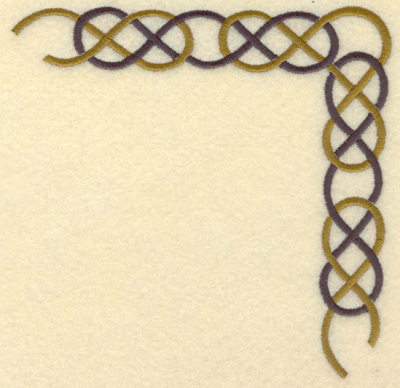
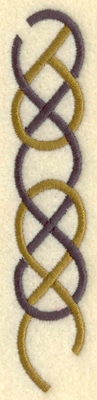
I selected "Celtic Crosses" because it is robust with great designs and methods. There are interlocking and non-interlocking designs, pre-designed corners and some interesting keepsake designs for linen. Of course, you can Search for "Borders" and find many others here at ATG.
The first thing we need to discuss about ‘endless hooping' is that your project needs to be well thought out before you begin. That may seem obvious, but with so many factors entering your project, planning is essential.
- Decide on the fabric/item. I am doing an old pair of pillowcases for practice and to bring them back to the ‘front' of my linen closet.
- Consider a design. Do you want floral, scroll or whimsy? Does your partner like the design too? I chose a Celtic design for its lovely curves and simple design.
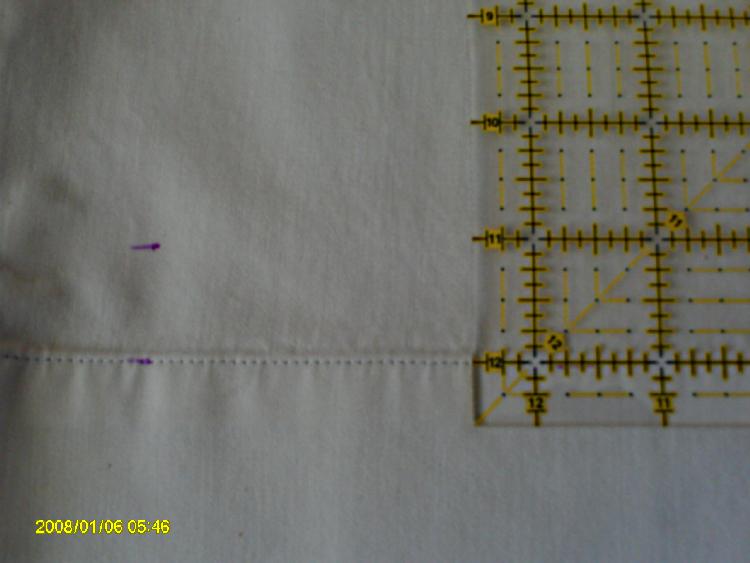
- A pillow case border is generally placed an inch or two above the cuff seam. I would discourage putting something this lengthy on the cuff since the lower fold of the fabric could shift making a ‘twist' in the fabric. However, ME enthusiasts can choose anything they want, including a design from the hem vertically to the top edge of the case.
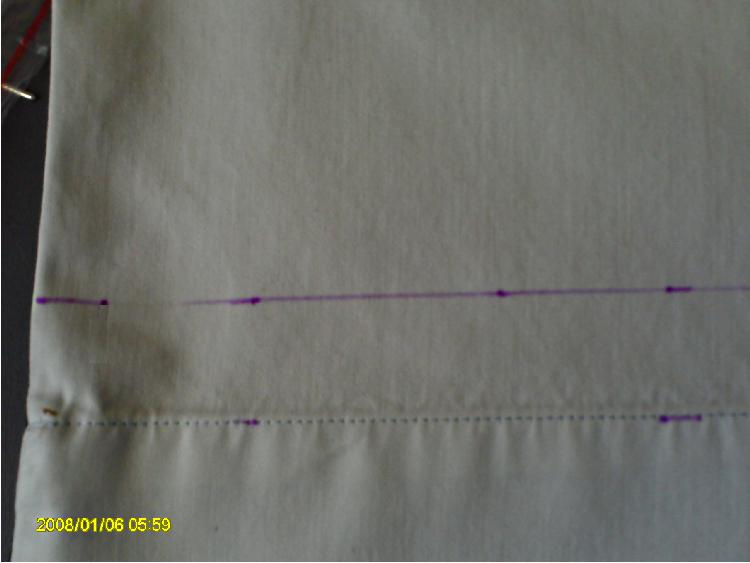
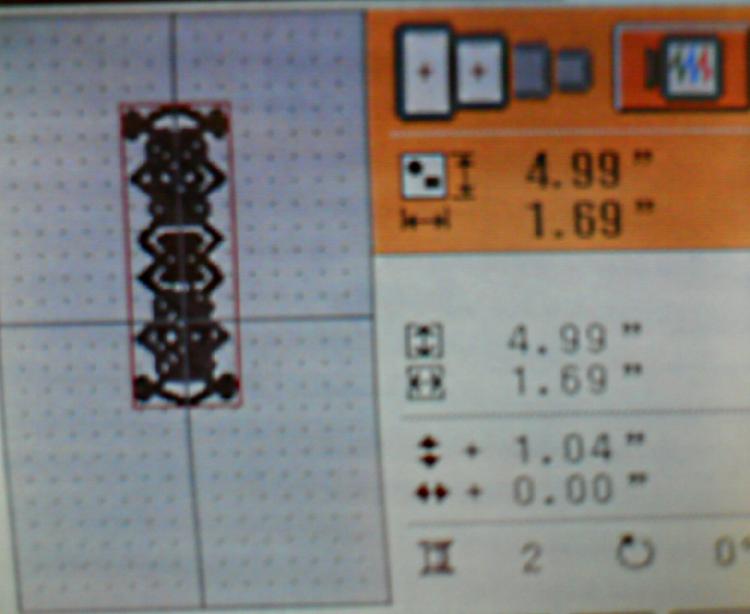
- In software that resizes, like Catalog Express, make your design size a simple number to deal with. In my case I resized to 5" x 1.5" since the pillow case is 21" wide. I will sew out my design 4 times and there will be a little left over on each side, which is fine with me.
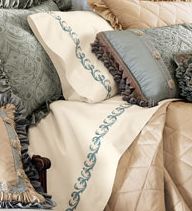
This pillow case costs $55.00 EACH. (We better learn to do this!)
Photo courtesy of Horchow, Fashion Bedding.
I am marking the pillowcase, following the line of the cuff which is how the case actually lays. I am using a 1" distance centering line for my design.
Next, I am preparing to set my fabric in my hoop. Ann has the best stabilizer for this project, Adhesive and Water Soluble which is just perfect for this project. It will hold the design securely and wash away when I am done!
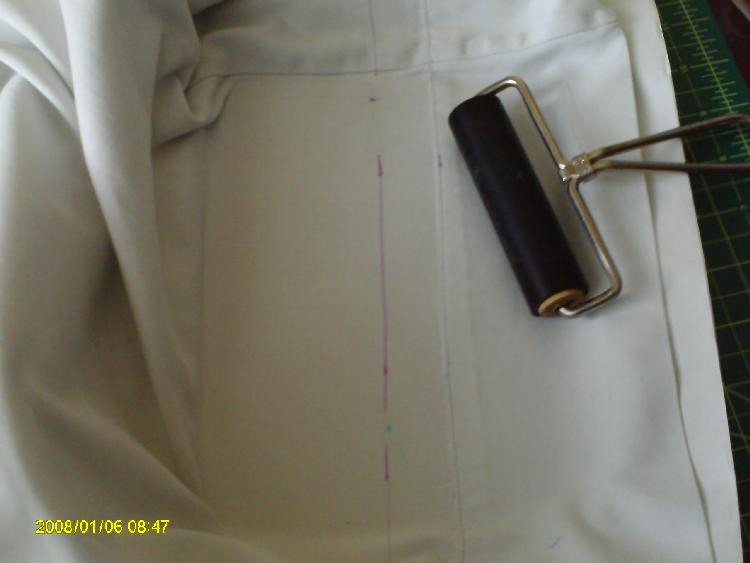
I carefully press the fabric into the hoop making sure I have my alignment set. Using my hoop grid and when I am satisfied with my layout, I finger press the fabric into the stabilizer and finish with a hand roller. This makes the adherence even.

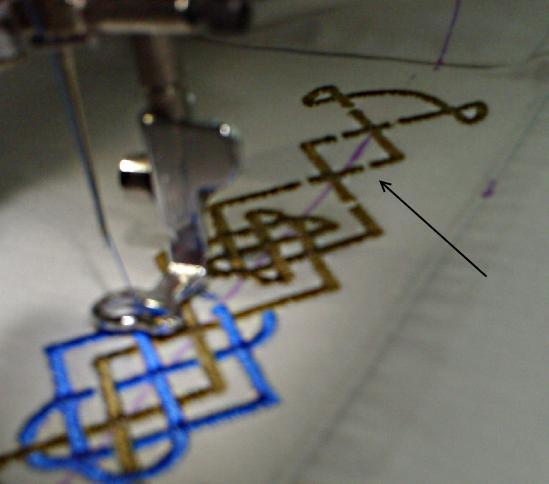
I begin to sew out the design and make note of the machine parameters of where I am placing my design and hoop. The placement of the design will be the same for each sew out. Please note in the second photo, the arrow is pointing to an opening where the second color will land. This is one of the marks of good digitizing because it alleviates density and pull issues.
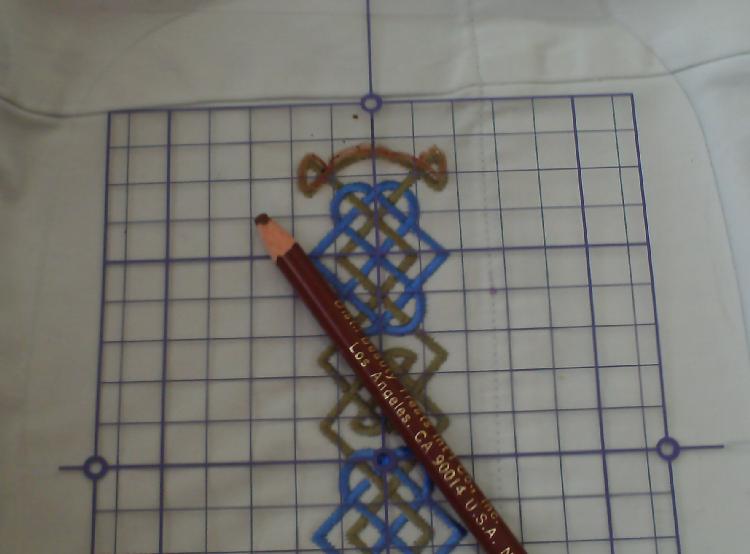
After completing my first design and before removing my fabric from the hoop, I will reinsert my grid. Using a crayon or non-permanent marker, I will be tracing the top of the original design. The second photo shows my tracing artistry.
I then disassemble my fabric and prepare the hoop and stabilizer for the repeat design.
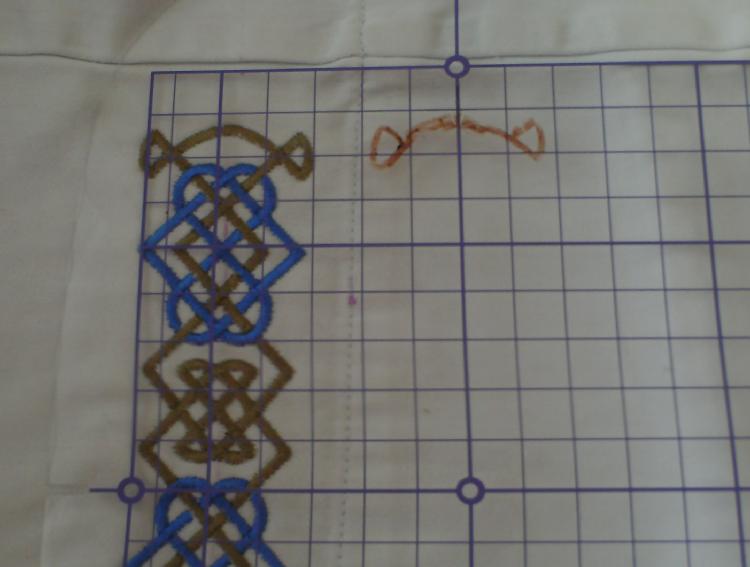
Here is the fun part. Before I place the fabric back into the hoop, I align my grid and tape it down to the fabric. When I place the fabric back into the hoop, the grid seats the fabric in the hoop where the next design will be sewn. And when I am happy with the position, I press the fabric to the stabilizer. I use my machine's layout function to make any last minute adjustments. I prefer to have my additional designs closely abut the original design or actually land a little on top of the original design. As you are working through your repeats, keep your eye on the finish spot and make adjustments if required.

Another method would use the same principles of placement, but you would print out your designs with appropriate software and lay the trimmed design prints where you want them to be sewn.
Either method requires that you plan ahead and prepare to adjust when and where necessary.
Corners are for the practiced and courageous. Doing a design completely around a square or rectangle table cloth would require much planning and careful placement.
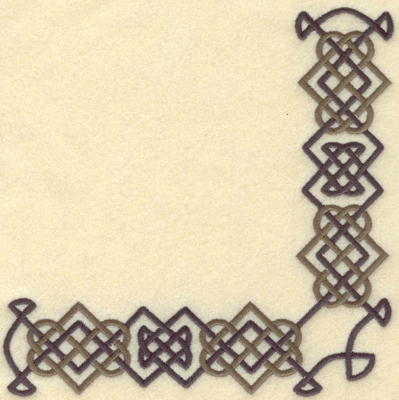
These are examples of "interlocking" designs. This has a much closer tolerance but creates a really beautiful and endless design.
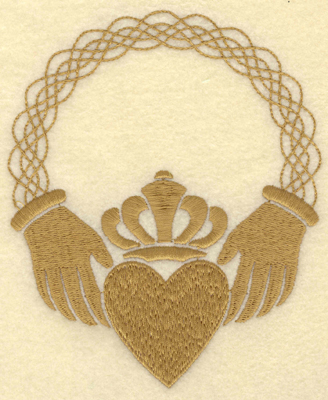
Last but not least, this pack has one of the loveliest keepsake designs I have ever seen.
Greg was kind enough to find the background of the design. It is in this link if you would like to read and/or print it. It has a romantic story!
Don't forget to backup your designs often. I just completed backing up my designs on Wednesday. I did not back up this blog, and guess what? ...this blog became corrupt! BACKUP!
Put your machine to work, Pat