In Part 2 of What's in a Word, I am attempting to give meaning to some of the embroidery terms that may be familiar but I want to give a little background to them as well. If you want to add something to the definitions, please do so via the response area.
I personally believe that if you know the rule, that is fine. However, if you get some of the reasoning behind the action, it helps you to understand it better allowing you to do more troubleshooting on your own.
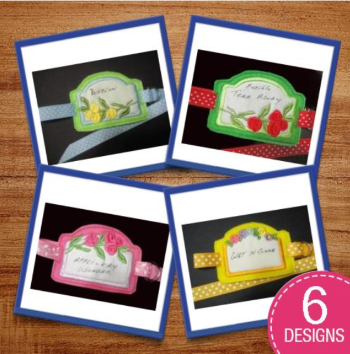
ITH - In the hoop - A design that completes your project
without un-hooping the fabric. It is often a project with multiple layers. Some of the types are items like book covers with pockets or eyeglass cases and this great idea from Pat Williams -
Jump stitch – The movement of the needle from one stitch to another that is a lengthy distance. Many digitizers take great pride in having
few if any jump stitches.
Lint brush – Certain threads, cotton is one, that leaves a great deal of fuzz under the needle plate causing possible malfunctioning of
stitches. Checking and using your brush is a good way to keep your machine humming.
Memory card – Nearly obsolete, these were once the method of a company getting
designs to clients. Costs were very high for ‘x’ number of designs, of which you might only use 1 or 2. The USB and/or simple download has become the norm.
Pucker - The dreaded pucker is something that a newbie will find to be confusing and often blame the design for the issue. The facts are
that there many, many reasons why a design puckers. Among them are - a design too dense for the fabric/base; a hooping that is not sufficiently snug in the
hoop; not doing a 'discovery' sew; and thread that is too heavy for the design. (See Thread Weight, below.)
Push-Pull compensation - Is created by a design's stitching causing corners and lines (such as satin) causing twists where there should be
symmetry. The end user will not know that this method has or has not been used unless the design pushes or pulls the thread astray.
Registration - Puckering and Push-Pull compensation issues show up and are called registration issues. Often the applique satin stitches
or outline stitches are the final step in a design. Therefore, while admiring your work, then adding the outline results a ruined project - well,
embroiderers, that is one reason why you do a 'discovery' sew (see Discovery Sew in Part 1).
Spray Adhesive - Used for holding fabric in place when doing applique and in the hoop projects. Use of spray adhesive requires a well-ventilated
area. Stabilizers that are pre-adhesive are very efficient.
Stabilizer - A material of various weights, types and construction that creates a strong base for your project. Stabilizers have been increasingly
improved and made to handle special requirements. Some types are – wash-away, cut-away, tear-away, heat/iron away, and so many others. Guidelines are
available for which one to use but experience is the best tutor. You may like to read one of my blogs on Stabilizers there is so MUCH to learn. No one answer/solution/expert can cover every issue. Learning is a must, read everything you can find. (This blog includes the part humidity plays in embroidery!)
Template – A software
printout of the design that is used to ascertain placement of your design. Part of the “Discovery Sew”
task, it will save a lot of frustration and issues. i.e., a design placed on a woman’s blouse will be affected by the curves of her body. Therefore, it is
important to do an ‘on the model’ template placement.
Thread weight – A hold over from the ages, thread is measured by weight, not length. Possibly the first measurement was done by a distance from
a person’s thumb to the length of an arm (my version). (60 lengths equal 1 standard weight - 40 lengths equal 1 standard weight. Therefore, the 40 is a heavier
weight.)
Test sew - See (Discovery Sew).
Topper – Every embroidery stitch has the ability to rise or sink into the base. Using a topping
will prevent the thread from fading into, i.e., terry cloth or any fabric with a nap or depth. It would normally be washed out.
Underlay – While every component to embroidery is important, underlay is the footings on which you build your project. The underlay minimizes the puckering
once you are done and removed from the hoop. Underlay binds your stabilizer and fabric together creating a firm surface. Underlay keeps your digitized stitches
defined and sharp. It makes a foundation where you can decrease your upper stitching in the event of a design being too dense.
Thank you for joining me for this blog. I hope you find it helpful. If you would like to add some info, please feel free to do so in the comments.