A while back I shared some projects we were working on for
my granddaughters’ bedroom. Well, as
often happens, life kind of got in the way and we never quite finished with our
plans. The girls have been begging and
pleading for us to continue, so here are the instructions for a long awaited
and much anticipated refurbished bulletin board (one of an eventual pair). The originals were purchased on clearance for 85 percent off as they had been scratched all up.
Oh, what a difference a coat of paint, some pretty fabric and a bit of TLC can
do!

Here is what you need:
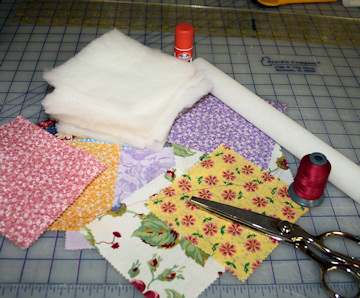
-fabric cut slightly smaller than bulletin surface
-8x10 hoop
-stabilizer (we used a light tear away)
-thread
-ribbon, ric rac or fabric border
-Mod Podge and foam brush
-design
Here is what you do:
1.
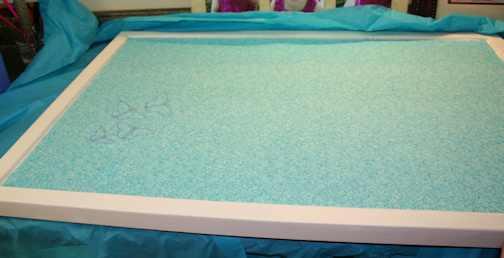
Paint bulletin board, if necessary, and let dry
completely. Measure and cut fabric to fit the board.
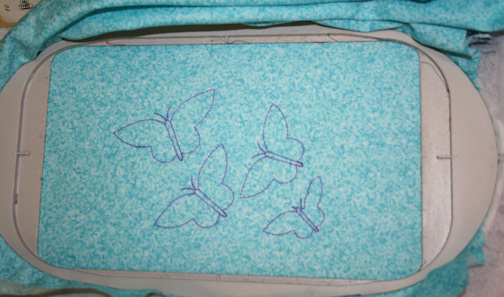
2.
Decide where you want your embroidery and embroider design as desired on fabric. Carefully remove most if not all of the stabilizer.
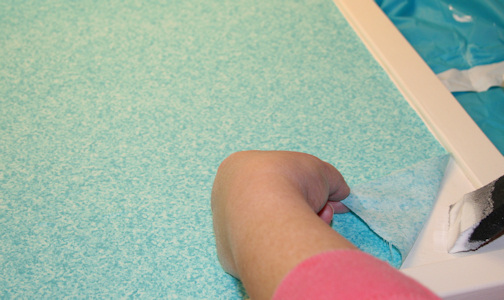
3.
Mod Podge the fabric onto the bulletin
board. We found it easiest to start in
the center and work our way out. Let
dry.
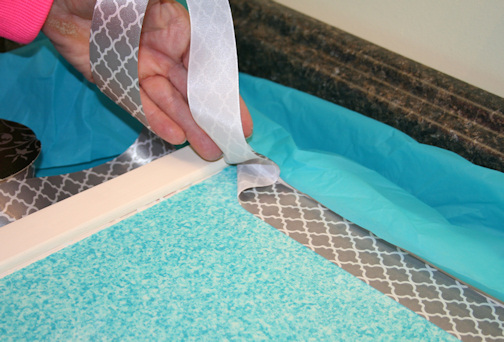
4.
Mod Podge ribbon or fabric border onto
bulletin board. We folded the ribbon at
the corners, so as to use one long continuous piece of ribbon. We found this a little more difficult to glue down, so you
might want to cut your ribbon or fabric to fit each side of your board. Let dry.


5.
You can either apply another top coat of Mod
Podge between steps 3 & 4, or you can apply it after step 4 so that it also
covers your border. Let dry.
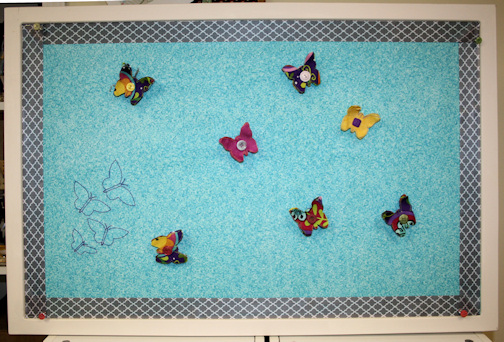
My granddaughters are so excited to finally have a place to
display their own personal treasures!
Sorry it took so long girls!
Take care,
DB
Butterfly Trail.zip (22.4KB)