As I noted in my blog "Where is an Expert When
You Need One?" sometimes we need an expert opinion and
sometimes we don't. As I noted in that blog, if you have been embroidering
for more than 10 minutes, you have more knowledge than all the non-embroidery
crowd does!
Here are just a few of the reasons
you are an expert:
- If you have a machine, and have been playing with it,
you are an expert.
- If you have looked over some designs, you are an
expert.
- If you have done your first project, you are an expert.
- If any of the buyers out there had a clue what good
embroidery looks like versus bad, 70% of the embroiderers on Ebay and Etsy
would be out of business!
So, let's put some of that expertise
to the test. The following have issues that make me cringe - how about
you?
The first one is actually advertised
for sale -
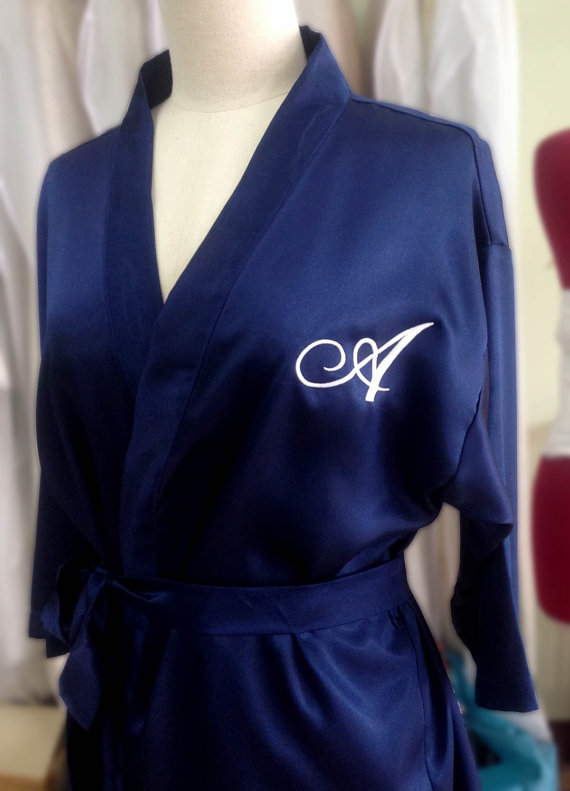
Placement of designs on a garment is
very important. In this case, they had no idea where to place the monogram;
furthermore, they don't recognize that on a woman's chest, there is some
curvature that needs to be taken into consideration. I have a blog on
placement and it is very helpful to use as a guide. It gives numbers
that will assist you very simply. Additionally, there is a great Placement Kit
from Designs in Machine Embroidery (DIME) which is a very trusted source of
information. The last thought on this issue is - - - remember when
"one size' fits all first came out??? If you see that sort of
'advertisement' today, it now says "one size fits most." A
shirt for a 5 year old and a someone size 4xxx is going to be a different.
Make a paper template and pin or baste that paper to get a better view of the
finished project.
The next one is something that I
think most all of us have done at one time or another.
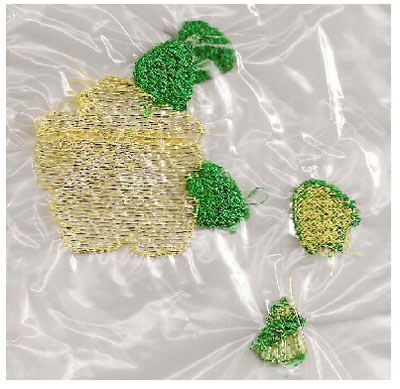
I used to
say that this item was 'under stabilized.' But that is just half of the
equation, it could be that the designs is entirely too dense for the
fabric. If both occur, the photo is the results. A little puckering
can be either one of the problems. Adding stabilizer is easy to do, but
what if you really want to be able to place a design on voile or chiffon?
There actually are some things that can be done in your favorite
software. Most embroidery programs have the availability of adjusting the
density. For instance, Alphabet Xpress (AX) can adjust from the standard
of 4.0mm to 2.0mm and up to around 6.00mm. Some of us have a difficult
time figuring out what adjustment really may look like. Here it is in AX
- IMHO, it is the easiest, visual method to know exactly what you are doing:
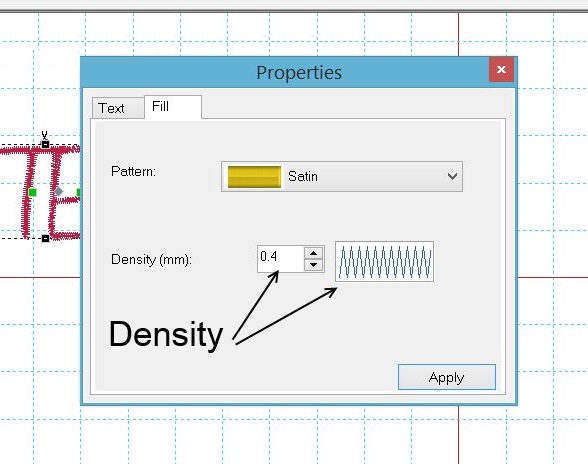
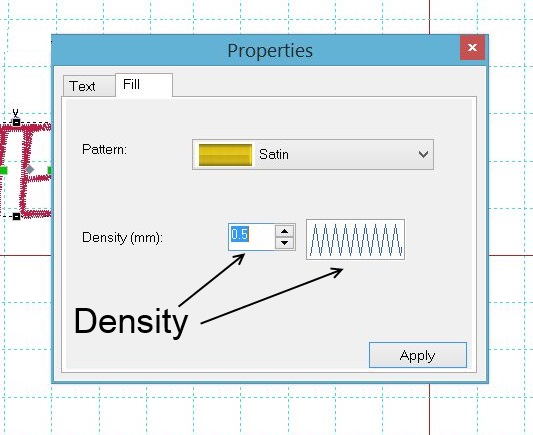
I remember when I was new at embroidery;
I had a difficult time remembering that the higher number gives fewer
stitches. One picture is certainly worth
a lot of words!
Some programs have an additional
'small stitches removal tool.' In the one
I use, it allows me to remove stitches that are smaller than 0.1mm
(1/250") and I usually remove around 0.5mm (1/50"). It is surprising that some designs with
35,000 stitches have as many as 5,000 stitches that are less than 0.5mm! Just be sure that the design does not lose
details such as small items like an eye lash or dimple on a chin.
The last photo is my own error when
I was first doing embroidery.
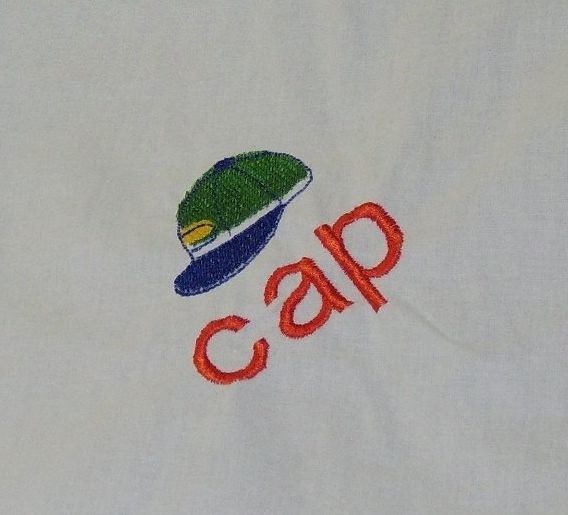
The gap between the visor and the
cap is not supposed to be there. I will
often see embroiderers blame the digitizers for this issue. Not so!
And, in this case it was not the stabilizer either. This was the lining to a curtain for a
grandchild's room and was heavy so that light would not come in during nap
time. I did not realize just how heavy/bulky the surrounding fabric was until I saw that it moved the design out of alignment. If you are working with something large - like a jacket or curtain, make sure to support it. You can
place the fabric on your lap but that means you must stay at the machine the
whole time. You can use a 'TV tray' type
of table to support the remainder of the garment instead.
Now for the two tips!
1.
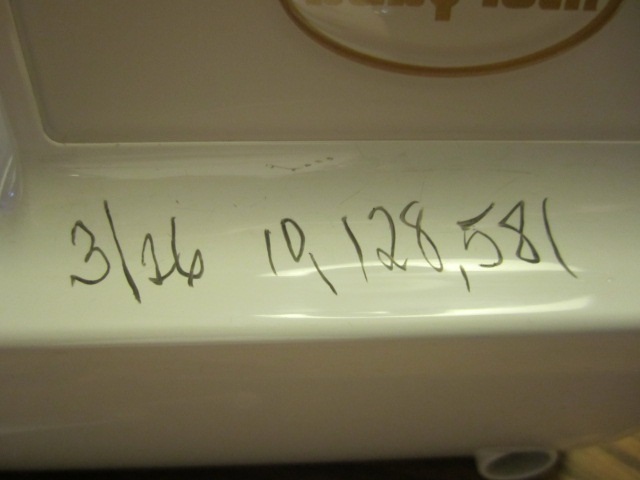
I used to change my needle whenever I thought about it. Frankly, I shudder to think of the dull
needles I was using. Now I use a 'China
Marker' (crayon style) to mark my machine of the date and the number of
stitches. I am always watching those
numbers rather than changing with every design.
I do 3 to 5 designs per day and that could be under utilizing or over using needles.
Believe it or not, even though I am
very conscious of the numbers, I often go over 100,000 stitches. That is beyond my general use of 50 to 70k
and it goes by very fast. Give that one
a try, you may be surprised!
Second tip - I often feel like I
want to spend less and get more out of my supplies especially when I need to
order them online. The stabilizer that I
use is not available locally, it is a 'heat away' type and not inexpensive. Some embroiderers try saving stabilizers by keeping the stabilizer on its roll and when their project is complete,
they just cut off the design edge of the used stabilizer. That does not work for me, with the hoop in
motion, the stabilizer roll is on a crazy ride of its own.
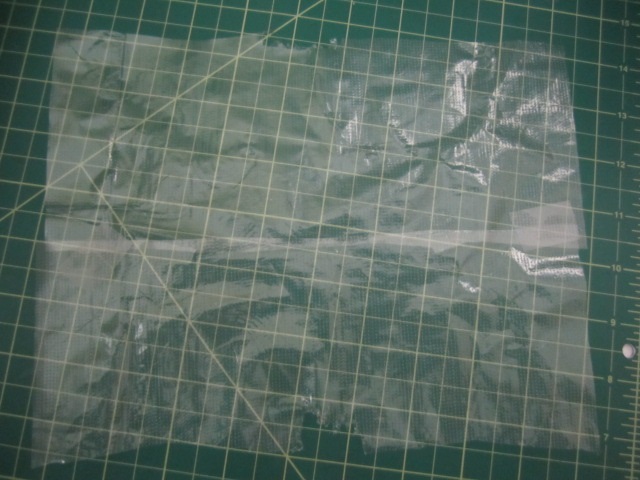
This is what I do: I place a generous piece of stabilizer on my
hoop. Rather than have a 1" margin
outside of the hoop, I leave about 2 or just a little more to hang over the
hoop. When I have finished a project, the stabilizer often looks like this. You can see where I cut and I do leave the inner edges on the cut. You don't really need to make a straight cut on the design area, a little ragged edge is OK. (Just not a lot)
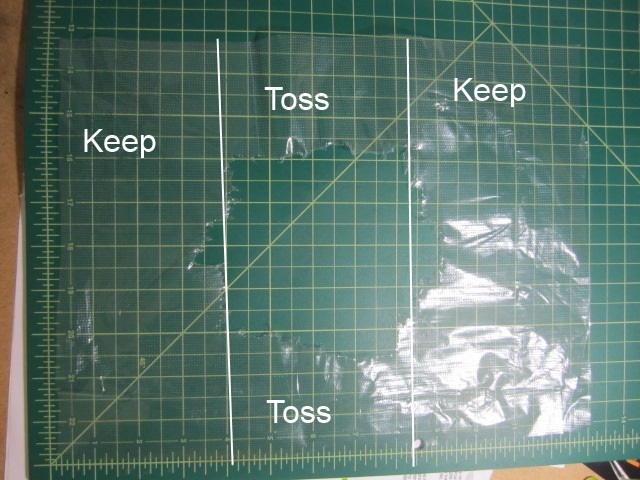
I cut across the design edge by
folding the stabilizer in half two times and cutting off each end, tossing away
the small area left in the middle. Then
I tape the two ends together for a rather good size piece of stabilizer.

Thank you for visiting me on my blog. May you be blessed in ways you have not yet imagined.
Pat