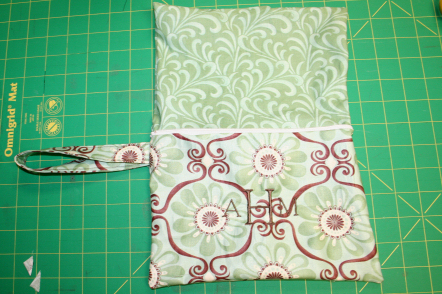
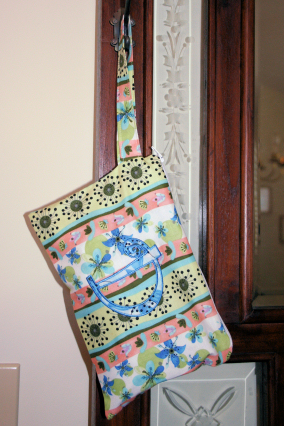
Wristlets are great if you have lots of other stuff to haul around (like kids and diaper bags and laptops...) and don't want the extra weight of a purse. But after a hard winter the ones we have been using look pretty bad so I decided to surprise the girls with new ones this week. I made mu youngest daughter's first. It is slightly larger than the old ones so she has room for fruit snacks and such. Here is what it looks like:
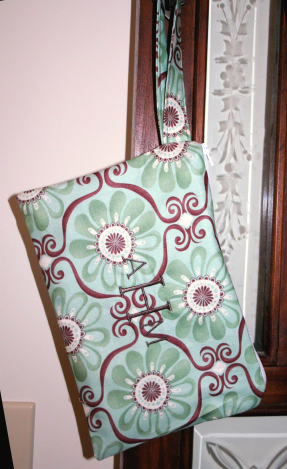
The directions are to make this one so the finished size is 9" wide X 6" tall.
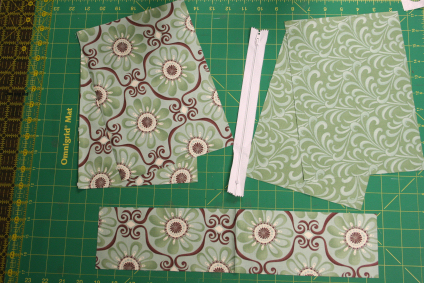
Here is what you need:
One 9" zipper
2 rectangles of cotton fabric 10" X 7" for outside of purse
2 rectangles of cotton fabric 10" X 7" for lining of purse
1 strip of fabric 13" X 3.5" that matches the outside of purse for the handle
Sewing thread
Embroidery design (We just made a monogram. Alphabet Xpress or Pacesetter ELS can be used for this.)
Medium weight cut away or tear away stabilizer
Embroidery thread
Here is what you do:
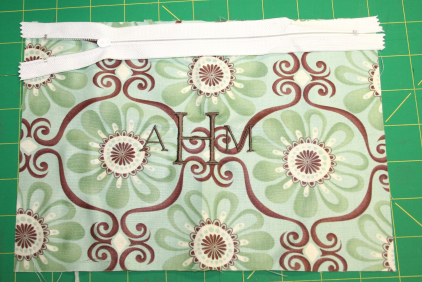
Embroider the design
1. Fold the front rectangle in half both vertically and horizontally and finger press to find the center and make lines for hooping.
2. Hoop with stabilizer and embroider the design.
3. Remove from hoop and cut or tear away excess stabilizer.
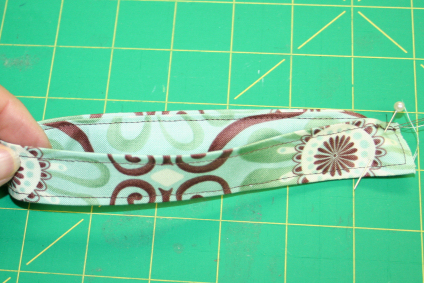
Make the handle
1. Fold the strip in half longwise and press. Open and place wrong side up on iron board. Press both sides in towards the center.
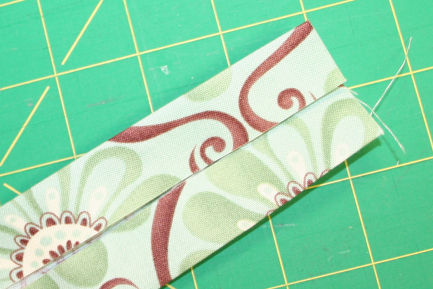
2. Now fold back in half and press. Your strip should be approximately 13" X 1".
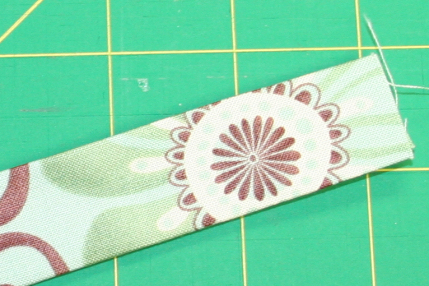
3. Topstitch all the way around. Fold into a loop and pin. Set aside.
Make the purse
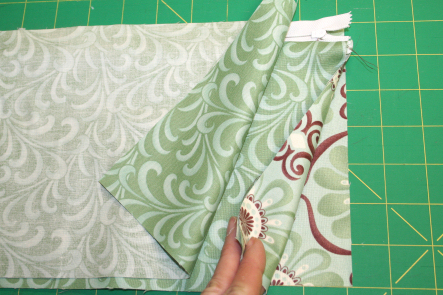
1. Place the front outside rectangle face up on a flat surface. Align the zipper face down along the top edge.
2. Place a lining rectangle face down over the zipper and align the edge. Using a zipper foot sew along the edge.
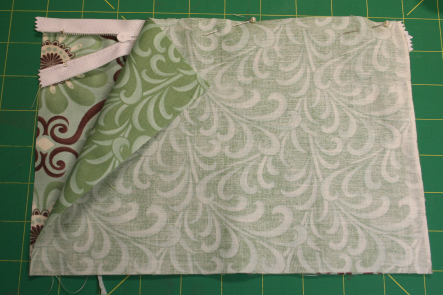
3. Flip the fabric so the wrong sides are together.
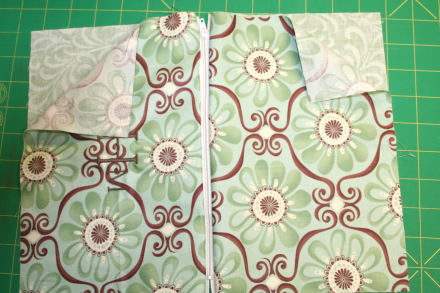
4. Place the back outside rectangle face up. Align the second zipper edge face down along the top edge. Place the lining rectangle face down over the top of all and align the edge. Using a zipper foot sew along the edge.
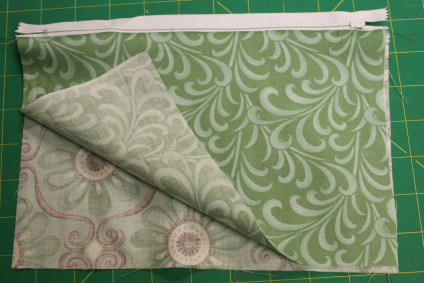
5. Open it up so zipper is in the center and wrong sides are together (This is just to be sure it is OK at this point. You won't leave it like this to sew the next step.
6. Now unzip the zipper half way down. DO NOT skip this step or you will not be able to turn the finished purse right side out later.
7. Reposition the fabric by placing the right sides of the front together and the right sides of the lining together making a big rectangle. Align the handle raw edge on the side about a 1/2' from the zipper head between the outside rectangles and pin in place.
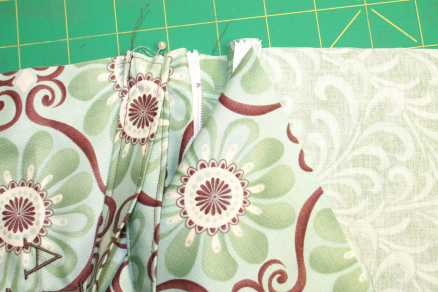
8. Sew all the way around the large rectangle leaving a 3" opening in the lining for turning. Sew the handle seam again for extra strength.

9. Trim the corners. Turn right side out, unzip the zipper. Then push the corners out on both the outside and lining. Press. Whip stitch or sew the opening closed.
10. Push the lining down into the purse. Fill it up, zip and go.
Here's another one.
The third one got away before I could get a picture.
I hope you find these as easy and fun to make as I did.
For a couple more great quick gifts to make before summer vacations begin read about Personalized Camera Straps and Luggage handle wraps here.
And this quick casserole carrier is a fun and easy hostess gift for BBQ and summer parties.
Take care,
DB