I really enjoyed locking myself into my sewing room and creating these Halloween projects. I think the color combinations of Halloween must be very pleasing to me, so I tend to collect lots of designs and fabrics for that holiday. It was easy to dip into my stash of designs and work up a few decorations for my house. I may not be the house on the block that has a fake graveyard in the front yard and skeletons hanging from the trees---but I do manage to stitch a couple new kitchen towels each year and that's fine with me. I enjoy using them for the days leading up to the big day and it's sure less time consuming than taking down all those decorations in the yard! :)
On a side note, I've decided I'm going to have to stop having the QVC channel on in the background when working in the sewing room. I have a very small TV I keep in there and I keep it on merely for background noise while I'm busy creating. Often I keep it on a 24 hour news station, but on Sunday when I was working, I just wasn't in the mood for all the Sunday morning pundits, so I switched to QVC. In the course of stitching the projects for this blog, I managed to order the most amazing stuff! I am now going to have the silkiest, bounciest hair on the planet, my eyeliner will no longer smear and smudge and with a couple months of Easy-Pay, I'll have the cleanest wood floors in the neighborhood! This blog post cost me a lot of money! LOLOLOL Maybe I should just put a radio in there...
Here's your supply list:
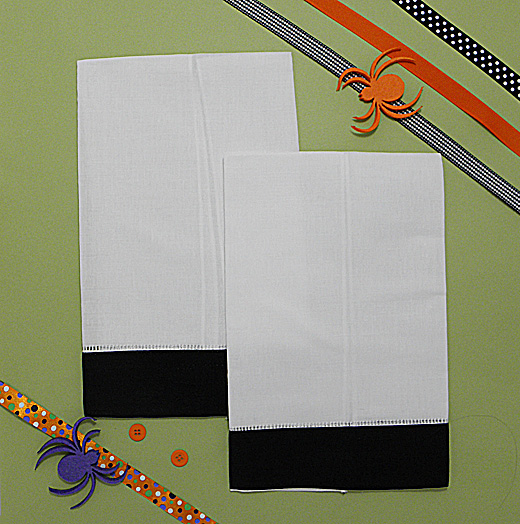
2 Black Border Hemstitched Guest Towels
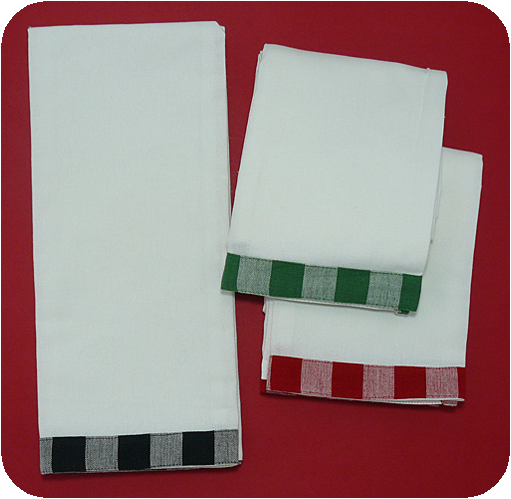
2 Vintage Gingham Trim Dishtowels - Black Trim
Medium Weight Tear-away Stabilizer (the sticky kind if you prefer)
Temporary Adhesive Spray
Designs I used: Sweet Halloween I by Amazing Designs for the candy corn characters and the applique designs were dug out of my stash of designs (anyone have a stash of designs?)
Alphabet Font is from my new favorite program "Personalize N Stitch 2.0" from Amazing Designs.
1). There are a couple tips I can offer on this week's blog. One is to help you line up designs on matching pairs of towels. Often we forget this step and end up with a pair of towels hanging in the bathroom with designs stitched at all different heights---not cool! Just print a paper template fo your designs! It helps so much with hooping items correctly and for lining up designs. Here's a photo of how I use templates to make sure my designs are even:
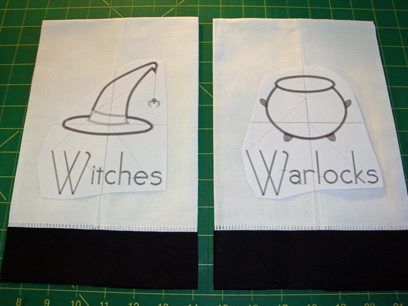
If you notice, I line my towels up on the grid of my cutting board, then stick the paper templates onto my linen towels using a very light bit of temporary adhesive spray. I can pretty much line them up easily by referencing the placement lines printed on the template, but if I really need some extra help, I can use the grid lines on the cutting board as an extra bit of reference. Now you know that when they are hanging in kitchen or bathroom they will look "right"!
I know to do this, because I can't tell you how many times I've gotten excited about stitching, stitched up one of the towels, only to realize that now I don't know where to put the design on the second one! So now I try to remember to line up the designs FIRST on both projects---then stitch.
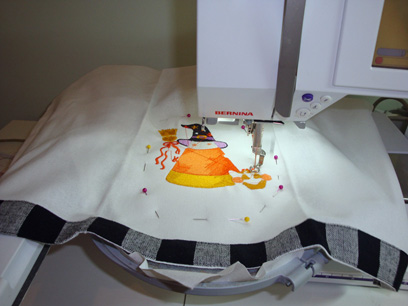
2.) I rarely hoop an item. It's extremely cumbersome to get a towel into the hoop. When you hoop linen you also run the risk of leaving hoop marks and that's no good. So I like to hoop my stabilizer and spray it with temporary adhesive spray. Then I just stick the towel down onto the sticky stabilizer and pin it around the edges. Then it's ready to go! Here's a photo of what my stitching projects look like on the machine:
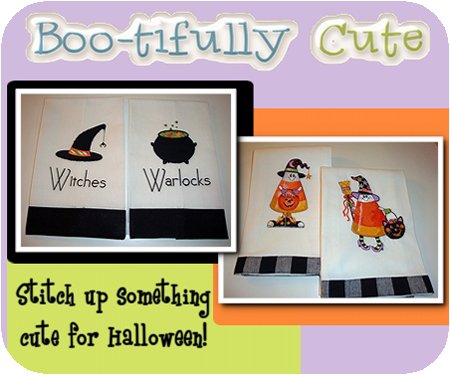
Here's my fun little projects - up close: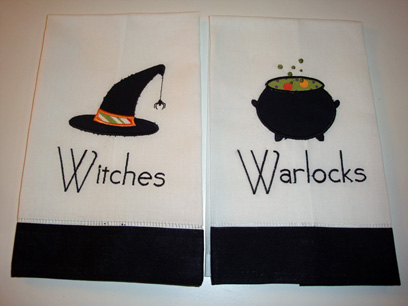 Won't these look really fun hanging in a guest bath on Halloween?!? (I absolutely love that lettering---it's called 1940's and can be found in the Personalize N Stitch program--my new favorite!)
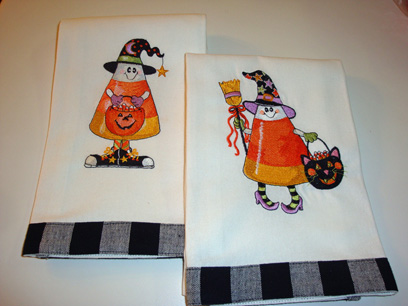 I just fell in love with these sweet little characters from Sweet Halloween I. The collection has so many more adorable designs that I need to get stitched out. They are so cute!
Happy Halloween to you all,
Susan