Greetings everyone!
Can you believe it? The end of the journey and all the gifts you're making are nearly complete, right?!? Now I am quite sure there are some of you who actually DO have your gifts finished, neatly wrapped, and waiting under the tree for the lucky recipient. And to those of you who have accomplished this---congratulations! I strive to be just like you! But for the rest of you (myself included!)...well...I know you are dashing to the end trying to squeeze in just one more project (or two or three)! I find that at the VERY last minute I might discover a person or two that got left off my list by mistake. Or maybe my dreams of a big extravagantly embroidered gift did not come to fruition and it's time to go to Plan B.
So for this week's special EASY gift project I present the ever-popular Embroidered Slippers! Consider these Plan B! They are available in both adult and children's sizes which makes for some wonderful mother/daughter gifts. And most importantly, they stitch up in no time at all.


For our project we chose appliqued letter embroidery designs, but you can save yourself some time and use regular monogramming fonts. These slippers look adorable either way.
There really is no supply list other than:
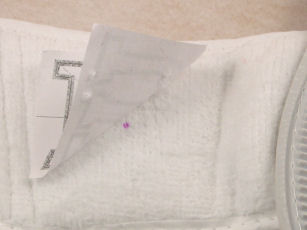
If you've been reading my blogs, you'll know I feel a paper template of your embroidery design is a necessary step in your embroidering. This is especially true when finishing slippers. A paper template helps you to determine what is visually appealing and it helps you position the slipper onto the stabilizer.
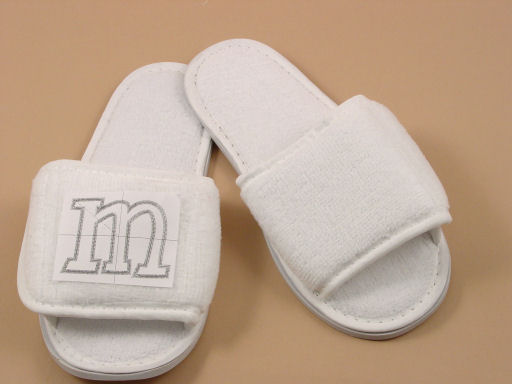
One question I get asked frequently is "which direction does the monogram go"? The standard is to have the monogram facing out. Meaning anyone admiring your slippers would want to be able to read your monogram as they stand in front of you. If you get no other helpful hint from this blog, I do hope this one tip will come in handy for you one day!
Once you have the template in place, spray your hooped stabilizer with a temporary adhesive spray and stick the opened flap of the slipper down onto the stabilizer. Use the cross-hair markings on the paper template to help you align it so it's nice and straight. Pin in place.
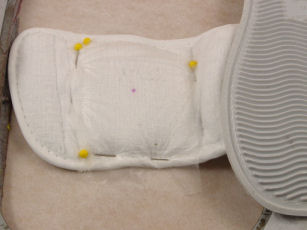
Mark the centerpoint of the design with a temporary marking pen. I prefer purple pens, but whatever easily evaporates with air or water will work just fine.
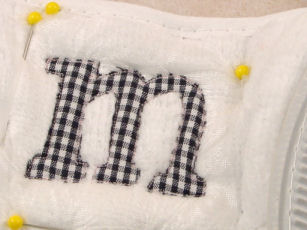
Stitch your design. For my sample I've shown you (in the photo below) what the appliqué looks like once the extra fabric is clipped away and the machine is about to sew out the satin stitches that finish the design. Each digitizer typically provides appliqué instructions unique to their designs. Follow their directions for the best results on your appliqués.
Unpin and remove the excess stabilizer and you're DONE!! Honestly, I sat down and stitched out 3 pairs of slippers in 40 minutes, start to finish. You can knock out several gifts in under an hour and feel good that you've given something really cute, practical, and personal!
Well---this is going to complete my Gift Giving Journey of 2008. There were weeks I really didn't think I would get anything done, but fortunately I had a blog deadline which kept me on track. I sincerely hope you picked up two or three helpful hints along the way, got more comfortable with some methods of embroidery, and most importantly, got a few gifts completed ahead of time so your holidays can be a time of true celebration and enjoyment. Don't forget to stop long enough to enjoy your family and friends!
Happy Holidays to all my fellow embroiderers!
Susan