December 14, 2013
sewblest
Not rated yet
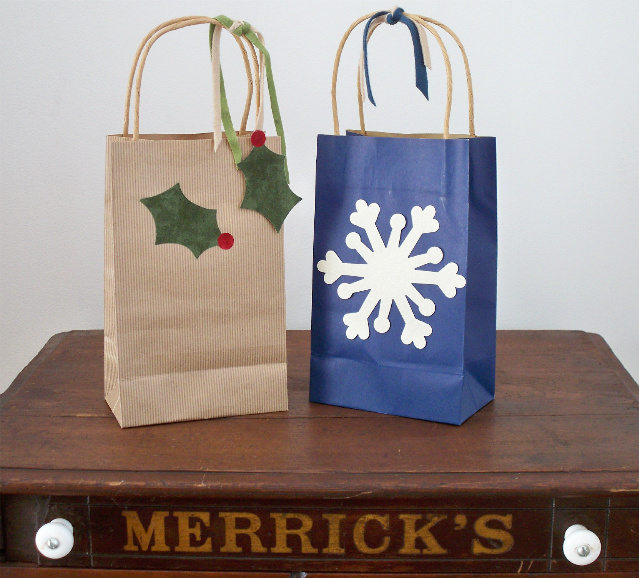
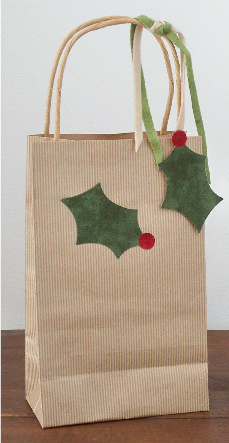
Create quick and easy gift bags with fabric scraps and a wonderful fusible by Allstitch. This is a fun activity for kids, doesn't involve any sewing, and can be adapted for any occasion. I've made matching gift tags and you could use the same techniques to create cards.
Fuse-n-Bond is a double-sided adhesive designed for applique. It's permanent when fused with a medium-hot iron and works as well on paper as it does on fabric. What makes this product stronger then competing peel and sticks, is that it has adhesive on both sides.
Start with paper bags. Even plain lunch bags work well because you are going to decorate them.
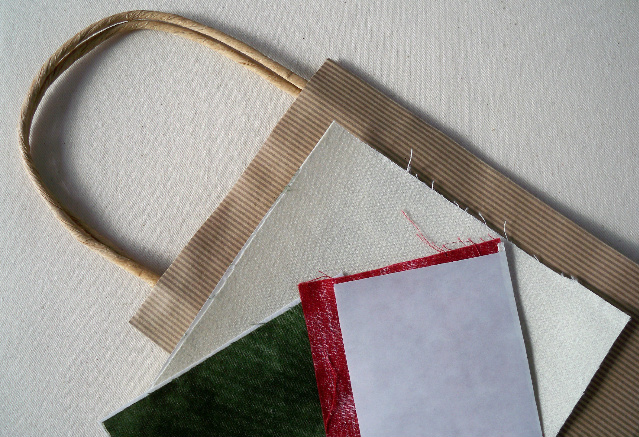
Cut scraps slightly larger than the shapes they will become. then fuse the wrong side of the fabric to the back side of the Fuse-n-Bond (not the waxed-paper side) according to the instructions. Using a pressing sheet will keep adhesive from sticking to the iron or anywhere else you don't want it to stick.
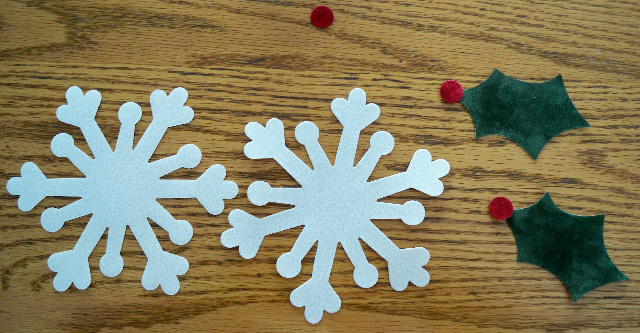
I chose a holly leaf with berry and a snowflake for my bags. Shapes can be drawn and cut out by hand or cut with Sizzix, Cricut, or AccuQuilt machines. If drawing your shapes, draw on the waxed-paper side of your fused fabric and cut around the shape.
A note:
My shapes were symmetrical so it didn't matter how I traced them. If the shape would be backwards once fused right side up, trace a reverse outline.
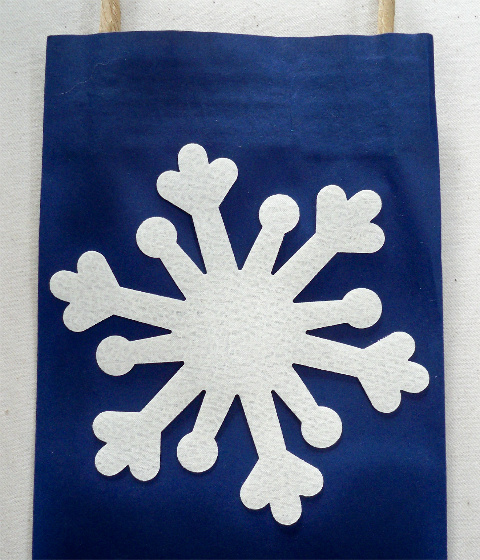
Peel the paper backing away and fuse the shape to the bag.
To make gift tags, fuse fabric to the Fuse-n-Bond and then to heavy-weight, cut-away stabilizer or card stock. Write on the cut-away/card stock side with permanent marker.

The gift tag matches the bag!
Debbie SewBlest