I know it is really nice to see how to do some of the coolest projects, but I often have trouble finding out how to fix a problem. There are so many issues when it comes to trouble shooting an embroidery mishap.
I figure if I have this problem, whether frequently or occasionally, others must as well. So, I am tackling my way to handle these two problems.
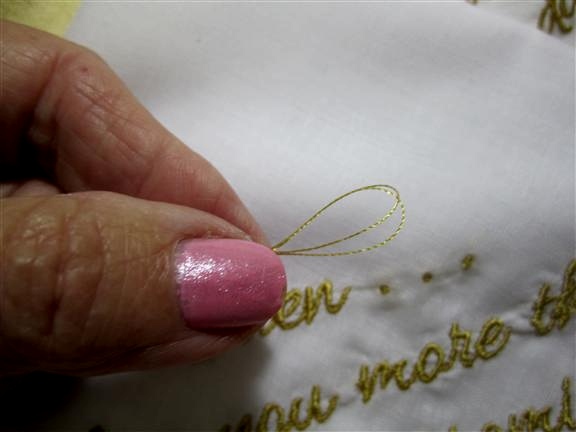
Sometimes a portion of the design does not work well. This is showing 'periods' and they slipped through to the back instead of staying on top. I should have used a top stabilizer for this, but for now, I have to fix this.
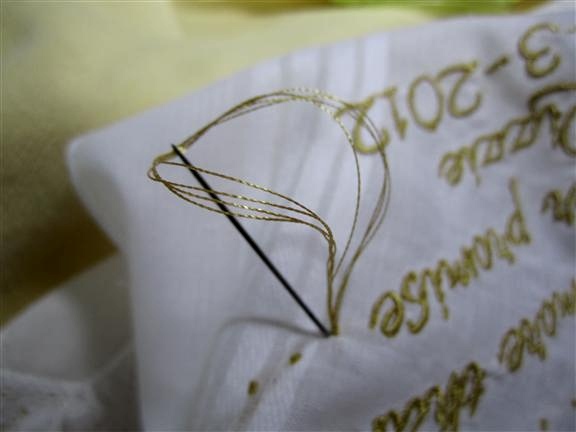
This is what our mothers and grandmothers did when they darned the socks, it was done with multiple threads. I am showing two strands here, but I don't stop at that.
I will be clipping this loop making my needle eye filled with 4 separate threads. It is easier to trim than to try to thread a needle with looped thread.
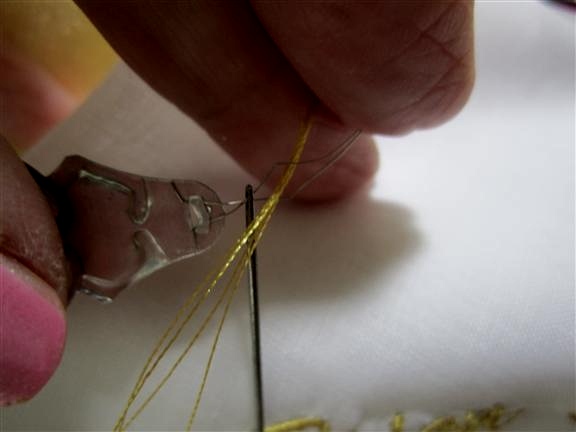
I did have to use a threader because the 40 weight times 4 was getting to be a little thick. Additionally, I want to be sure that I don't make too large a hole in my project. (The hole will relax and close after the repair but if the hole is too large, it could be a problem.)
Now, I am up to 8 threads! I had tried fewer but the results were never good.
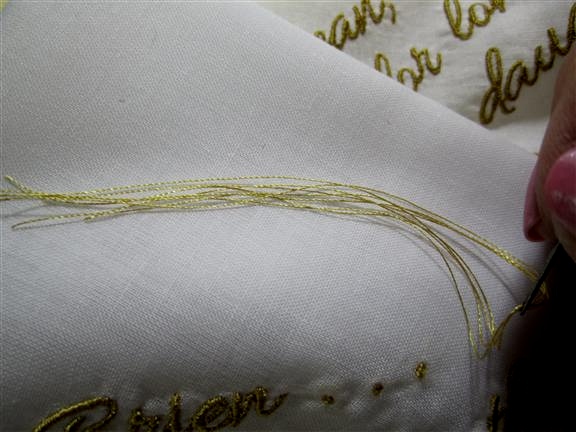
The original, failed hole is still there. I have to move it over to the left or right at least a single strand of the weave. I am only going to make a single pass on this particular repair.
Make the stitch off to the side rather than straight up and down or left to right. It will make the result more natural looking.
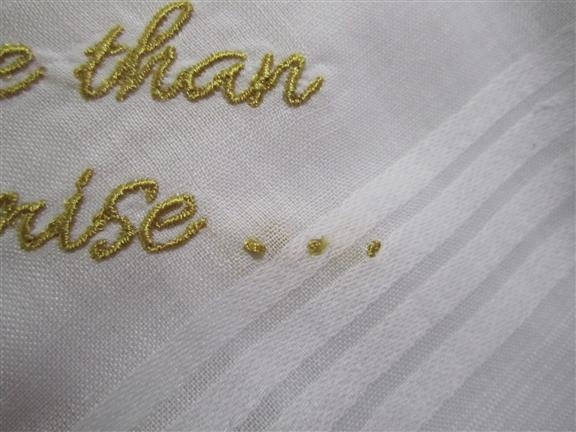
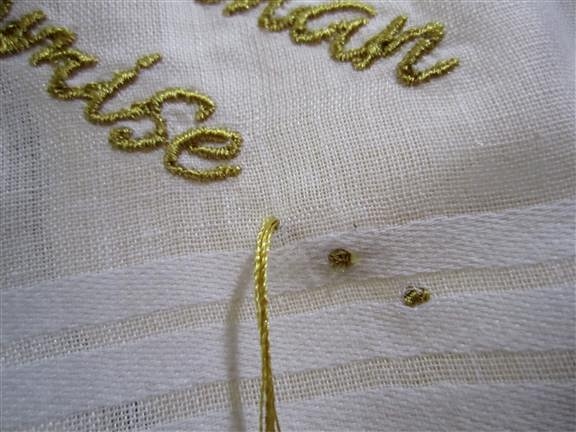
My end result is a 'period' that looks original. If I have a tricky fabric like a chiffon or silk, I would not make the periods in the digitizing, I would add them later. Holes in some fabrics can be disastrous.
With the project above, I would be doing the same but laying the needle in the same direction as the original stitching but multiple times to cover the area. Hopefully, the bare spot is not large.
Tip #2 - I personally have a very hard time with sticky paper. I am reminded of a cartoon where someone uses adhesive in any manner and ends up all tied up and almost in a mummy like condition. I can do that with my eyes closed - - - perhaps that is the problem.
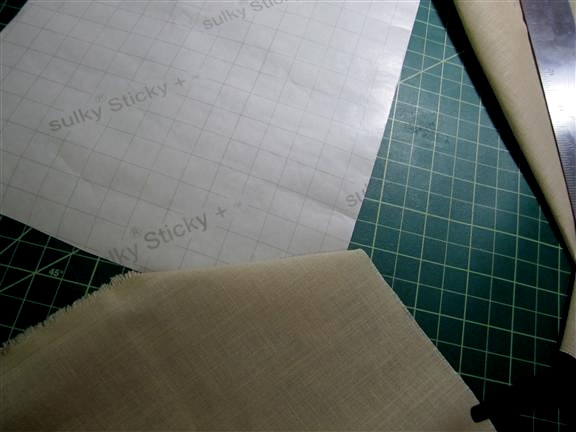
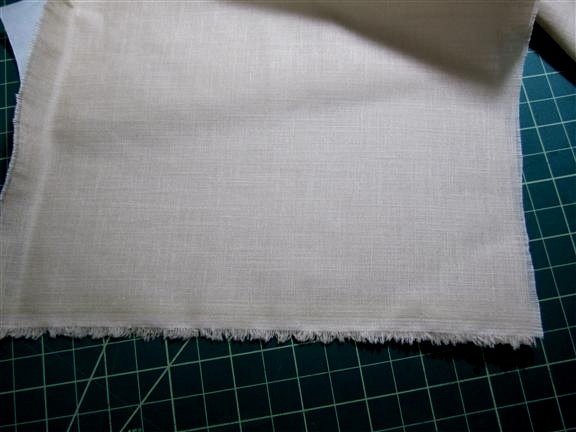
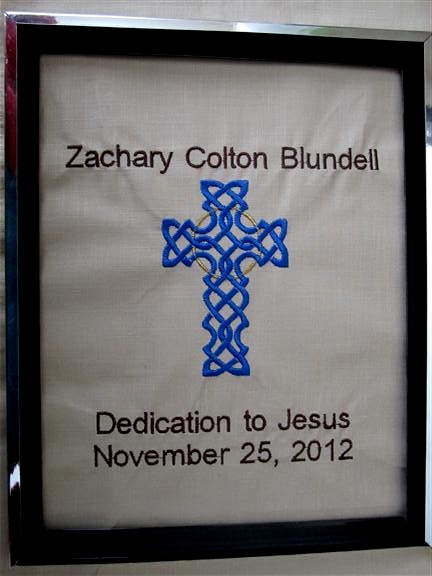
I was beginning a baptismal embroidery for a client on a fabric which was very light weight. It would be fine for embroidery, not likely to ravel or anything, but the fabric had no body. So, I was about to use a piece of adhesive backed cutaway stabilizer. And, yes, I do use AnnTheGran's Stabilizers. They are high quality, and if you are a member, you CANNOT beat the price. Here is my blog on the comparisons if you want to review it. As I have said repeatedly, I would never recommend something I did not appreciate and use. My word and opinions matter a great deal to me.
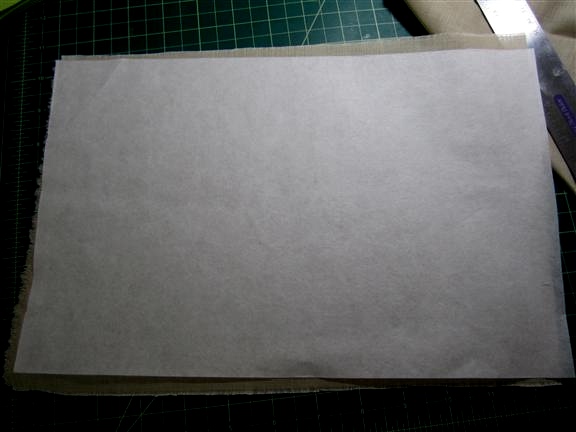
I am going to cover the entire fabric piece. This is not terribly big, but there are times when you will be working with a larger palette and in need of a functioning way to handle sticky items.
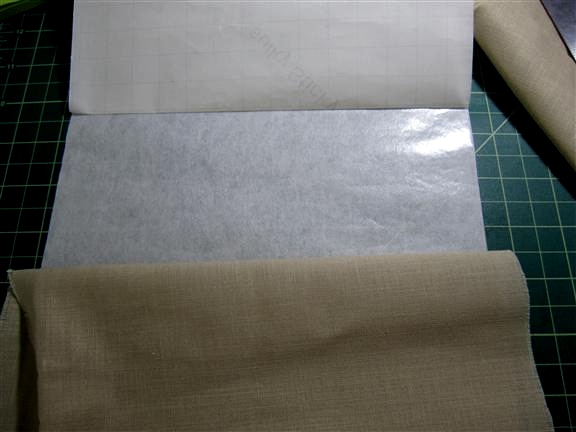
I have used a straight pin to score the bottom corner. The pin must be sharp and a small area is all that is needed to set the layout.
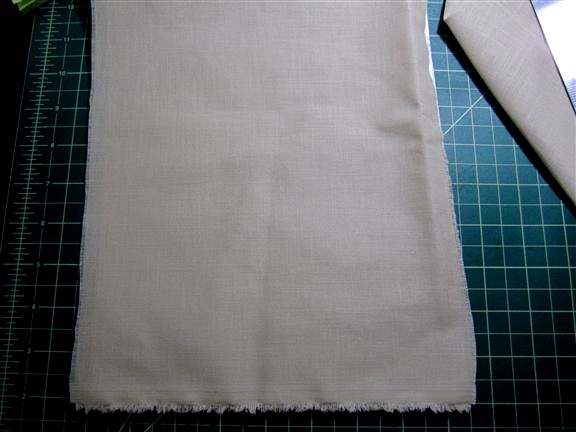
I took the corner of the fabric and laid it squarely on the adhesive but only needed to catch the bottom, scored corner. If I had taken all the paper off the adhesive (which is a LOT of trouble) I could not have repositioned the two pieces multiple times. When I had it as I wanted it, I can remove more - but not all - of the covering of the adhesive.
I can smooth out the fabric with confidence and can reposition as needed. Being able to have total control of the adhesive is new to me. I am thrilled because the fabric looks excellent.
I finish by tossing the paper and now I have a single piece of fabric to work with. That is a significant improvement over trying to get two individual pieces to do my bidding.
There are no bubbles or gaps of any kind!!!
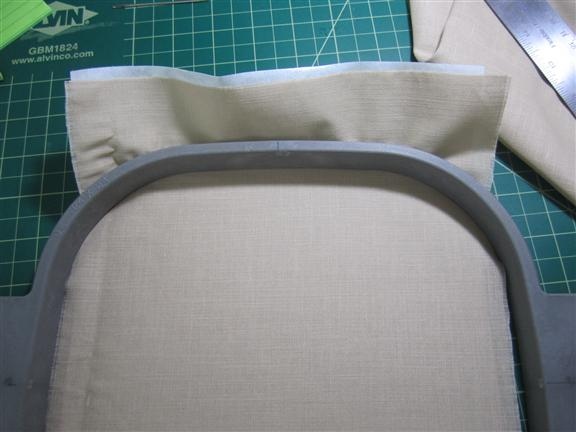
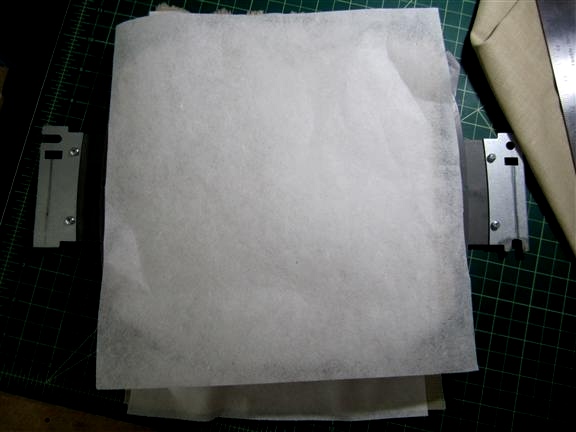
Lastly, I am going to 'float' a piece of tear away under everything but not even attached to the hoop. Floating is one way to make sure that your project has enough stabilizer. I am convinced that it is very hard to over stabilize a project but it is a disaster when you under stabilize your project.
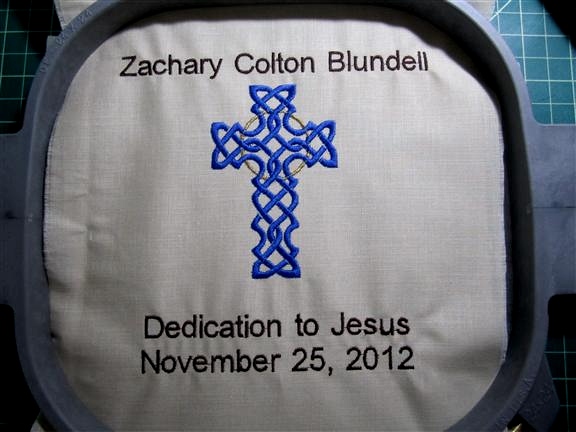
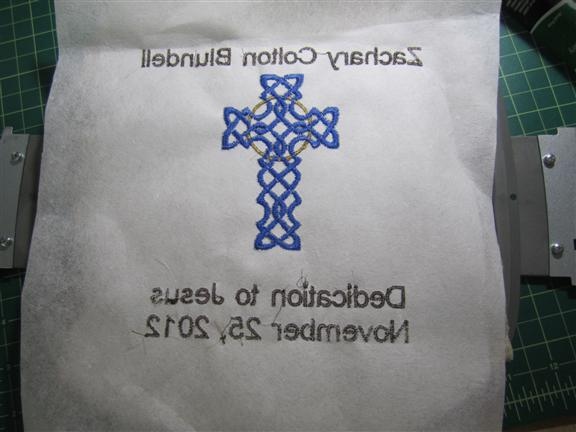
My fabric was a little narrower than my hoop. I needed that hoop because of the length, so you may see that the sides are a little 'soft.' I tear away the bottom stabilizer [see my blog on tear away stabilizers "What the stabilizer sellers aren't telling you"] and my project is ready to send to my client.
I love doing this work. I love sharing what I do with you. I always do some research on my blogs but mostly, the blogs are my experiences. I feel like I am sitting with you, having a cup of tea and discussing your projects as well as mine. That is what this blog is for me, I hope you feel the same.