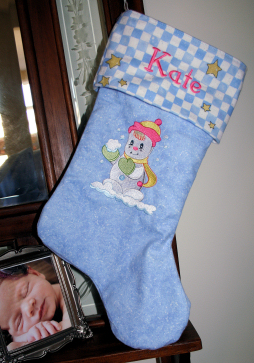
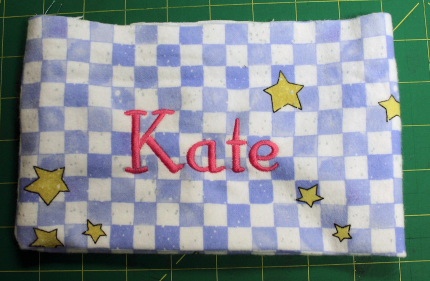
I'm not sure why but I really enjoy making Christmas stockings. I have made traditional ones, funky ones, country ones and elegant ones depending on who they are for. We always make a stocking for each new addition to our family. Some years, with weddings and births, we have to make several. This year there is only one new addition, our newest granddaughter. I was in the mood this week so I created this stocking for baby Kate:
What you need:
5/8 yard blue flannel for the outside and lining of the stocking.
1/3 yard coordinating flannel for the cuff
Stocking pattern - to download mine click here.
Embroidery designs as desired. Click here to see the Baby Snowman collection. The Name was made in Alphabet Xpress using the Adrian font.
Cut away or tear away stabilizer
Embroidery and sewing threads
6" of rick rack or ribbon
What you do:
Cut it out
1. Print the two pattern images (I did the best I could with the scanner I have.) and tape them together. The top should be 9" across. (I made two so I could make sure that I could get all four (two for outer and two for lining out of my one piece of fabric.)

2. Lay your folded fabric on a flat surface. Place your taped patterns and pin, Cut them out. You should have two for the front and two for the lining.
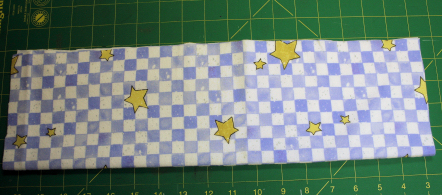
3. Cut a strip 10" X 18" from the coordinating flannel for the cuff.
Make the cuff
1. Fold the strip in half lengthwise. Fold again widthwise.
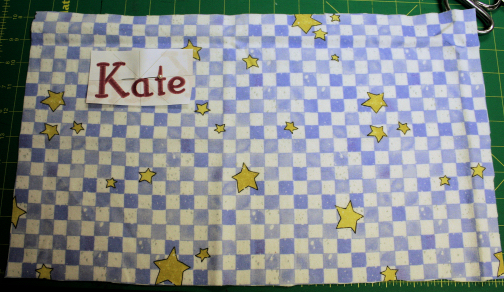
2. Measure in 1/2" from raw edged top and side. Disregard this area and center your template in the remaining section. Pin in place only through one layer of the folded fabric. Open the fabric to its original 10"X18" size.
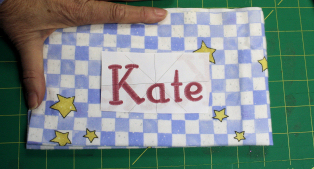
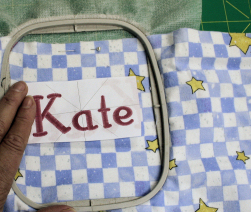
2. Hoop the fabric with stabilizer centering the template in the hoop. Put a pin in the top edge to secure. (both Catalog Xpress and Alphabet Xpress create printable templates.) Place the hoop on your machine and make sure needle is centered over template. Remove template and embroider your design.
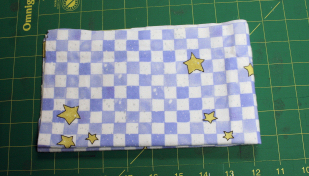
3. Remove from the hoop and cut or tear away the excess stabilizer. Fold in half widthwise with the right sides together. Using a 1/2" seam sew down the short side creating a tube.
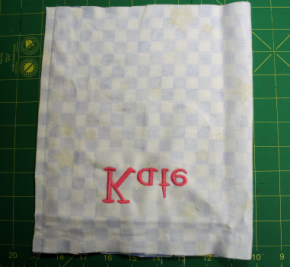
4. Fold the bottom half up into the top half of the tube with wrong sides together. It should now look like this.
 Set it aside.
Embroider the stocking front
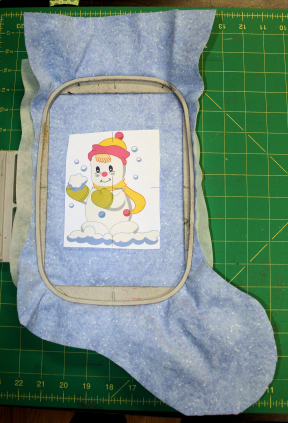
1. Place template on stocking as desired but making sure the design will not be covered by the cuff when finished.
2. Hoop with stabilizer centering the template. Place on your machine and make sure needle is centered over embroidery template. Remove the template and embroider your design.
3. Remove from the hoop and cut or tear away the excess stabilizer..
Sew the outer stocking and lining
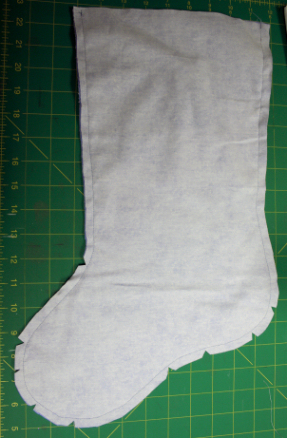
1. Outer stocking. With right sides together use a 1/4" seam and sew all the way around the sides and bottom leaving the top open. Clip curves. Turn right side out.
2. Repeat of the lining except leave a 3"-4" opening in the stocking foot. Leave this inside out for now.
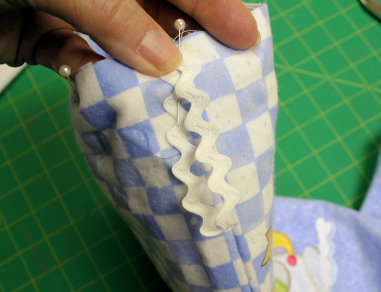
3. Slide the cuff over the outer stocking and align the back seam with the back of the stocking and the top raw edges. Make sure the front of the embroidered cuff front is above the embroidered stocking front. Loop the rick rack and pin to back seam. Baste 1/4" around the top.

4. Slide the lining (still inside out) over the front (right side out). Make sure you cuff and rick rack loop are inside and flat. Sew 1/2" around the top of all layers of the stocking. (You'll most likely have to remove the slide on tray to fit this on your machine.)
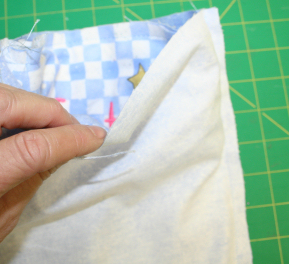
Pull the front out of the lining through the opening in the lining. It should look like this:

5. Press everything turning in the edges of the opening in the lining. Sew the opening closed. Push the lining down inside the stocking to finish.
Large or small Christmas stockings are easy and fun to make for the holidays.
Take care,
DB
Here are some others I made a couple of years ago for our own home.
 To see these applique designs click here. To see how to make big letters go to this blog.