Stabilizers are the workhorse of the embroidery industry. Since they are used literally every time we stitch, it helps to share tricks of the trade.
Keeping Waste to a Minimum
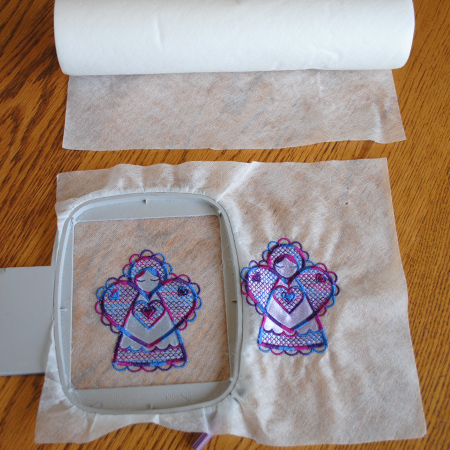
I have found that keeping the stabilizer width intact, rather than trimming it to the hoop size, eliminates unnecessary waste. Depending on the design, you can secure one hooping as far left as you can. Stitch the design, then unhoop and hoop again as far to the right as possible. This works well with water-soluble stabilizer (WSS) that is trimmed close to the design before washing ut away. It should work fine with tear-away stabilizer but may not work as well with cut-away.
Patching Tears
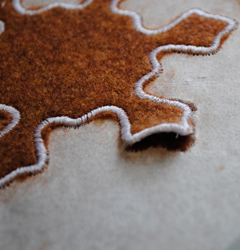
At some point in time, we all will have a tear in our stabilizer. This example happened when I made felt Christmas cookies on adhesive tear-away. It's an easy fix. Peel a piece of adhesive tear-away slightly larger than the tear area. Gently touch it to the back of the hooped item over the tear. Place right-side up on a flat surface and finger press smooth. Nine times out of ten, you can resume stitching with no ill effects.
The same fix applies to regular tear-away or cut-away stabilizers. Use adhesive tear-away just like tape to fix the tear on the back side of the hoop. Keep scraps of adhesive tear-away for just this purpose.
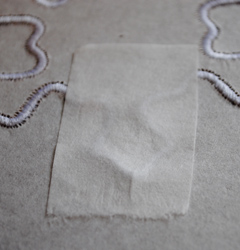
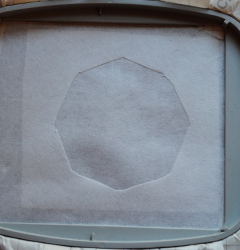
Water-soluble stabilizers can also be patched. This example shows a heart-shaped hole in the stabilizer. I used two pieces of WSS, one on front and one on back, adhering them by finger painting water around the patch edges and gently finger-pressing them to the hooped WSS. The trick is to get the pieces just wet enough to stick, but not so wet that they dissolve. Finish stitching, soak, and you will never know there was a problem.
Keep scraps of WSS in a plastic zip bag or an air-tight container so they don't draw damp and turn into a big sticky blob. You never know when they will come in handy.
Stitching in a Window
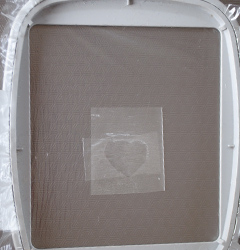
Not long ago, I wrote about using a stabilizer window to eliminate hooping every design. It is easy to do with adhesive tear-away both in the hoop and as a patch. You could also hoop something more substantial like a medium-weight tear-away or cut-away stabilizer and use adhesive tear-away for the patch. I have read of people using vinyl for the window, but have never tried it.
Removing Adhesive Stabilizer Residue
After using adhesive stabilizers, you may get bits of adhesive on the sewing surface. Non-acetone nail polish remover on a cotton ball easily removes adhesive smudges. Make sure it is non-acetone which is for safe use on acrylic fingernails. Otherwise, you may damage the surface of your sewing machine.
Avoiding Sticky Hoop Syndrome
Probably the biggest complaint from using a spray-adhesive is that it makes a stick mess of your hoop (and anything else close by). Recommendations include spraying in a box to reduce overspray or making a cardboard cutout that covers the hoop but leaves the area inside the hoop accessible to spray. I don't have problems with sticky hoops because I don't spray the stabilizer. I spray the back of the fabric (in a box or on a large piece of paper), then finger press it onto the stabilizer.
Have any great stabilizer tips?
Debbie SewBlest