March 1, 2013
sewblest
Not rated yet
When embroidering several of the same sized designs using adhesive tear-away stabilizer, you can save time and supplies by creating a stabilizer window.
Hoop the adhesive tear-away like you normally would. Score the paper backing inside the hoop and peel it away. Embroider the design and remove the hoop from the machine.
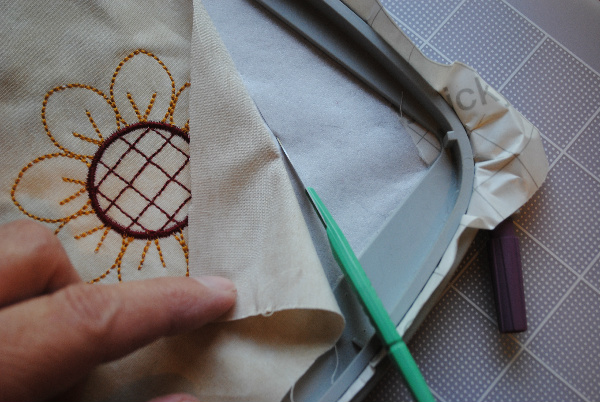
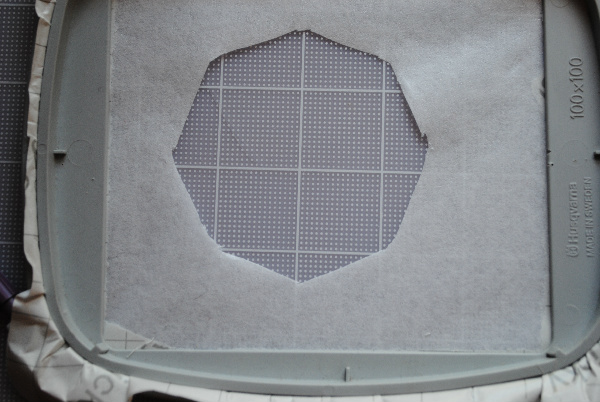
Place the hoop right side up on a cutting mat. Peel the embroidery back, and use a small-bladed cutting utensil to carefully cut the stabilizer from around the design area. Carefully remove the embroidery from the hooped stabilizer leaving a window.
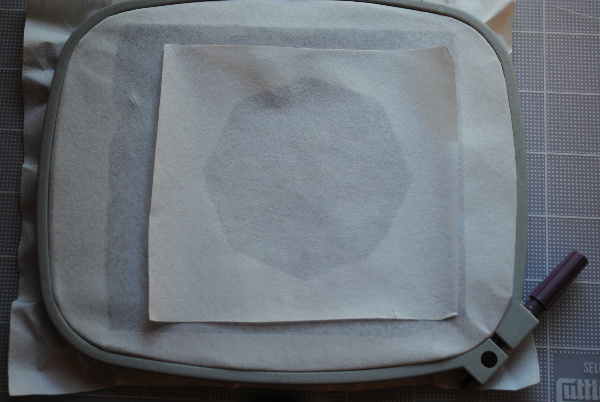
Turn the hooped stabilizer over. Cut another piece of adhesive tear-away slightly larger than the window. Peel the backing away and lay it sticky side down on top of the hooped cutout. Just touch it enough to adhere the stabilizer patch to the hooped stabilizer. If you press too hard, it will bow the stabilizer and stitches will not register correctly.
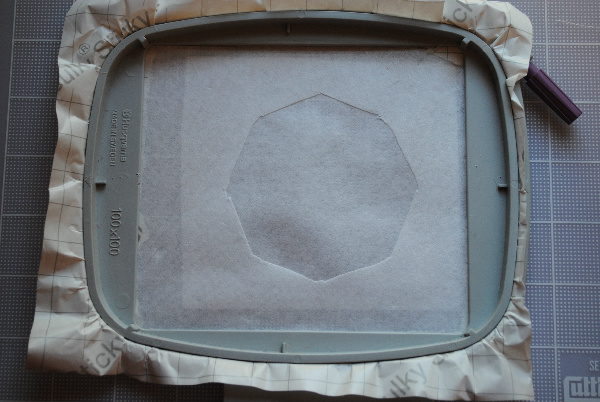
Flip the hoop right side up on a flat surface and finger-press the stabilizers together, making sure the cut edges of the window are securely adhered.
And you are ready for the next design! When it is done stitching, carefully peel the patch from the back of the hoop and remove the embroidery.
Re-patch the window and go again.
Tips:
- Begin with a good stabilizer.
- When the hooped stabilizer begins to sag, hoop a new piece.
- Save even more by joining Ann's Club (stabilizers are half-price).
- Works best with designs having low to medium stitch counts and are approximately the same size.
Debbie SewBlest