Rehoop a project that moved (Oops, it slipped)

Sooner or later (probably sooner) everyone has it happen - the ooops, the hoop was not exactly tight enough and your partially completed - and very expensive/special/treasured - project slips out of the hoop.  I can honestly say that this has happened to me and the more expensive/technical/delicate my project is the more likely it is to have a hoop problem.  I think it happens because I am so focused on the expense/technique/delicate issues and the hoop is just not getting the attention I normally would.

It does not matter what type of a machine you have, it can happen to any of us.  So, here is my tip to fix it and save your project!


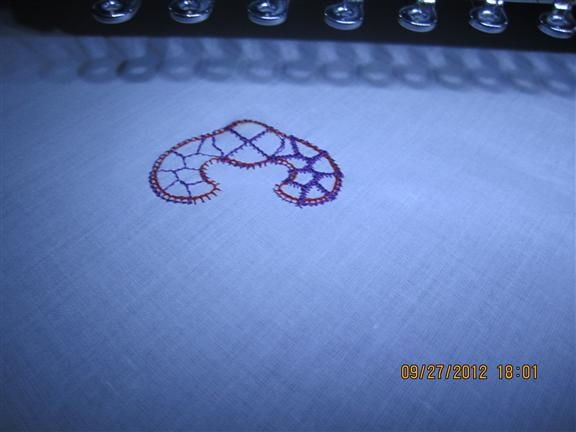
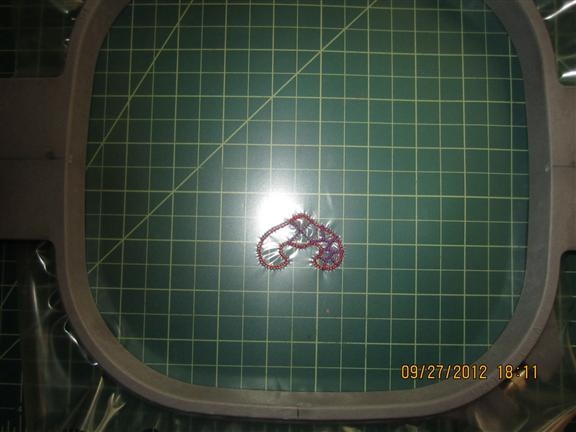
Here is my design sewing on the machine.


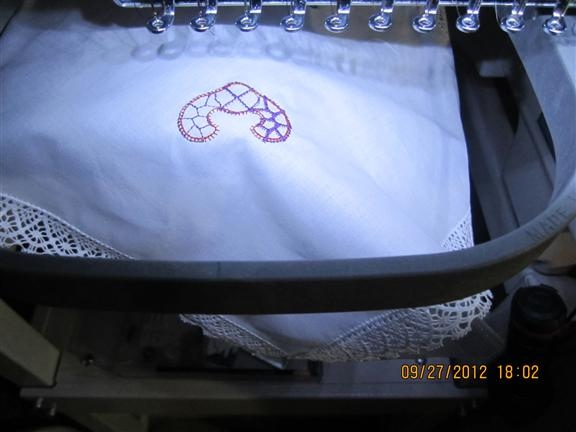
Here is the loose hoop.


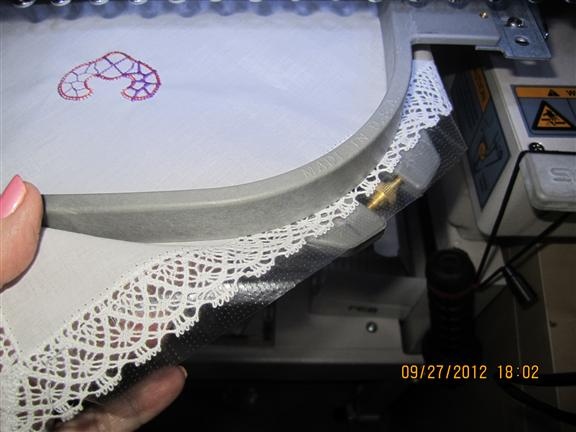
And after just a little movement of the machine, it is gone from its position.

You know, if you have been reading my blogs, that I am a big fan of Badgemaster.  This hoop loss needs something that will hold stitches, can be seen through and will go away when you are done.  That is not a small request because there are few stabilizers that can do everything that is needed.  Here is my first blog on Badgemaster.  That blog includes my comments after the 3 years it took to use Badgemaster up. 

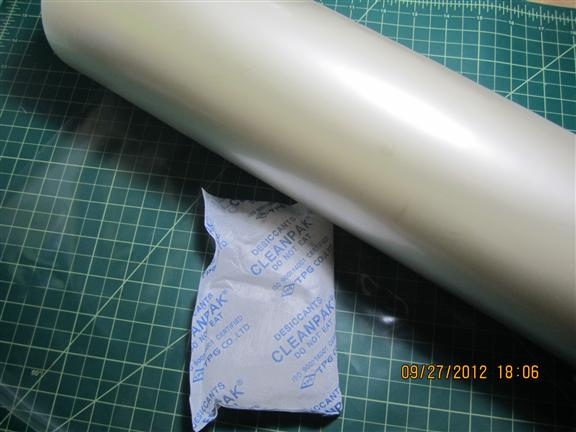
Here is my second roll.  You will notice that I have a desiccant (used to absorb water or humidity) that I got in another item.  I put it with my roll to help keep it dry.  It will be used up in 3 years but I don't want it to get damp or wet in the meantime. 


Next, I will hoop just the Badgemaster.  It is strong and will take multiple stitches in the same place and NEVER fail.


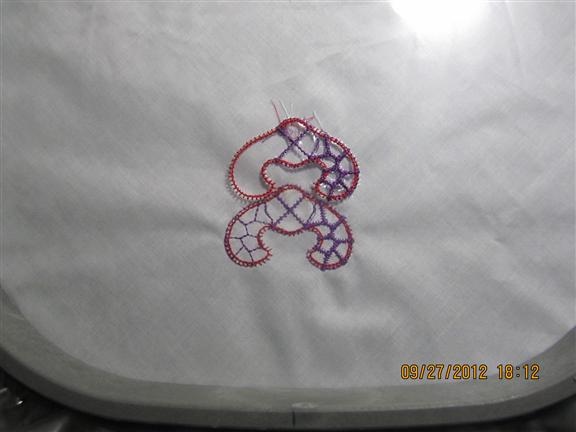
Now I will start the design over again on the Badgemaster.  I did not go as far as the original sew out but  I should have done just that.


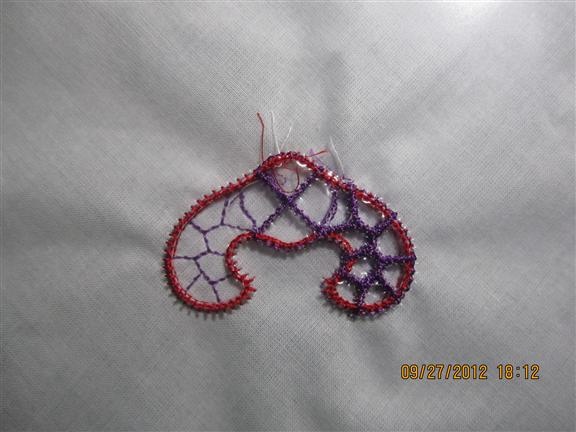
The easiest step of all is to match up the problem project with my Badgemaster sewing.


Once they are matched perfectly, I will pin or baste by hand the project to my stabilizer. 


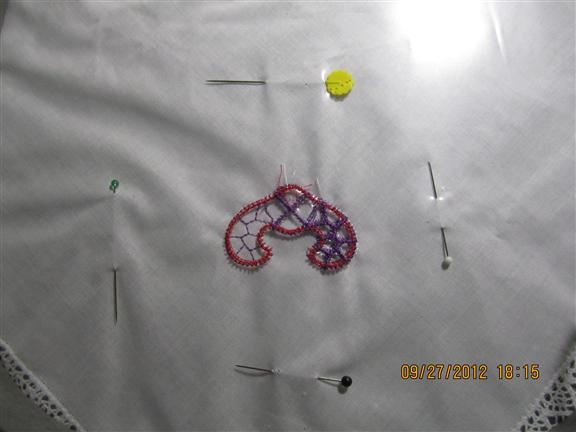
Back to the machine for a perfect finish and my project is saved. 


There was a little bit of red tails left on one of the pieces, I should have trimmed them because they got caught in my final design.

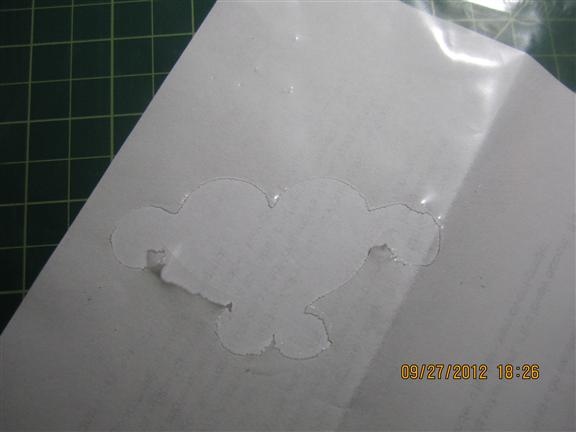
Here is some more good news.  I use my fingernail or anything that is rounded on the edge and lift off the Badgemaster.  You will notice that the tear away is quite firm but not impossible.  That is a sure test of the strength of the stabilizer. 


It tears very cleanly.  I know that some of my 'tear away' stabilizers have left fuzzy edges and/or lint behind or been too easy to tear away thus destabilizing the stabilizer at work.  Not a good situation! 


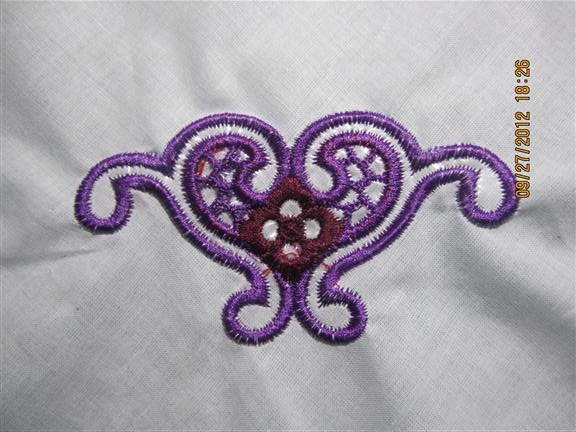
Here is my finished project.  You cannot tell I had any sort of problem with it!  Hope you are using Badgemaster, you will always appreciate its high quality.


You can use this trick for placement in the same manner.  Just start with the Badgemaster design and leaving it in the hoop, baste or pin your project to your Badgemaster.  Quick, easy and fool proof.


The vintage gingham tea towels can be found here, so this is a great time to get started on your holiday gifts.  Everyone needs towels!  (Did you know that no one ever throws away a towel?)  People keep and use towels until they are thread bare, so now is a great time to give a new one to someone special!

Comments (9) -

That is a very good tip.  I would never have thought of it in a million years.  I just had the hoop slip this week and had to start all over again.


Marge


Thank you so much for always blogging such good advice.  So much is just common sense but, like you, sometimes we are just so concentrated on the project "we forget to think". I am one of your biggest fans.  I appreciate all blogs. I constantly try to upgrade my skills.


Thanks Marge and LDiane!  I just enjoy sharing my ideas and appreciate every response.  


I get my ideas from the issues I encounter.  Since I am an average embroiderer, I figure someone else has had the problem too.  I have been fortunate to have what my mother used to call 'stupid genius' all around me.  That is a person who gets an idea from the strangest places and makes it work!  She was a genius and after 8 years, I still miss her.


Share a tip with us.  You can use the "Today's top Tip" or add it right here.  Sharing a tip can help someone else AND it could generate an idea from another person - it is an unending chain of ideas and support from people just like you!


Pat


Thank you for the wonderful tip! Denise


Unbelievable that I had just ordered my first roll of Badgemaster b/c I was so impressed by this blog, Pat. (of course, we have all had our work slip). I worked for needless time when I could have used the Badgemaster  to get back to the middle of a name that I had played with the spacing and height. It was on an applique that had minky & going through two fabrics a bit. My thread made a bird nest & caught in the pressure foot. I had to remove the foot to cut the tangled mess. I hit the scissor button but it did not finish its cut. Therefore, when I started again the arm under the bobbin plate did not retract. I removed the bobbin and plate thinking a thread was caught out of sight. It took a phone call to my store to get advice.  I was too stressed to think.. Next time I won't forget to use Badgemaster!!


Just another good feature about BlogMaster is that it is NOT made of 'fibers.'

Most other stabilizers are either paper or fiber 'lint' (sort of). Stabilizers are often  some material that is 'pressed' into being a sheet. I hope that is clear, if not go to look at your tear away stabilizer when it is well backlit. It is pressed.

BadgeMaster is a smooth vinyl that is very even without any thick or thin areas. Therefore, it is MUCH LESS LIKELY to get caught in the needle plate. That is one reason for the 'birds nesting.'

Another reason for 'birds nesting' is that the timing on either (or both) of the needle down take or the bobbin up take. Your machine is precisely timed and one slip can and will result in a ruined project, especially if the birds next happens and you are NOT at your machine.

Pat, The Avid Embroiderer

This tip never goes out of style! I hope everyone learns from all my blogs.

May you be blessed in ways you have not yet imagined.  

Pat

Used this tip again last week. I really need to be more careful with fabrics being removed from the hoop.

It did not accidentally slip out, I removed it without thinking. When I discovered my error, I was so happy I knew what to do and had the right stabilizer to accomplished it!!

Pat, The Avid Embroiderer

This is one of my most favorite tips for machine embroidery.

Pat, The Avid Embroiderer

Please login to comment