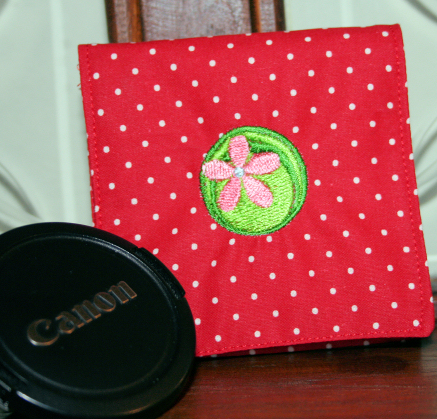
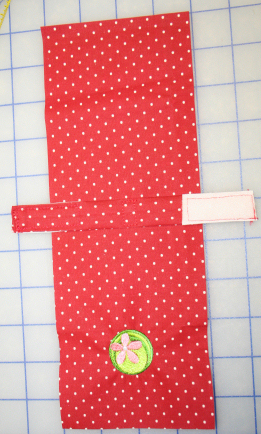
My daughters and I love to take pictures. With digital cameras we take lots and lots. However with three little ones almost always in tow one big problem I now encounter is keeping track of the lens cover. And Andrea is always looking for hers, digging in the diaper bag or checking all the tabletops throughout the house. So, one day we decided we needed to solve the problem. First we thought about putting a little pocket on the strap covers we already have on the camera straps. But that would require ripping out a seam and I really hate that part of sewing. So, I decided to make the lens cover a separate pouch that could be attached to the strap. I tried to coordinate the first one with my strap cover the best I could with the scraps I had. Here is what I came up with:
Here is all you need:
Two fabric rectangles 4" x 11"
One fabric rectangle 2 1/2" x 7"
One rectangle iron-on interfacing 7" x 11"
Two Velcro strips (both sides) cut in 2" lengths
sewing thread
Cutaway or tear away stabilizer
Small design (download the tiny flower below)
Embroidery thread
Here is what you do:
1. Iron the interfacing to the wrong side of one 4" X 11" rectangle. set aside
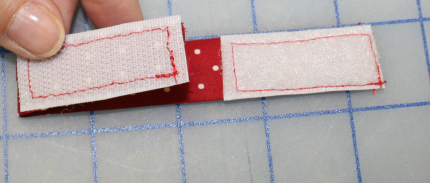
2. Make the loop to attach the pouch to your camera strap. Set aside.
a. With right sides together sew a 1/4" seam down the long side of the 2 1/2' x 7" rectangle.
b. Press the seam open and then turn the tube right side out. (Fasturn tube system is a great little tool set for your sewing room.) Press so the seam is in the middle.
c. Push the ends in and sew them closed. Position one piece of Velcro at one end and sew in place. Turn the strip over and position the other piece of the Velcor strip at the other end. Sew in place.
3. Embroider the design.
a. Print a template if you have software. (Catalog Express and Alphabet Express both have this feature.) Lay the rectangle that does not have the interface on it face up. Measure up 2 1/2" from the bottom short edge and center your template horizontally at this point.
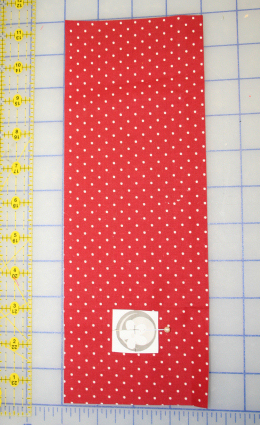
b. Hoop the stabilizer. Center template in hoop and adhere edges using the Lapel Stick. (I really like these little adhesive sticks. I adhere the fabric in the hoop outside of the area where the design will embroider out. This way my needle is not gummed up while sewing. No fabric is wasted by having to cut the piece larger to hoop it. And the adhesive holds well but is temporary. Great little tool.)
c. Place the hoop on the machine. Check that the template is centered under the needle. Remove the template and embroider the design.
d. Remove the hoop. Tear or cut away the excess stabilizer.
4. Attach the loop.
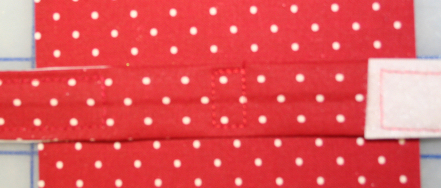
a. Lay the embroidered rectangle face up with the design at the bottom. Measure down 5" from the top. Center the loop horizontally and pin.
b. Attach the loop by sewing a little rectangle in the middle.
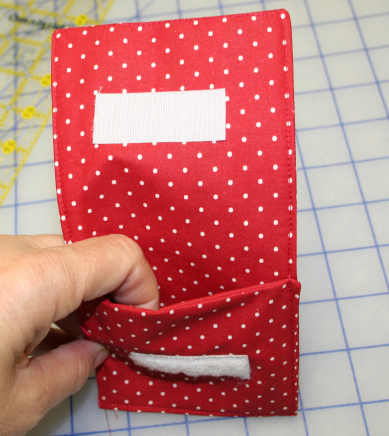
5. Attach the Velcro closure.
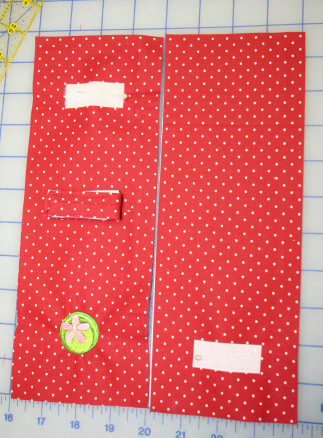
a. Lay both rectangles face up. Make sure the embroidery is at the bottom. Measure 1 1/2" from top edge of embroidered rectangle. Center a Velcro strip horizontally. Sew around the edges of the Velcro.
b. Measure up 1 1/2" from the bottom of the other rectangle. Center a Velcro strip horizontally. Sew around the edges of the Velcro.
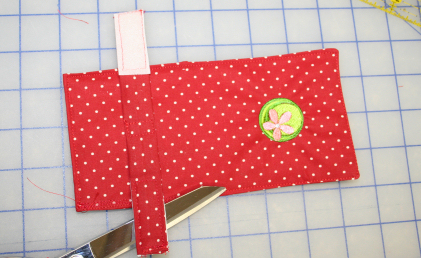
6. Close the loop so that it will be out of the way. Flip one rectangle on top of the other making sure that the Velcro strips are at opposite ends and right sides are together. Pin around raw edges. Sew, leaving a 3" opening in one side about an inch from the bottom and using 1/4" seam.
7. Turn right side out. Press making sure raw edges of the opening are turned in.
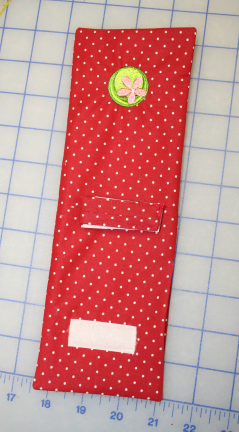
8. Place on a table, flip so embroidered side is down and at the top. Fold bottom edge up 3 1/4" and pin sides.
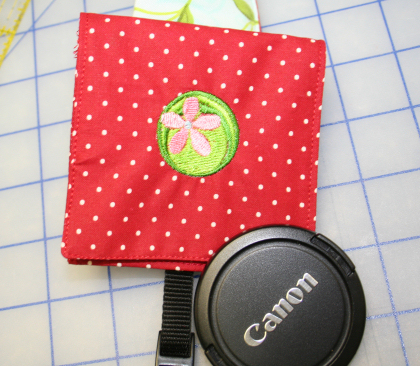
9. Top stitch about 1/8" all the way around the outer edge of the folded rectangle making a pocket. You should be able to see both Velcro pieces on one side. The other side should have the design and loop.
10. Insert the lens cap in the pocket and fold the top down. Attach to your camera strap and your lens cap has a place to go when not protecting the lens.
You can download the tiny flower here.
Initials would be great on these if you make them as gifts. Ann's Alphabets would look great embroider on the front.
These little pockets would make a great gift for any photography hobbyist. New mothers might like one too. It makes a wonderful pacifier holder that can be attached to the strap of the diaper bag or purse and eliminate searching as well as keep those binks a little cleaner.
The camera strap tutorial is here.
For another useful and easy project read this blog
Or go to the gallery and browse pictures (many have links to the tutorials) for some fun ideas.
Take care,
DB