This sewing room organization may take all year at the rate I am going. It's a great idea to give everything a "home" but I had no idea that I has so much stuff. Anyway I said I would do a tutorial on different ways to make those little fabric cubes. I have to warn you that this is addictive and may hinder the actual intent of getting things organized. I have had so much fun making all these.
So last week I showed you two boxes and give some basic instructions for making the larger of the two.
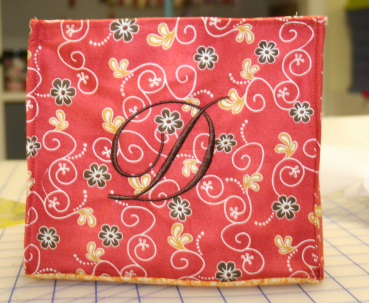
Here is how I made the medium sized cube:
What you need:
4 rectangles fabric for the outside that measure 8" wide X 7" tall
4 rectangles fabric for the lining that measure 8" wide X 7" tall
8 rectangles décor weight fusible interfacing 8" wide X 7' tall
2 squares fabric for the bottom measuring 8" X 8"
2 squares décor weight fusible interfacing 8" X 8"
sewing thread
embroidery if desired - I just used a D I made in my lettering software.
What you do:
1. Iron the interfacing to the wrong side of all the rectangles and squares according to the manufacturer's directions.
2. Place two rectangles right sides together and sew down one long side (8") using 1/4"seam. Repeat to make a long strip.
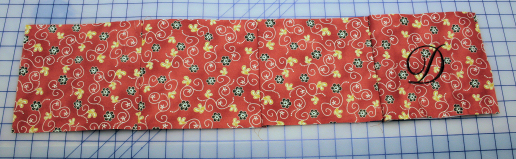
3. Sew the last side making a box shaped tube. Leave it inside out.
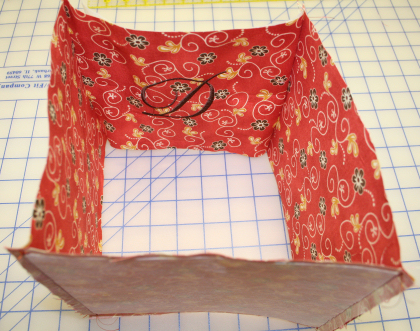
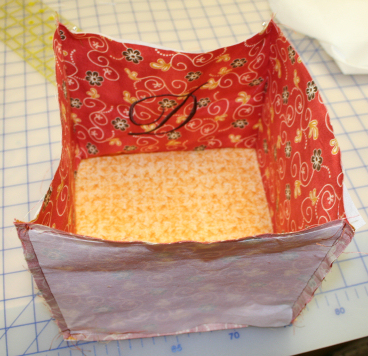
4. Pin the bottom, face down on all sides matching as you go but leave the corners unpinned. (Make sure any embroidery is top down so it will end up right side up later.)
5. Sew around the sides using a 1/4" seam and turning each corner with the needle down. Leave it inside out.
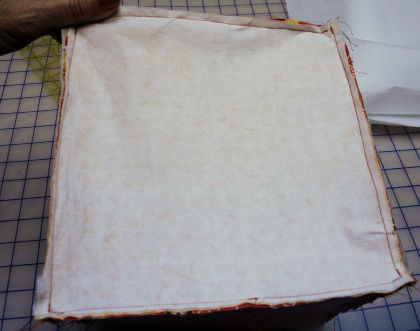
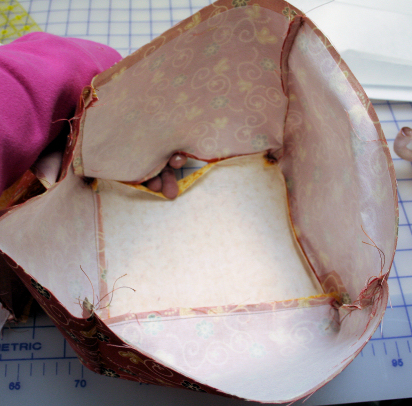
6. Repeat above steps for the lining except leave a 4" hole on one side when sewing the bottom in place for turning later after the two boxes are sewn together.
7. Turn the lining right side out. (You left the hole in the bottom right?)
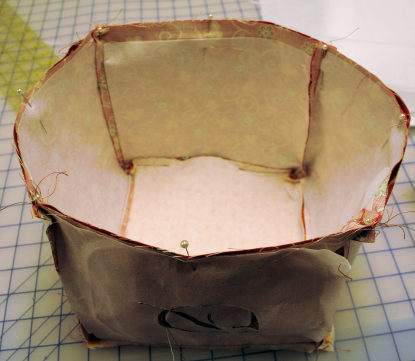
8. Put the lining inside the inside the outer box with right sides together and pin around the edge pushing the seam allowances to the opposite sides at the corner so they will sew smoothly. Sew around using 1/4" seam and turning the corners with the needle down.
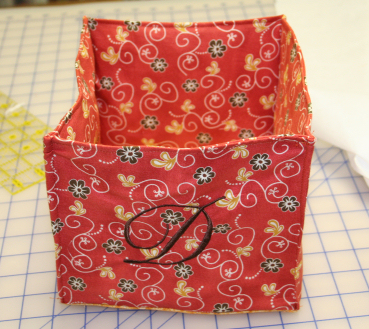
9. Turn right side out. Sew the hole shut. If desired sew down each corner seam for sharper corners.
Next time we will make the easiest and smallest cube. These little cubes are great for storing all sorts of things in your sewing or craft room. If you missed the bigger box it is here.
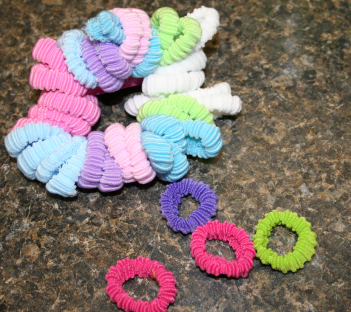
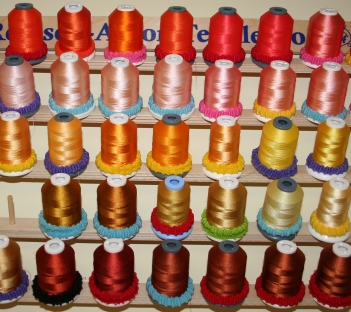
Here is another idea I found for my sewing room makeover - a way to keep the thread tails from hanging down off the thread rack and getting in the way. These are toddler hair bands so they are smaller than the regular ones and since they are fluffy they make fantastic little thread keepers. I had some in the girls' hair basket. I bought some more at the local dollar store. There were 40 in each package,
Take care,
DB