While searching the Internet for interesting (?) subjects for my blog, I came upon one that seemed very out of the ordinary. It discussed a method of creating a border (of a single design) without a lot of measuring and challenge. Unfortunately, after trying the method, I think a step was missing. I took the concept and added what I think is the missing link and am writing about it today.
- · There are many factors in doing a border successfully. Here are my ideas for possible issues:
- · The length of your material to your planned design can be difficult (understatement!).
- · When working toward a symmetrical layout, the eye can catch designs that are ‘off position.’
- · The design size needs to have a simple size, or resize, for more accuracy (or an ensuing headache occurs).
- · Hooping and moving to the next placement is the not for the faint of heart. (See tips on Hooping.)
For my example, I am using a design without a lot of stitching. I find that KISS is a good rule for trying new projects. This one is from AnnTheGrans vast collection of free designs.
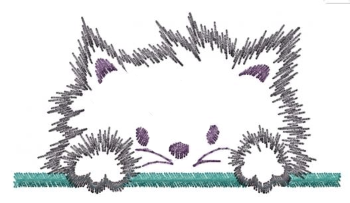
This design is actually a 'pocket design' but I thought it would great for a border. You can see my blog on 'pocket designs' here.
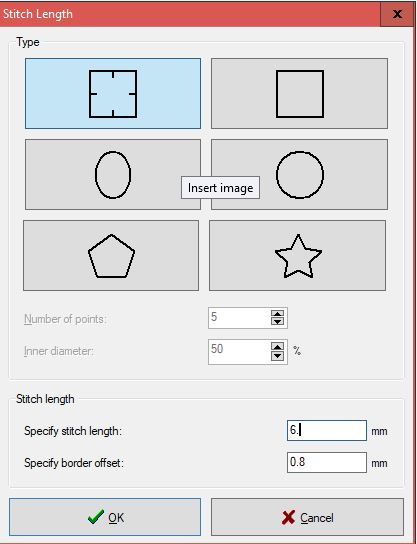
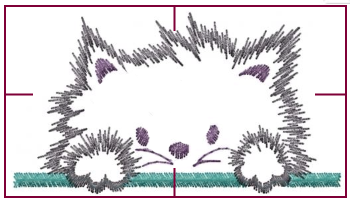
The first thing you will be using may or may not be in your software and/or machine. On my software, it is under "Insert", "Baste Stitches." I am using the first baste especially for the alignment stitches between the corners.
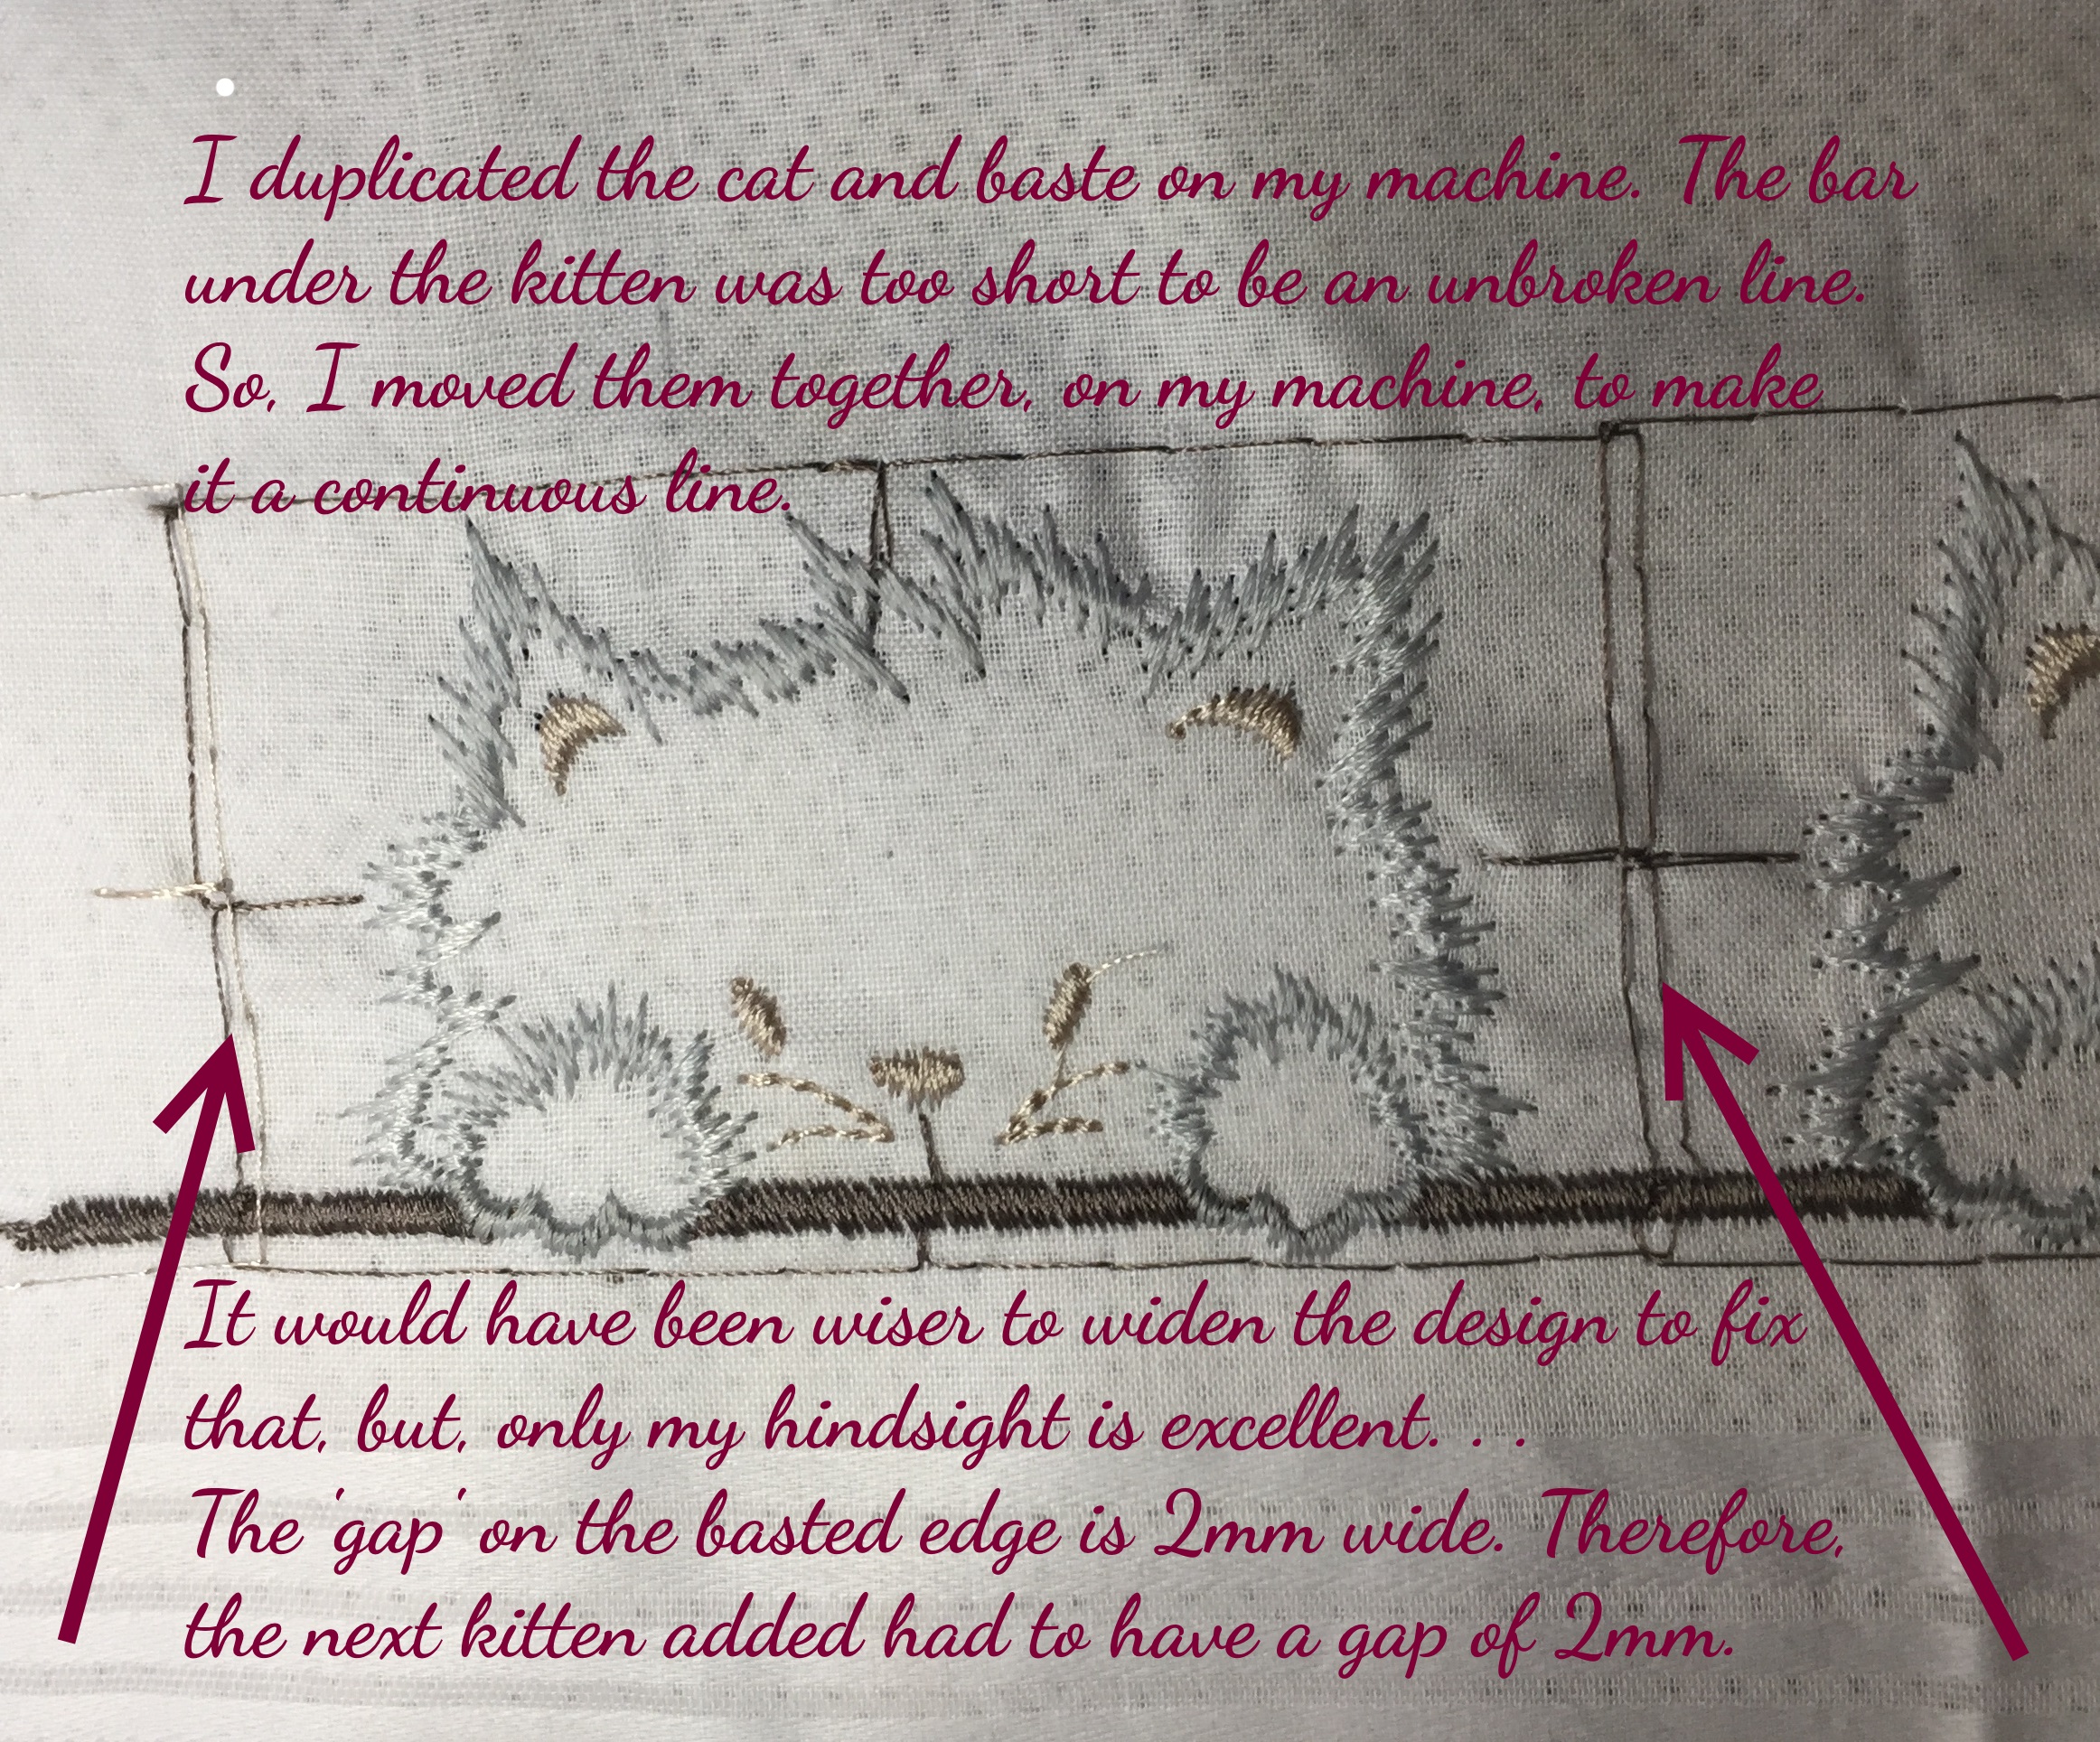
The next kitten was interestingly fun. I unhooped the fabric/design and placed a new piece of stabilizer in the hoop. I added the fabric to place the next kitten, and naturally, it was not in perfect alignment.
The machine ran the baste and I saw how much I actually was out of line. As the two basting lines were abutted, I could see any adjustments that had to be made. In my case, I needed to move the design down 3mm AND adjust the rotation 2 degrees to the left.
I removed the test baste and after making the adjustments, I did another baste which was perfect. I could have done 3 or more bastes if necessary because they were 6 stitches per inch and therefore, easily removed.
Continue butting the baste, add the design and do so for as many sections as you need. Working with the simplicity of basting is really easier than working with rulers, and confusing tools. The only thing is to be sure that you will end up with the appropriate number of sets along any given border. That is where the simplicity of the width comes into play.
I would recommend that you try this method on a 'discovery sew' with easy numbers. i.e., 4 designs equal 12" and the border area is, perhaps, 14" leaving one inch for the edges.
My original inspiration was this gown in Vogue magazine and thought it was absolutely genius! Not only are all of the patterns different, but they are placed so that they only need minimal layout planning. I think the dress is a "Carol Lombard" style, very feminine and so lovely.

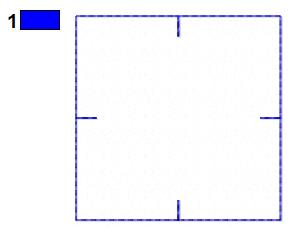
If you don't have the baste with the edge alignment feature available, here are 2"/50mm and 4"/100mm patterns.
2 inch 50mm basting frame The Avid Embroiderer.zip (9KB)4 inch 100mm basting frame The Avid Embroiderer.zip (7.1KB)