Over time, I have enjoyed doing my embroidery a great deal. Even when I was frustrated in the beginning (not necessarily limited to the beginning) when everything looked like a snarled mess, I just never wanted to give up.
I listened to what the dealer's salespersons had to say. (Frankly, she had little patience with me.) But, I kept trying. I read whatever I could get my hands on, and asked as many questions as I could. Some of those questions were probably dumb, but I persisted.
One of the things that I wanted better results on was centering. At one point, I got to the point that I nearly never inserted fabric into my hoop because it was so time consuming to center it. The result was that I had created a different issue, attempting to stabilize a floating piece of fabric.
As anyone who embroiders knows, stabilizing is a challenge in itself. I have gone on record several times as saying "it is easy to under stabilize, but difficult to over stabilize (my blog on stabilization) a project."
I don't want anyone to feel like they should use 5 layers of something, but stabilizers are a part of a ‘discovery' sew. That is where you utilize your planned project materials, and determine if any adjustments are needed.
Some embroiderers may have experienced "bullet proof" embroidery. That is the result of stitching being too close, too short, too dense or just poor digitizing, but not normally from stabilizer. So use enough, but be reasonable. Use the best quality of stabilizers that you can afford. You all know that I am a big fan of Ann's Club and the great prices for stabilizers that they offer. I don't take my recommendations lightly either.
Getting back to the subject of this blog, centering is a challenge for me. Just like any athlete who is having issues with a certain aspect of play, I did what a coach would have told them to do - "Get back to the basics." I looked into my machines manual and thought that the method it shows was a little understated.
I have tried their method, and had limited success. So, I came up with my own method of hooping with the clear and marked template that came with my machine.
First, I placed my stabilizer in the hoop. Don't forget that your inner/top hoop has a top and bottom which should be marked in some way. Mine has an arrow embossed into the frame and I use my black permanent marker so I can see it faster.
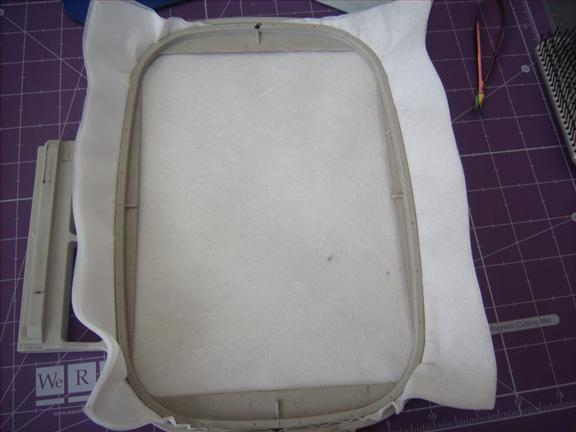
I placed the top hoop and tightened the release screw which causes a crease in the stabilizer. I left them together as I finished working with my material and template.
Next, I determined the center of my project. I do it by folding, if possible. I mark the spot with the water erasing pen.
I carefully placed my template over the mark on my fabric. Since I was doing a pillowcase, I had the advantage of having the cuff seam to use as my horizontal guide. If you look closely, you can just see my marking and seam.
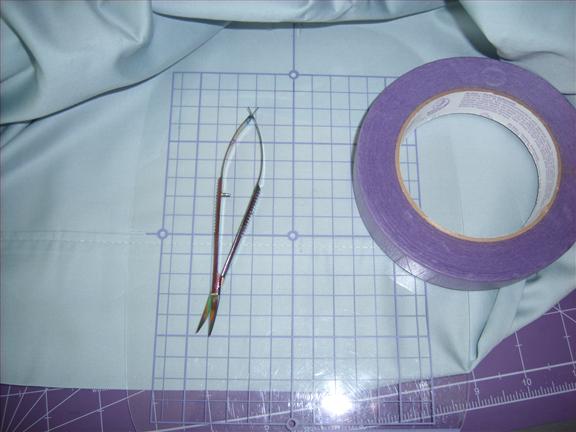
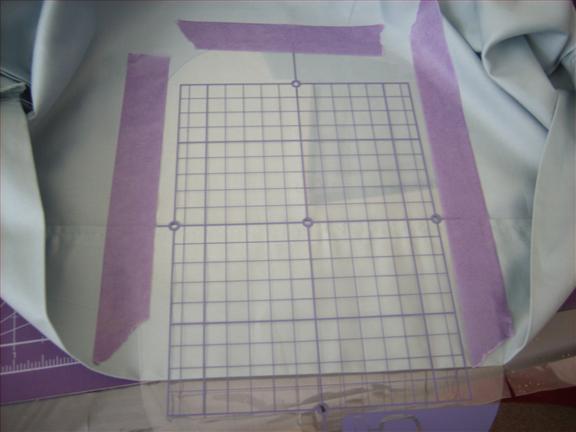
I read one of the tips in the Forum that noted that use of ‘painting tape' is very good for positioning a project. That makes sense to me because there won't be anything left behind on my template or fabric and it is easy to remove as well. (I had some on my wall for 3 weeks and it still came off easily.)
So, when I was happy with my layout, I used the tape to secure the template to the fabric.
Between the tape and the crease in the stabilizer, placing my project was really easy. I removed the top hoop, placed my template/fabric into the bottom hoop and moved it just a little bit to make sure that it was where I wanted it.
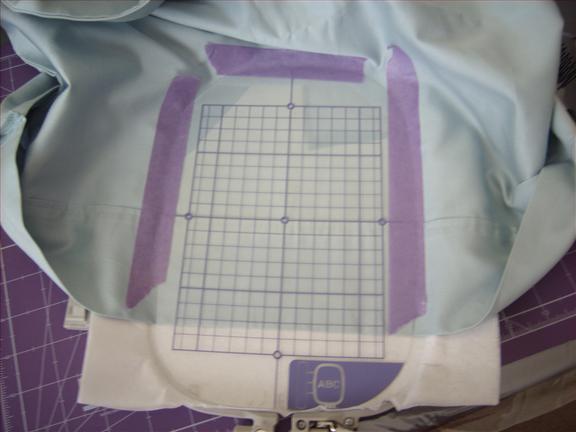
I put the top hoop over all the pieces, and as it was where I wanted it, I could tighten the screw. I can remove the tape if I choose, but frankly, it is not in the way, and it adds a little bit of friction to my fabric for a better hooping. The pillowcase fabric is very soft and this friction is just a bonus.
Of course, it is time to remove the template and sewing is accurate.
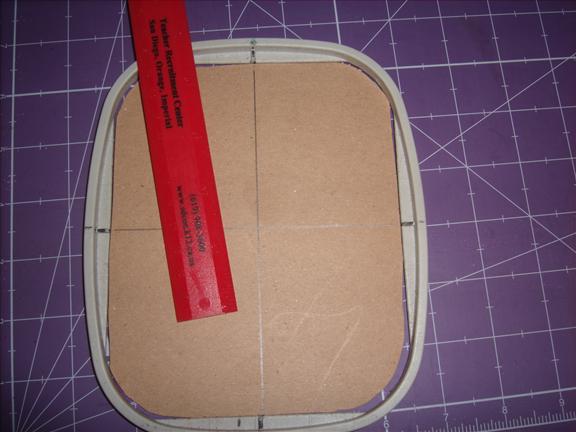
If you do not have a template, you can use a piece of lightweight cardboard and the top hoop as a guide for cutting. The machines template is actually a little smaller than the top hoop so that it can be removed before sewing.
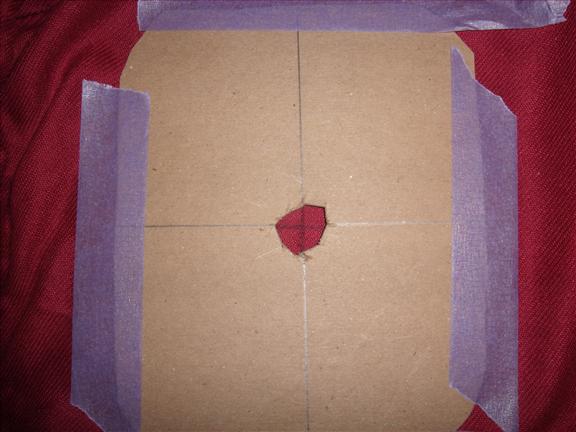
Make a center hole about 1 to 1.5" (25 to 37 mm) so that the midpoint will be visible as you work.
I can hoop again. Keep in mind that hooping the fabric is part of the stabilization process, and is very important for the best results.
BTW, when was the last time you checked your thread tension? Check my blog regarding testing your tension. You should do this every few months.