With the Holiday Season right around the corner, everyone will be creating new and following old traditions. I hope you might find something in this blog that you will find some inspiration for a little something to add to your family’s experience.
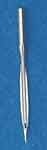
I am combining shadow applique with the wing needle for this project. Perhaps you have used the Wing Needle, when you were doing a “Hemstitch.” Perhaps you wondered why someone wants a needle with wings. Perhaps you have noticed on some of the heirloom designs there is often some small but noticeable holes that make the design all the more delicate. In any case, after you try this needle, it will have a special place in your repertoire of tools that create something different and exquisite. (Photos courtesy of Beaconfabrics.com and twin needle is available)
There are a few rules you need to know when using the wing needle:
- You cannot use the threading feature on your machine to thread this needle.
- Use the flywheel to check to be sure that your foot and needle plate will allow for the needle to pass easily.
- Wing needles do not fare well on satin stitches.
- Wing needles are best when used with natural fibers, cotton, cotton batiste and linen.
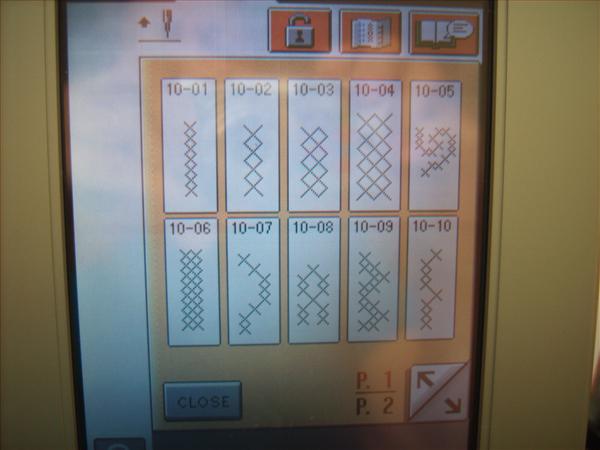
- Wing needles ARE so terrific on cross stitches!!!
Vermillion Stitchery Cross Stitch is having a sale for Ann's Club members so, if you're a Club member and you have the promotion code that was sent out by e-mail to members, you can work with this technique and save money at the same time! I thought this one would be especially great – Santa in a Quilted Frame. I personally would do just the beard and white of the hat with the wing needle. What an interesting and unusual effect you will get for less than $10.00.
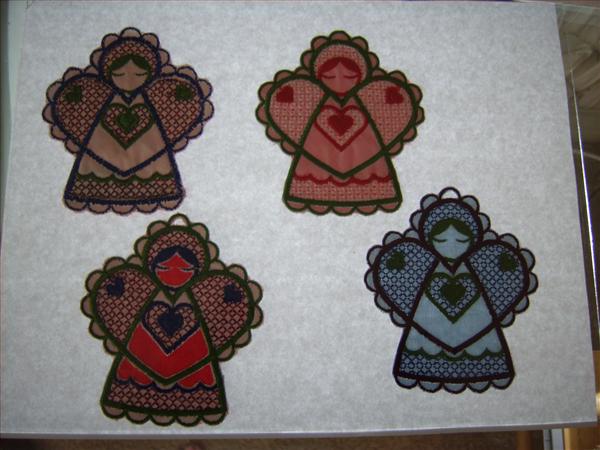
My design is a shadow appliqué, wing needle angle ornament. It is not a free standing lace, but it will be a great ornament just as well.
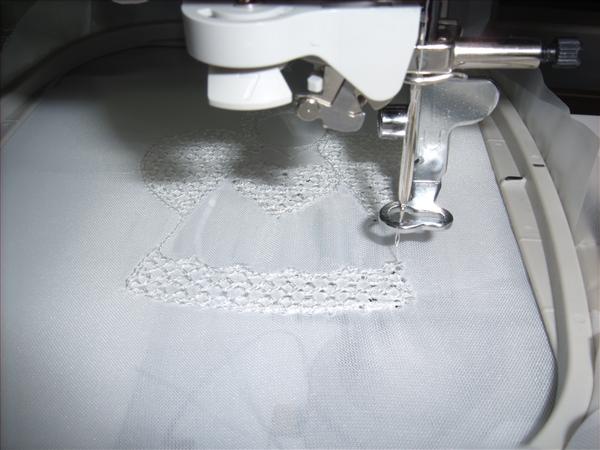
Since I am doing 4 test sew outs, I am playing with various fabrics, stabilizers and techniques.
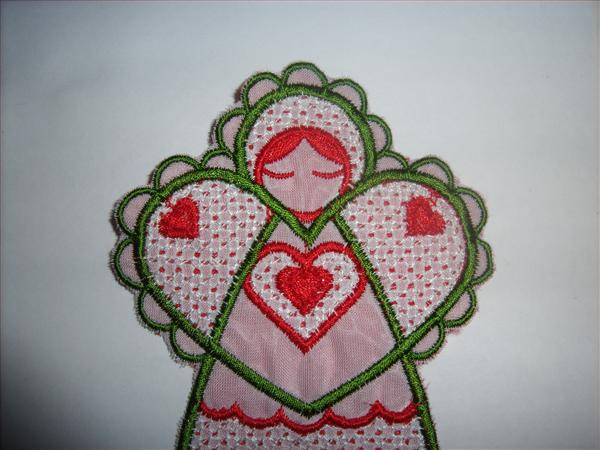
I used batiste and an organza for the top fabrics. I used a regular needle for one of the sew outs, and did some cut away on another sample.
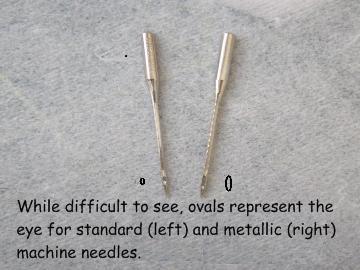
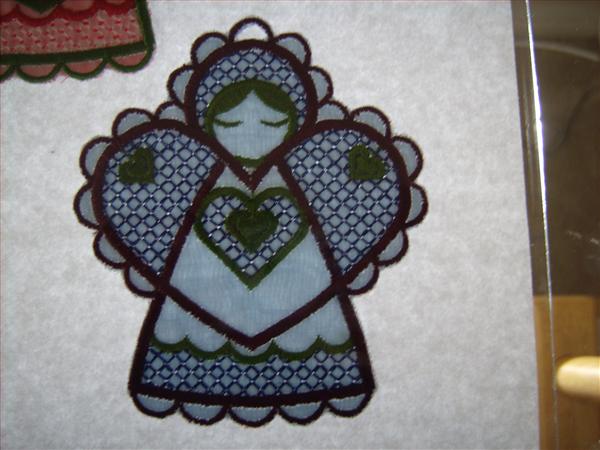
For this design, the first color is done in the wing needle and I changed to my preference, the metallic needle for the 2nd color. In addition, a background color fabric is put in place before starting the 2nd color.
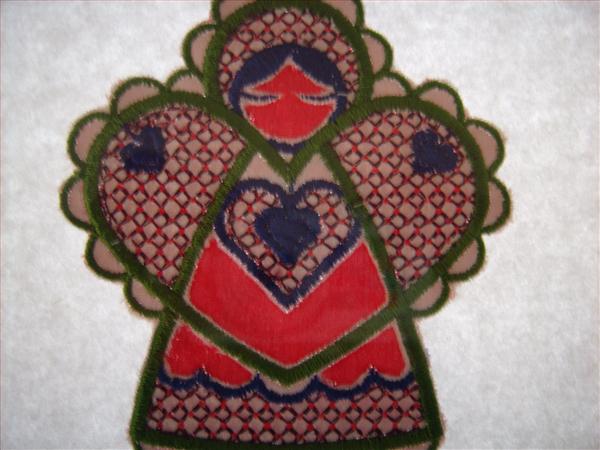
I followed the instructions which called for use of a light weight water soluble stabilizer. In my opinion, it was not a good method, and I will use a brayer and Ann’s WSS Adhesive. That will always make a good and stable working area!
Because the wing needle is really subtle, it is difficult to capture for a photo. So, I did place a lighted background for better viewing ability. Designs courtesy of Criswell-emb.com.
As you can see, there is only minimal difference in the photograph, but in person, there is a noticeable difference, even if you are not sure what that different actually is.
In person, you can see a lot more of the red background. This is a photo of the wing needle stitching.
In this photo is with the standard needle. It is still nice, but lacks the interest given by the wing needle.
I cut out the spots where her face and apron would be, it made it interesting and, if it were on a tree with a light behind it, it will be aglow.
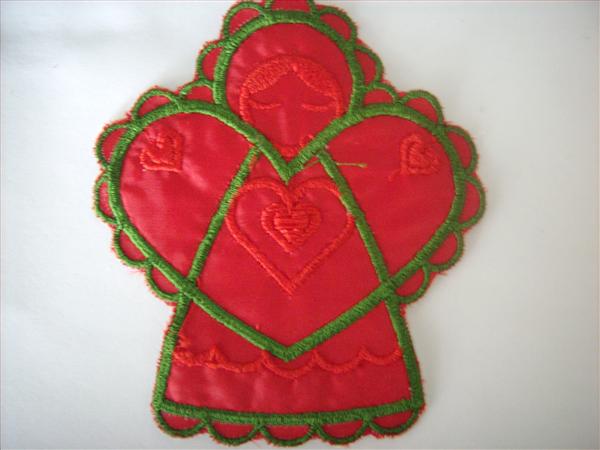
I did the bobbin thread for this one the same as the top thread, so this is the back side of white winged angel above.
While this did have water soluble stabilizer in it, I did have to remove the fabric using an appliqué scissor.
This was a fast and fun project. It looks like it was very difficult but only took about 25 minutes for each angel.
Check your regular sewing machine, you will find many designs that will embellish a pillow case or edge of a little girls' dress. Just keep in mind that satin stitches are not recommended. Have fun with this one.

I know you are aware that October is Cancer Awareness Month. Please take good care of your body because you deserve good health. ATG is offering a great awareness ribbon free with any purchase for the month of October. You may also purchase it for $1.00 and the proceeds are going to this very worthy charity. It is free standing lace and makes a big statement.
For all mothers, sisters, daughters everywhere, good health to you all.