There
are many types of designs. This is a sample of something simple, like a line drawing, often called ‘redwork,
whitework, & blackwork.

Halloween Books Embroidery Design | AnnTheGran.com
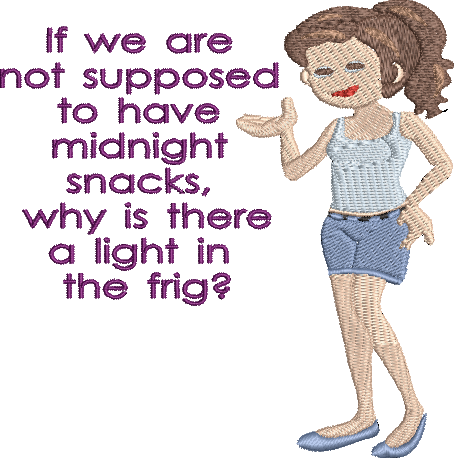
Another
type is the cartoon style. The lines are simple, and stitches in the fields are
often Tatami which gives a basic, repetitive design. Each color can have its own Tatami
design, which makes the project more interesting. The
more details, the more your design will look ‘realistic.’ Natural details bring
depth & dimension to a design.
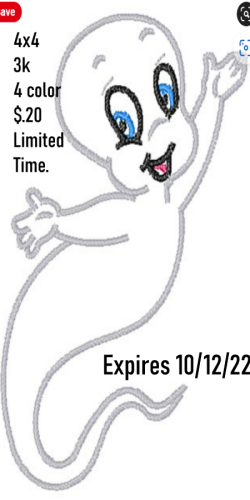
Casper The Ghost Embroidery Design | AnnTheGran.com
Realistic can be a “photo type,” including
feathers, eyes, and items that are a minimal number of stitches. Even for the small dots, you may have to change colors, thereby slowing down your sewing time. Another realistic type might be a drawn design with the artist giving you detailed spots.
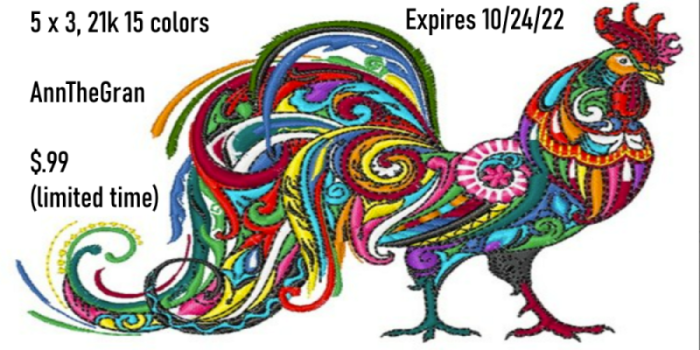
Colorful Rooster Embroidery Design | AnnTheGran.com
The green indicates specific embroidery tips.
There
are a few recommendations/tricks you may want to be aware of:
·
Using
a single piece of stabilizer is recommended for dense projects. Using a
quality, heavy-weight cutaway stabilizer is suggested. If you feel the need to
use more than a single sheet, you may want to consider basting them together or
applying glue. A stable stabilizer is a key to professional embroidery.
· It is also recommended that you trim any jumps as you go along. Those can get entangled with other colors & still need trimming, a daunting task. The additional benefit is that you don't need to go searching for them because once it is completed and hung, you will see them & possibly not be able to get to them.
·
It
is not recommended to resize a complicated design. Assuming the digitizer is
well trained, they have made adjustments for ‘pull compensation,’ correct
placement of stitches, & certainly, carefully reviewing the registration of
one section to the next. Many of us have had a registration issue which is
normally the result of poor stabilization.
·
Your
fabric needs to be commensurate with the ‘weight’ of the number of stitches. Detailed
designs will have more stitches, & that weight needs to be well supported.
Therefore, fabrics like denim.
(I
always use denim when I am trying a new design or teaching someone their first
project while learning to embroider. It allows them some excitement,
confidence, & pride in their first attempt.)
·
Other
great, heavy-duty fabric such as canvas, decorating fabrics, corduroy, and even
chamois is good for that heavier job. High stitches don’t work well with a lightweight
fabric like chiffon unless you can leave the heavy cutaway stabilizer in the
project, permanently.
·
For
your needle, use a fresh, sharp needle. Embroidery needles are slightly dull
and it is recommended to use a sewing needle. That may sound counter-intuitive,
but you will be making many more penetrations and sometimes stitching multiple
colors in the same spot.
Dull
needles create their own set of problems like creating a large hole. A torn line in the fabric will
eventually fail for the whole project.
·
If you are doing brocade type of stitching,
even when the design is not particularly high in the number of stitches, you will
still use these tips. Keep the end in mind. i.e., if it is for a shirt with a 3-D style effect, it needs to be stabilized, heavy fabric, sharp needle, &
certainly hooped very well.
·
Hoop
the fabric with the stabilizer using a spray adhesive which keeps the fabric
flat, and will keep a tight bond. You can machine-baste them together as well.
Whew, that was more than I foresaw at the beginning of this blog! And, speaking of a more complex design, I created this one to give some detailed stitches. My software normally will remove the bottom stitches for any place that has over laying stitches. But, the software is being stuborn, and sometimes it will remove extra stitches, and sometimes - not so much!
Thank you so much for joining me. My work is important to me. When you are reviewing material it is to learn, reinforce, and remember tips.