My name is Bonnie Abbott and I have been embroidering for about 12 years now. I have 3 embroidery machines a Babylock Ellisimo and an Ellegante 2 and I just purchased a Brother PR655 Entrepreneur which I have not used yet as I need to have my desk remodeled first. I can't wait to get started using it.
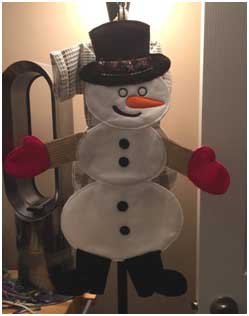
I embroider almost everyday and love doing large items. I have sold 4 of my snowmen to friends and charged $20.00 for the 25 inch one and $15.00 for the 22 inch snowman. I made a smaller 17 inch one for my granddaughter and a 25 inch one for my daughter to hang up at work.
This snowman is made in the hoop and takes
5 hooping’s. I made mine so that it looked the same on both sides.
I used tearaway stabilizer and felt. I stitched
the arms and the hands first, removed them from the hoop and trimmed them. Set aside
till needed.
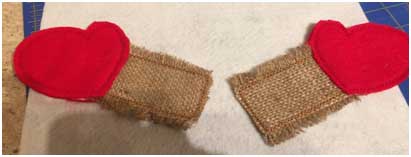
Next I made the bottom section, removed them from the hoop and trimmed it.
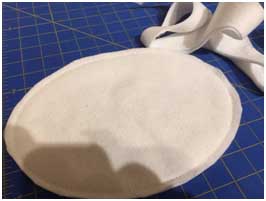
Next I hooped the stabilizer and stitched
out the stitch guide to attach the bottom piece.
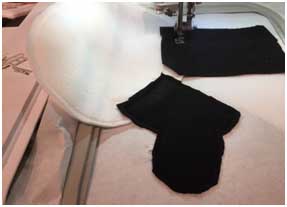
Next the boots got stitched out and
attached to the bottom. I removed this from the hoop and trimmed the boots.
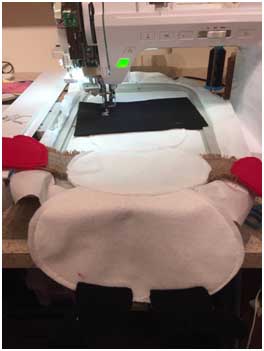
Next I hooped my stabilizer and then stitched
out the guides to attach the arms to the stabilizer and then added the center
body part and sewed that out.
Next I stitched the placement stitch on the
stabilizer for the bottom body part with the boots. Then I stitched out the stitch
line arms and for center body part and added my material; and finished sewing
the center body part to the arms and bottom body. I removed this from the hoop
and trimmed up the center body part.

Next I hooped my stabilizer to stitch out
the stitch line to add the center body part; and stitched that down then I
stitched out the shape for the head and added the material and stitched that
down; removed from hoop and trimmed.

Next came the hat placement stitch and
adding the material for hat.
After the material for the hat was stitched
down I added the trim for the hat.
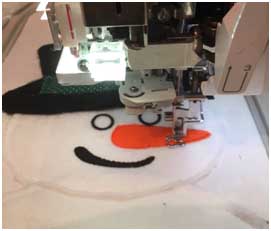
Next came the stitch outs for the eyes,
nose and mouth. Once this was done I removed him from the hoop and trimmed up
around the hat. Then I added some cord to the back of the hat for hanging.
I cut out some circles from the left over
black felt to use for buttons and glued them on and he was finished.
This sounds like a lot of work but I had
fun making him and have made several more.
As soon as anyone sees him they want him.
They sell fast.
We are excited to have tourlady522, Bonnie Abbott, as a guest blogger this week. Welcome her, she did an excellent job on the directions for a great Snowman.
Please leave some comments below to help encourage your fellow embroiderer for more blogs like this. Thanks.