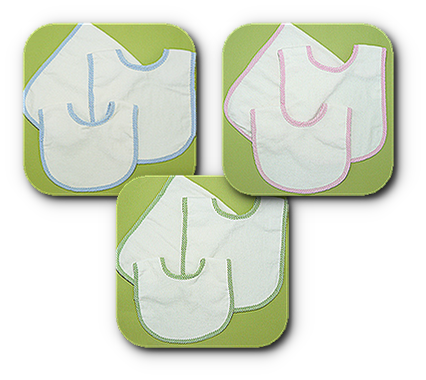
(Baby Bibs and Burps are now available at AnnTheGran.com. Click here , also click here to vew other new blanks on special)
Just recently we’ve had two customers call us to let us know they were unhappy with our baby items. They said they “fell apart” and they wanted to return them. Alarmed that there might be a problem with our new batch of baby bibs, I had the customers quickly return the items so I could see what was going on. Turns out, there really wasn’t anything wrong with our product. See, what our customers didn’t tell us was that they were in the crafting business and had taken our bibs to a show. They stuck price tags on the front of every bib (the sticky kind with lots of glue) and when they went to remove the price tag---shazam---all the loops of terry pulled out.
We had failed to let our customers know how to properly embroider on velour terry fabric. It’s not like our pretty little linens---it takes a little bit of special care. Specifically---NO ADHESIVES on the furry velour part! Knowing this little tidbit can save you a lot of embroidery heartbreak, so I hope you find this little blog helpful today!
Here’s the thing---looped terry is just what it sounds like. The cotton fibers are looped back and forth to create the furry little fibers we love to cuddle. The velour terry cloth is taken a step further, with the tops “shaved off” to provide that rich, soft feeling we love in our towels and bibs. What happens if you pull too hard on a loop? It pulls out of place. Curiously, terry cloth can be washed and laundered hundreds of times and it will faithfully stay in shape. But apply an adhesive or get your trimmers caught in a loop when pulling off stabilizer, and you’ve just created a little bald spot in your cloth.
I’m a huge believer in 505-Spray and other temporary adhesives. I rely heavily on paper templates in my embroidery work, and I use the adhesive sprays to help me position templates all day long….but not on velour terry cloth!! On those projects, I’m back to using old fashioned pins. Here’s some other key things to remember when embroidering on terry items:
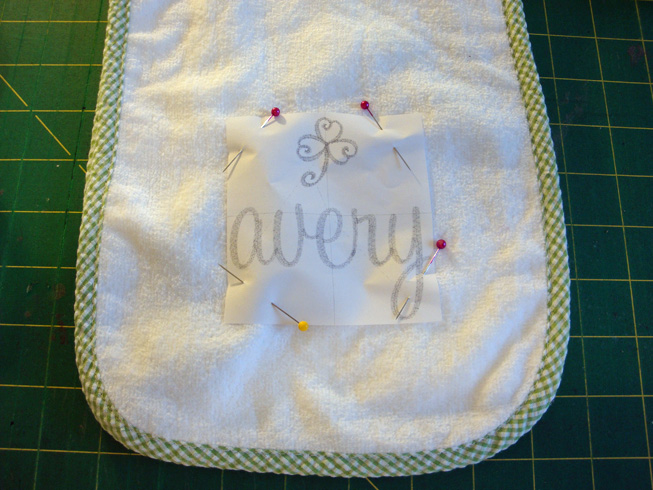
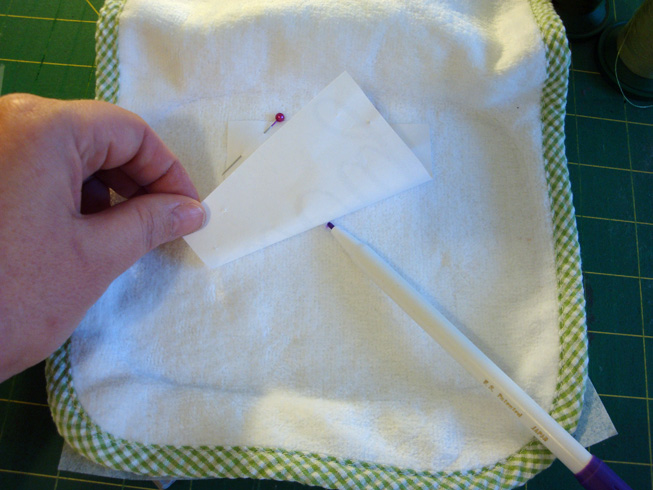
1) Notice I have my template pinned to the burp cloth so I can determine best placement visually and also so I have my “crosshairs” to use as guidelines when lining it up in the hoop. The next step is to place a water soluble “backing” on top (why do we call it backing if we end up putting it on top??). I really no longer need the paper template in place, but I DO need to know where my centerpoint is. So I turn to my water soluble marking pin to put a reminder dot of where the centerpoint of my design is. This will help me make sure everything is lined up when it’s at the machine. Mark the spot---take off the template, and pin the water soluble backing on top. (see next 2 photos)
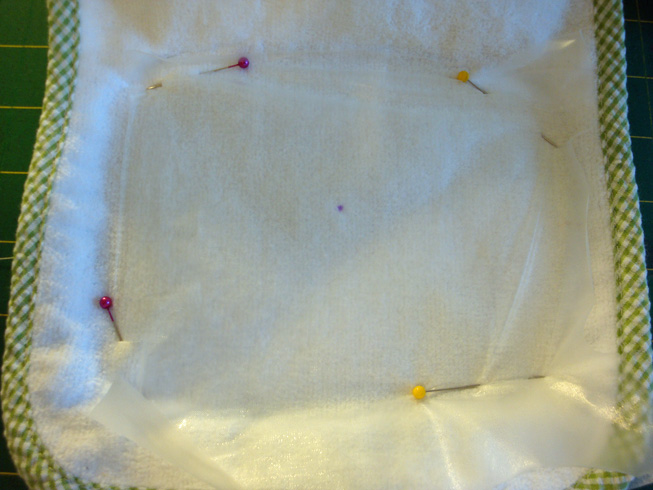
2) You MUST use a water soluble backing on top when you are stitching on anything “fluffy” like velour terry. If you don’t, your stitches are going to just bury themselves in the fluffy fibers. A water soluble backing will keep the stitches placed up above the fibers and keep it looking pretty. And a well designed font will have underlay stitches built in to keep the pokies away permanently. Check for that underlay when you’re shopping around for font designs
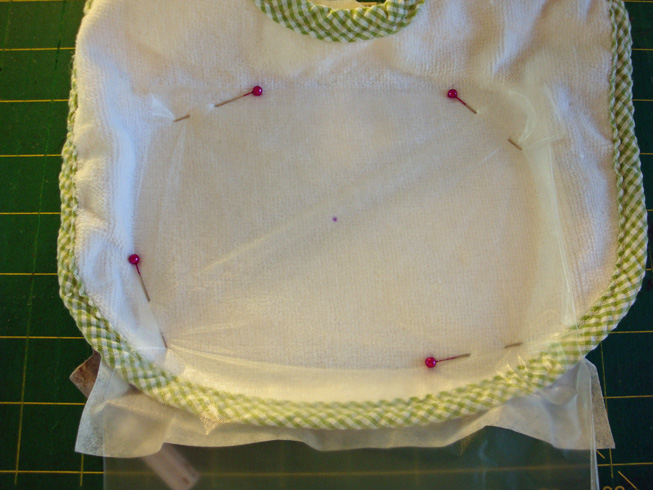
3) Yes—I used some 505 Spray! I actually hooped my tearaway stabilizer and sprayed it with temporary adhesive spray so I could stick my bib down onto the hooped stabilizer. However, when working with the terry, I use just a light dusting of the spray and I let it sit for a couple minutes so it’s not quite as sticky. As long as I only expose the back of the velour terry to the stabilizer, I’m fine. I wouldn’t dare use the adhesive spray on the front of the velour terry!
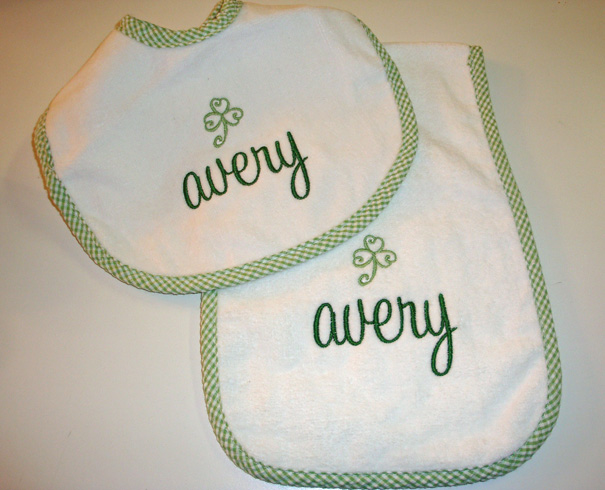
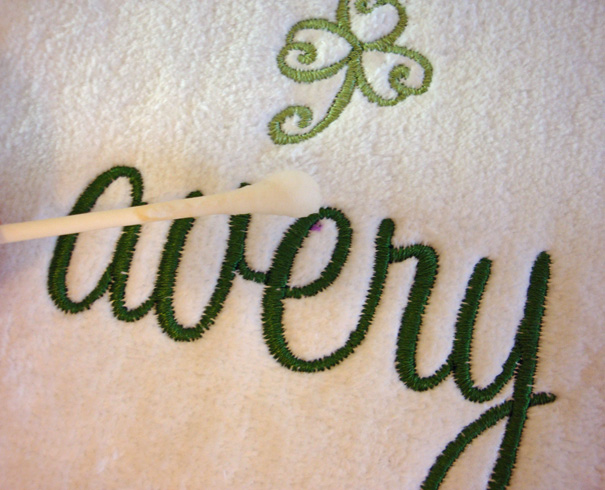
4) Stitch the design out---I picked a really quick and easy St. Patrick’s Day design for this lesson. My husband came in while it was stitching and asked me who Avery was….I told him it was my made-up baby. We’re at the age now where no one we know is having babies anymore…I’m out of little infants to sew and embroider for! I’m too young to be at the “waiting for grandchildren” age, but I do have some cousins with kids in their twenties that seem to be getting married at a nice pace. Maybe we’ll have some babies in the family again soon!! Everyone warned me that time would go faster as I got older---they were NOT kidding!!
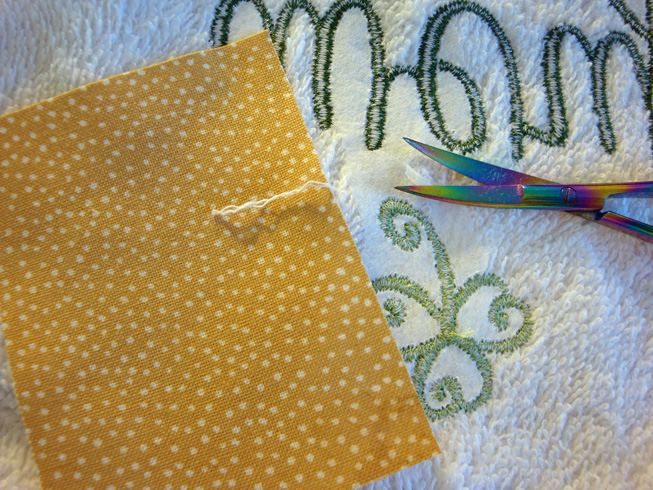
5) Anyway, now that my stitching is complete, it’s easy to just pull the stabilizer off the back and front. Do be a little gentle with your snips and stay mindful that you don’t want to pull any loops out. But it’s a fairly easy and quick task. I rushed and caught my snips in a loop on the back--so I took a photo so you could see what not to do! (I slid a piece of fabric in behind the pull so you could see it better)
6) I did have my purple mark showing—the one I made to mark my centerpoint. I keep a small bottle of white vinegar and some Q-tips in my sewing room. Just a little dab of white vinegar and the spot disappears!
7) So hopefully you now know the ins and outs of sewing on terry cloth items. Easy to do---you just have to be a little more careful in a couple of the steps. Now if I can just find an Irish baby named Avery that needs a bib and burp cloth set…