There are a few things that are easier than in-the-hoop projects, but for doing holiday items, this one is a (nearly) no brainer.
I have admired Christmas Stockings from various designers and just recently won this one at an embroidery group I attend. Free is really fun! I now know why it was free - the smallest design is 5.68" by 9.01" and requires a very large hoop which not everyone has. But, I am excited to do my first stocking.
I did give myself an early birthday and Christmas gift this year. I invested in a 10 needle Baby Lock Enterprise. I will be telling you about the features and interesting challenges I managed to get into in some future blog. I must say that over all, I love it.
I always follow the directions for projects except when I think the designer is way off base. In this case, it is necessary to follow the directions accurately. As anyone who has done an appliqué or an in-the-hoop project can attest, the digitizing must be right on the mark.
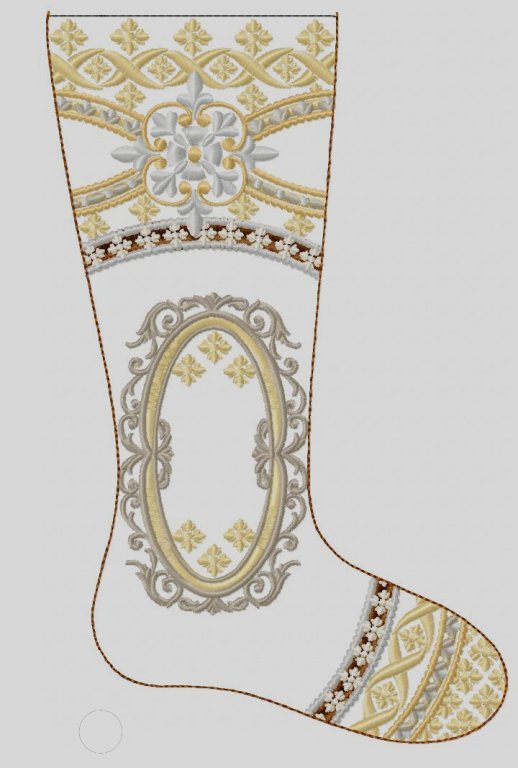
Photo Courtesy Anita Goodesigns
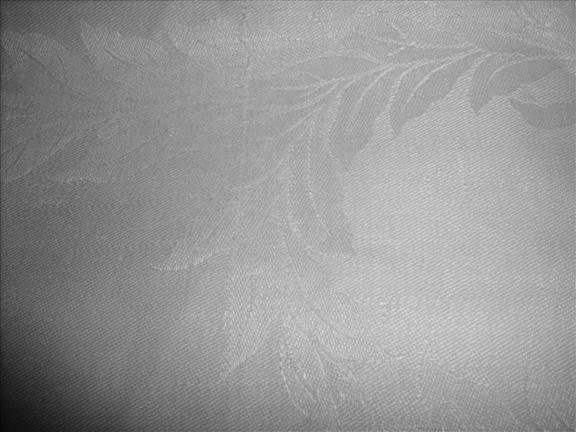
I selected my fabric from a 21" napkin that had been hanging around my house and not earning its keep. That turned out to be a good idea because I could have made (if I had not made a mistake on the first) 2 stockings from napkin. I used the tiny fold for the top of the stocking so I did not have to have lining or do hemming by hand.
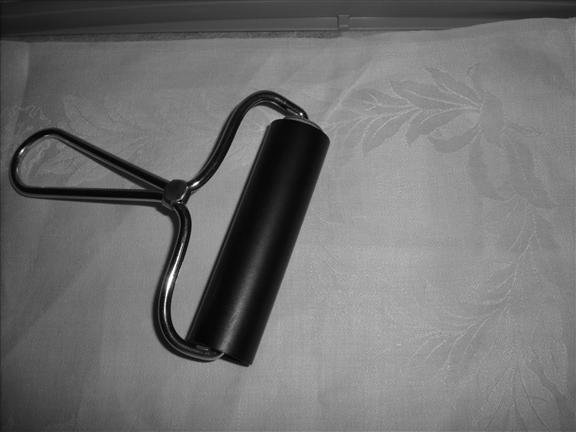
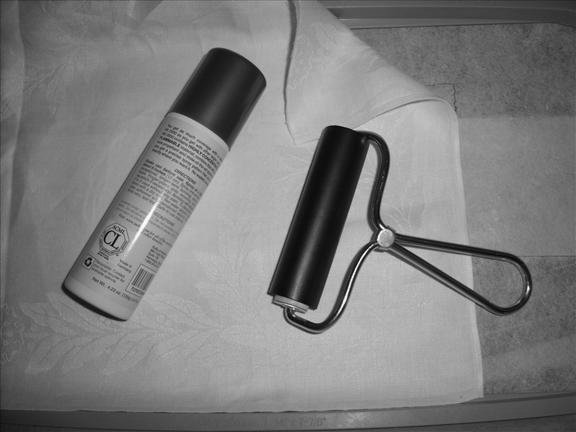
I am using a medium tear away stabilizer but I don't have a for the size of my hoop so I cut two lengths of the hoop and overlapped them in the center. My overlap is about 2.5" because a small overlap would not have the strength needed to do this design. I liked the design for its elegance and heirloom appearance and started the first time with an overlap going widthwise. It simply was not strong enough to hold the length. On my lengthwise stabilizer, I used a temporary spray glue and a brayer for making sure the project is strong. After all is said and done, you won't know if a project has failed until the last few stitches or worse, when it is completed and presented to someone. Use the best available tools.
I not only glued and brayer pressed the fold, I also glued the fabric down. If I could have nailed it, I probably would have. I am experienced in projects going down the tubes from slippage of stabilizers.
After I got the stabilizer correct (you make your own mistakes, I make mine. . . ) and the outline was sewn, I put the fabric on the outline carefully covering it just a very small amount of the top edge and began to sew.
I always (well, nearly always) clip the jump stitches as I go. I did on this design because of the many small details (I love them!) and because I had to dig a red thread out of a snowman's belly the other day. Grumble, grumble.
The design does call for some metallic thread which I chose to ignore. My reasoning is the problems of metallic threads and I was not out to be doing museum quality stitching, these are for two of my grandchildren.
I did choose my own group of colors and this is where Catalog Xpress really comes in handy. I will put that information in the Notes area of this design for future reference.
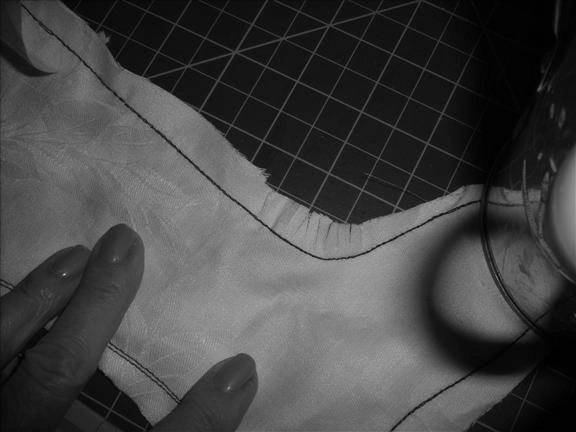
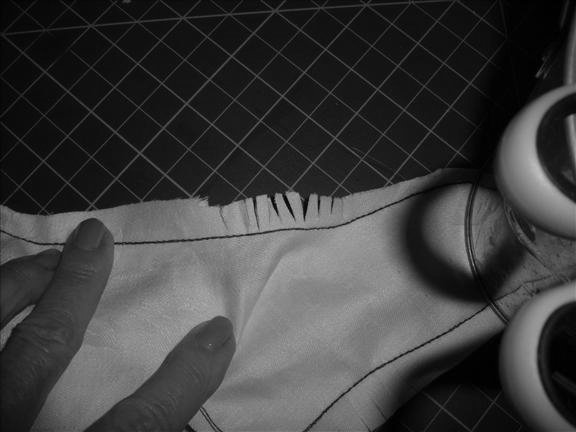
When the design is at the last stop, don't forget to put a piece of ribbon or the like for a loop to hang with and proceed to nip and tuck the round edges of the stocking.
When do you know that the nipping of the curve area is enough? When you can hold the left and right side of the whole curve and the stitching line is straight without any pull.
My camera is doing crazy things, therefore I did photos in black and white. I think they are cool!
Happy Holidays especially to you, Pat