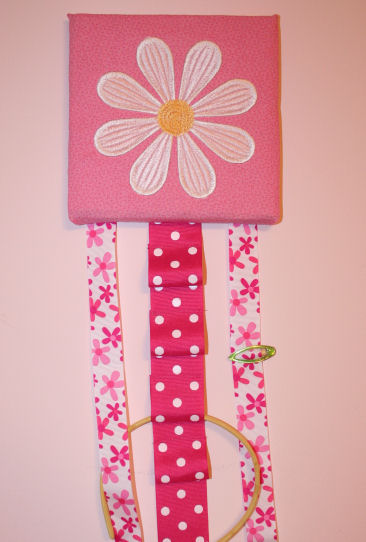
Girly Girls! They love to primp at even the youngest ages. Our five year old granddaughter loves makeup, jewelry, nail polish and curly hair. Of course she has the straightest hair imaginable and no matter how much of that holding gel you use the curls never last more than ten minutes. So, her mother has lots of pretty bows, barrettes and headbands for her to choose from. Selecting from the basket where they are all jumbled together can take way too long. Which brings us to this week's Keeping It Simple project. We are making barrette and band organizers. The goal is to have three of these lined up on the wall where the girls can see them and quickly pick the one they want to wear. Here is our first one:
What you need:
6" painter's canvas ( I purchased mine at Michaels Craft store. It had printing on it but since I was covering it anyway I didn't care.)
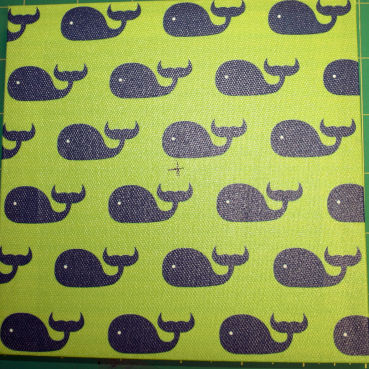
8" square or larger cotton fabric
8" Square or larger heavy stabilizer ( Heavy in case your canvas, like mine had printing on it so it would not show through.)
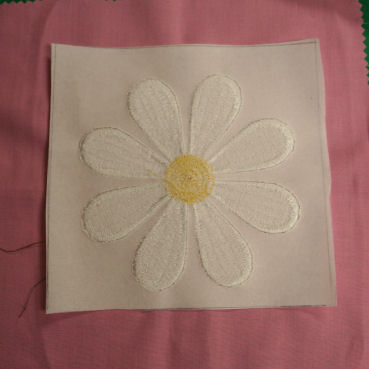
Embroidery design approximately 5"x5" (see below for the daisy)
Staple gun
What you do:
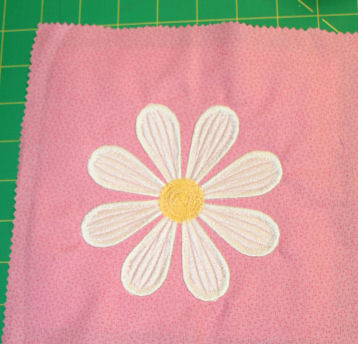
1. Center the fabric and stabilizer in the hoop. Embroider the design. Remove from the hoop but do not remove the stabilizer.
2. Using your pinking shears trim the fabric square to 7 inches keeping the design in the center.
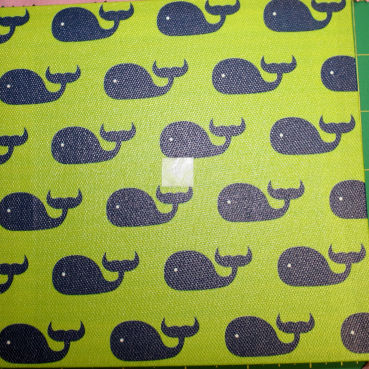
3. Mark the center of the canvas. Place a small piece of double sided tape over the mark if desired to help hold the fabric in place. Center the back of the design over the mark or tape and flip over onto a flat table. Make sure the canvas is square within the fabric square.
4. Draw on the stabilizer around the canvas. Cut on the line to leave enough stabilizer to cover the front on the canvas.
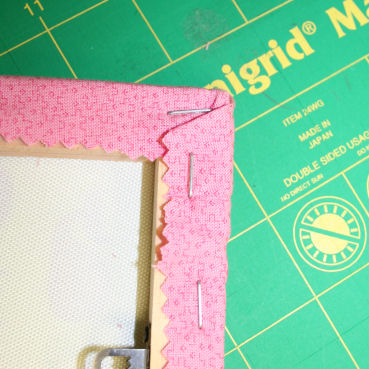
5. Lay the fabric square face down on the table. Place the canvas face down on top using the cut square of stabilizer for placement. Fold in one side and staple along the edge. Repeat for the other side.
6. Fold the corners like you would when wrapping a present. Staple the corners and long the top and bottom.

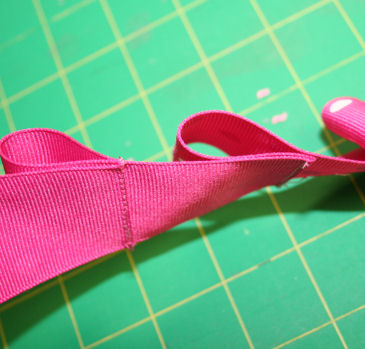
7. Cut your ribbons the length you desire, making sure the center ribbon is about twice as long as the other two if you want to make headband loops.
8. To create the headband loops, fold the ribbon under at even intervals and sew to make loops.
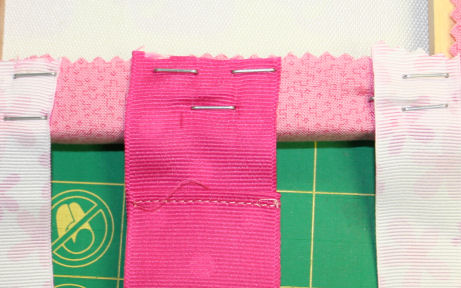
Staple the ribbons to the back of the canvas. Using your pinking shears cut the ribbons even at the bottom.
These are so cute and easy. Click here to download the daisy. You can make your own daisies using Designer's Gallery Interactive Dining in Lace.
They can even make fun and useful party favors or "I love you" gifts. This design takes a while to sew out but you could use something simpler such as an appliqué (use the appliqué design without the actual appliqué fabrics and it is really fast.)
The same technique can be used for wall décor for any room and any size canvas. We are in the process of making very large wall décor for her room. If they work out the way I envision I will show them to you when they are done.
Now if you want to make some fancy bows for your organizer you can see how it is done here.
Take care,
DB