Girls, girls and more girls. Although I have five brothers we have not followed that tradition. We have two girls, two granddaughters and now another on the way. Personally, I think this is great! After growing up with all those little brothers I have always loved little girls. Of course, if I ever get a grandson I just might change my tune and go wild over little boys.
Anyway, since we are waiting for a little girl Andrea is shopping to replace some of her newborn clothes. After two others some are just a little too ragged looking to make it through this third child. And for some reason those little gowns that used to be so very popular are difficult to find right now. So we decided to take a stab at making our own. Here is the result of the first attempt.
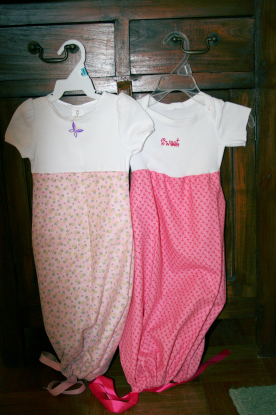
Designer Infant Gowns
What you need:
One good quality cotton onesie
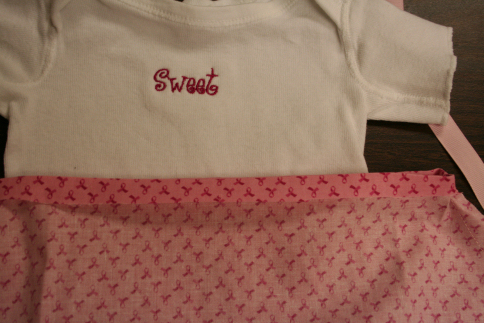
One small embroidery design ( download my butterfly here.)(Alphabet Xpress has some nice fonts.)
Temporary spray adhesive
Two pieces of cotton or flannel fabric 21" X 21" (you can adjust the fullness and length to your own preference.)
One length of grosgrain ribbon about 54" long
What you do:
1. Hoop two layers of soft Cut Away Stabilizer.
2. Mark your design center (or use a printed template from Catalog Xpress) on the onesie. Pull the back side out of the way and pin it. Use a little spray adhesive and carefully center the design on your hooped stabilizer. I used a couple of straight pins as well to be sure it stayed in place on the hoop.
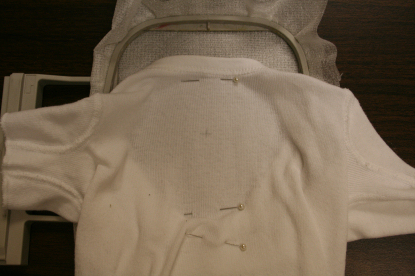
3. Embroider the design. Remove from hoop and carefully cut away excess stabilizer.
4. Lay the onesie flat. Measure 1.5" down from each underarm and lightly mark the spot. Center both squares of fabric over the onesie matching to the marks.
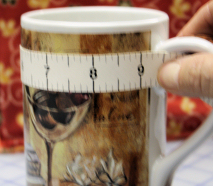
5. Measure out 1.25" out from the sides of the onesie and mark the fabric. On one side draw a swooping line to the edge and cut along it. Use the cut piece to make the other side match.
(you can make a paper pattern if you are going to make several gowns. Some of my pictures would not download from my camera so if I make another I'll try again.)
6. With right sides together, using 1/2" seam sew down both sides of the fabric. Turn right side out.
7. Fold the top edge in 1/2" and press.
8. Carefully insert the onesie into the opening and pin the sides to the sewn seams. Then pin the center front and back. Now stretch the onesie between the pins and pin well. Topstitch all the way around. (I have to redo this picture as well.)
9. Turn the garment inside out. Fold the bottom edge in 1/2 " and press. Then fold again 1" all the way around. Create a casing for your ribbon by sewing all the way around the upper edge of the 1" leaving an opening next to one side seam.
10. Insert the ribbon. Tack it at the opposite side from the opening if desired. Turn right side out. Voila, one designer gown.
These really cute gowns (sometimes called a cuddle sac) could be the perfect gift for that new mom this year. A designer look for the old fashion layette or baby gown. These make those frequent diaper changes so easy. And they sure won't get two alike!
Notes: We are going to try using elastic in the bottom for the next one. The mother-to-be thinks it might be better than the ribbon. I'll let you know how it works.
Take care,
DB