December 11, 2009
carol
Not rated yet
Individual characters (letters, numbers and punctuation marks) from my alphabets can
be found on my Stock Design Page. My designs are also available in packs, as described in
this blog. Those can be found here. For designs and packs available in multiple sizes,
choose the size you want in the drop down menu box.
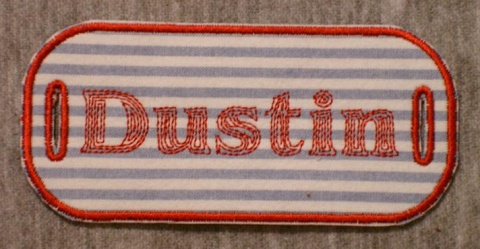
I recently made and sent luggage tags for my daughter and some of her friends. One of the friends then commissioned me to make a tag to attach to a gift she will be giving this Christmas. She asked me to add a second buttonhole so the tag can be fastened securely to the gift, like a name plate. (I won't mention the gift, just in case Dustin reads this blog.) Here is the name plate I stitched for the gift for Dustin:
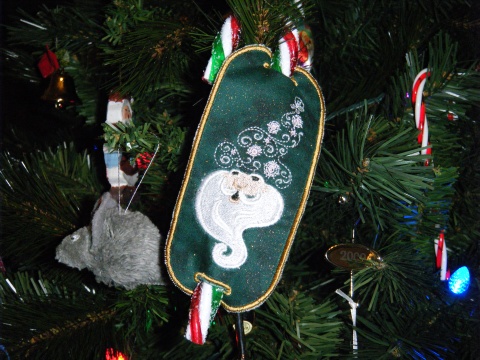
My friend Pam had an idea for another use for the name plate. She embroidered a Santa design and then threaded a candy cane through the holes. She hung her candy cane on her Christmas tree as an ornament but could also use it as a party favor. She also thought of tying a name plate to a jar of goodies with a ribbon, with the embroidery identifying the contents and/or recipient of the jar.
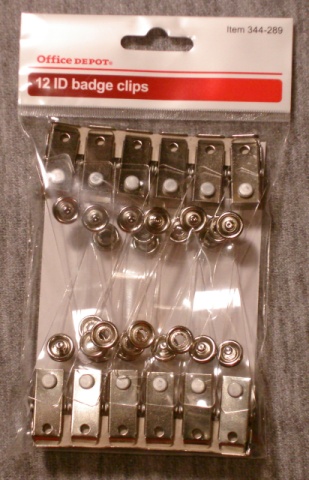
Last week I found a temporary ID badge at home. A small clip for fastening the badge to clothing had been snapped onto the badge with a little strip of plastic. (Such ID Badge Clips are available in office supply stores.) Seeing the clips gave me the idea of transforming my luggage tags into name tags.
I moved the buttonhole on the oblong luggage tag so that names can be read horizontally as the tag would be worn. This shape will work well for long names. I arranged my name with Contour Print 40 for the tag shown below:
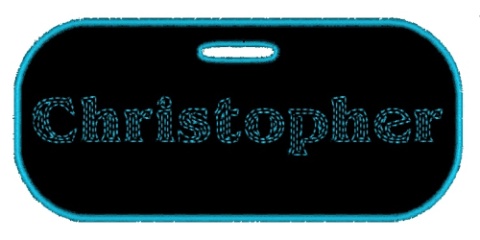
Nine or ten Contour Print 20 letters will fit in the same width. Since the buttonhole is now above, rather than beside, a name, longer names will work for the name tag than for the same shape of luggage tag. Here is a simulated view of a long name arranged in an oblong name tag.
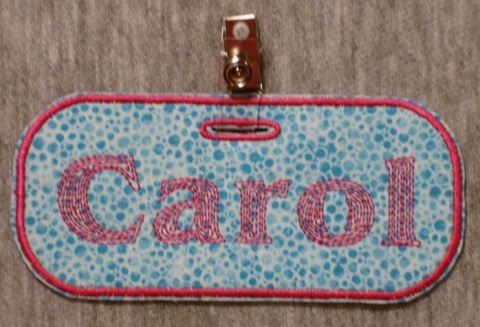
I also created a tag in a more typical name tag shape. On the tag shown below, I "jumbled" my name with Contour Print 40 letters. (See my How to Jumble guide for more information on arranging letters in this fashion.) The slight overlap allows me to use larger letters in a smaller width than I can fit with normal letter spacing. I embroidered the outline to match the fabric so that just the name pops out. I quite like the look.

All three new tags are available here. Follow the instructions offered in my previous blog for the new tags. Look in the paragraph following the photo of the square tags. Wouldn't these be fun to make for all your sewing friends?