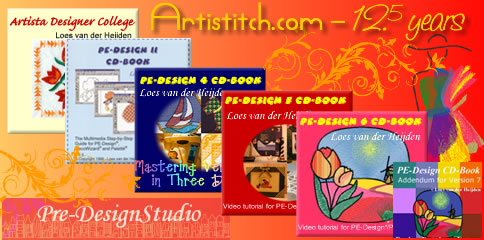
Twelve and a half years ago I wrote my first tutorial! Can you image? Twelve And A Half years of Artistitch. That's one eighth of a century. And isn't it great that AnnTheGran is organizing an event for me to celebrate this? Kidding of course!
My first book for PE-Design version 1, in Dutch, published end of September 1996, was a step-by-step guide, with basic beginner instructions gradually moving on to advanced techniques and projects. I started teaching PE-Design - 1 on 1 - to the customers of Rijkers Naaimachines here in Holland. Things have certainly changed since then. At first I would go over to the customer's home to teach. In most cases my "student" was using her hubby's computer for her embroidery hobby and I remember that the husbands were always pretty reluctant to leave the room. They were so afraid we would mess up HIS computer. But after 5 minutes, when I showed how to create a new folder, how to find it again and how to save and open designs from her own folder, DH gained sufficient trust to leave us alone :).
And now we, embroiderers, have our own space dedicated to embroidery, our own computer, laptop and often more than one embroidery machine and we are dreaming of a walk-in thread closet! Isn't that amazing? We take our laptop and travel to big embroidery events to meet new friends and be able to talk all day about our hobby, without anyone telling us "Okay, we get it, can we change the subject now?"
I don't teach 1 on 1 anymore. Since I created my first CD-Book, in English, early 1999 things took over our lives! I was the first to use videos to show how to digitize, which made my PE-Design 2 CD-Book a revolution. We were invited to teach at many events, most of those in the USA. So we crossed the ocean countless times. Early 2000 we started developing our Pre-Design vector drawing software, and have been improving and expanding it ever since.
This weekend we organized our own Workshop-day, here in the Netherlands, in our home town in a beautiful hotel. It was a great day.
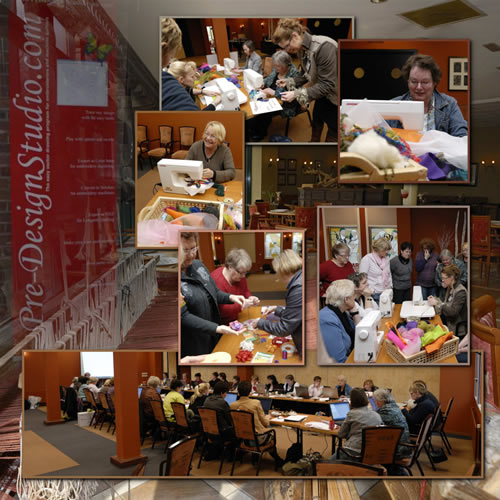
Fun at the workshop: digitizing class - fabric felting during lunch break
30 Ladies with their laptops drawing beautiful designs in Pre-Design Studio and taking the patterns into PE-Design in a variety of ways. During a teaching day like this I can just go on and on, giving tips and tricks. Who wouldn't love to get compliments like "Really? I thought I knew the program in and out and I sure didn't know this!". Or "you really make it seem easy", followed by "I didn't realize, but it IS easy too".
In a few days we will be crossing the ocean again, on our way to the ATG Community Circle Event. I am preparing my lecture demo right now and you know what the most difficult part is? To select the tips and tricks I will be showing. After all, there's over 12.5 years of tips right inside my head, and I only have one hour or so.
Here's one of those tricks - it's from one of my PE-Design CD-Books.
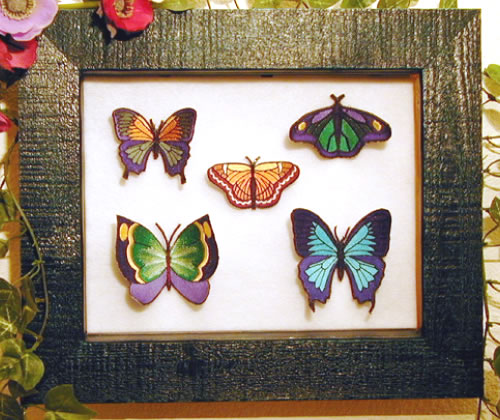
Butterfly project - looks complex - isn't!
When you have a design with a very complex outline, then you would use Design Center to digitize the jumpfree outlines. Manually digitizing a route without jumps in Layout & Editing is hardly doable, so in that case the autobranching function of Design Center is perfect. But, having to fill 20 tiny shapes inside that complex contour isn't fun at all. So here's what to do:
Draw the complex outline design in Pre-Design Studio. Copy and Paste it. In the copy, select and delete line parts, to create larger regions which will get the same color.
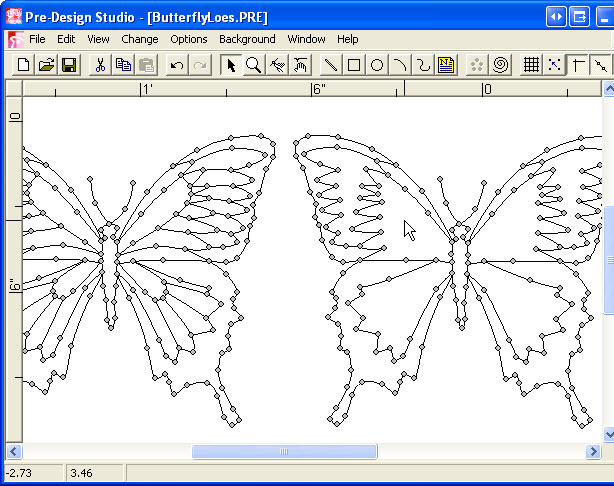
Draw only one butterfly in Pre-Design Studio, then select, copy, paste and delete part of the lines.

The left drawing is used for the outlines in Design Center, the copy on the right is used for the fills
Choose menu File > Export to PEM. Open the PEM in Design Center (it opens in Stage 3 and skips those first tedious stages :). Go to Stage 4. The complex outline part is already done, but you can take the Line (All) tool and change the stitch type, color or stitch length of the outline if you like.
Still with the Line (All) tool active, turn the Line Sew button off by clicking on it (stitch type and color spool disappear from the toolbar). Click on the lines of the copy to apply the new setting: the lines will show as dotted lines, which will not be sewn. Take the Region Fill tool, choose stitch type and color and fill the regions of the copy with different colors, stitch types, stitch directions etc.
Import this pattern into Layout & Editing. Select all, right-click and choose Divide Stitches by Color (version 8). Select the filled parts, right-click and choose Group. Then press Ctrl+M to center. Select the complex outline and center that too (Ctrl+M). Done!

Larger fills with complex outlines on top: a perfect quality!
It will sew out perfectly: no tiny fills with lots of tie in / off stitches: nice smooth fills, with the complex outline on top.
Okay, so now I will have more time to show you the other 12.5 years of tips and tricks at the AnntheGran Community Circle Event.
See you soon!
Loes
P.S. If you are planning on joining us and you don't have Pre-Design Studio yet: download the trial version and start playing with it. Watch the tutorial movies on the website. That way you will get the most out of our class!