Can you spot the error in these tips from the Internet? This is not meant to be a critique of other 'tips sharers' from the Net. It is meant more to show that no matter how good the intention is, sometimes we pass on a 'less than good habit.'
- Jump stitches are important to cut. Leaving them in can have the thread underneath getting attached to your feed dogs, and then holding the stabilizer and fabric into place, so you end up having a bunch of fabric and stabilizer in the darning foot and most likely a broken needle.
- I use wider stabilizer because it’s easier to hoop and if I need to “tug” a bit to get it taut then I have room to do so. After I am sure it’s taut, I then cut around it.
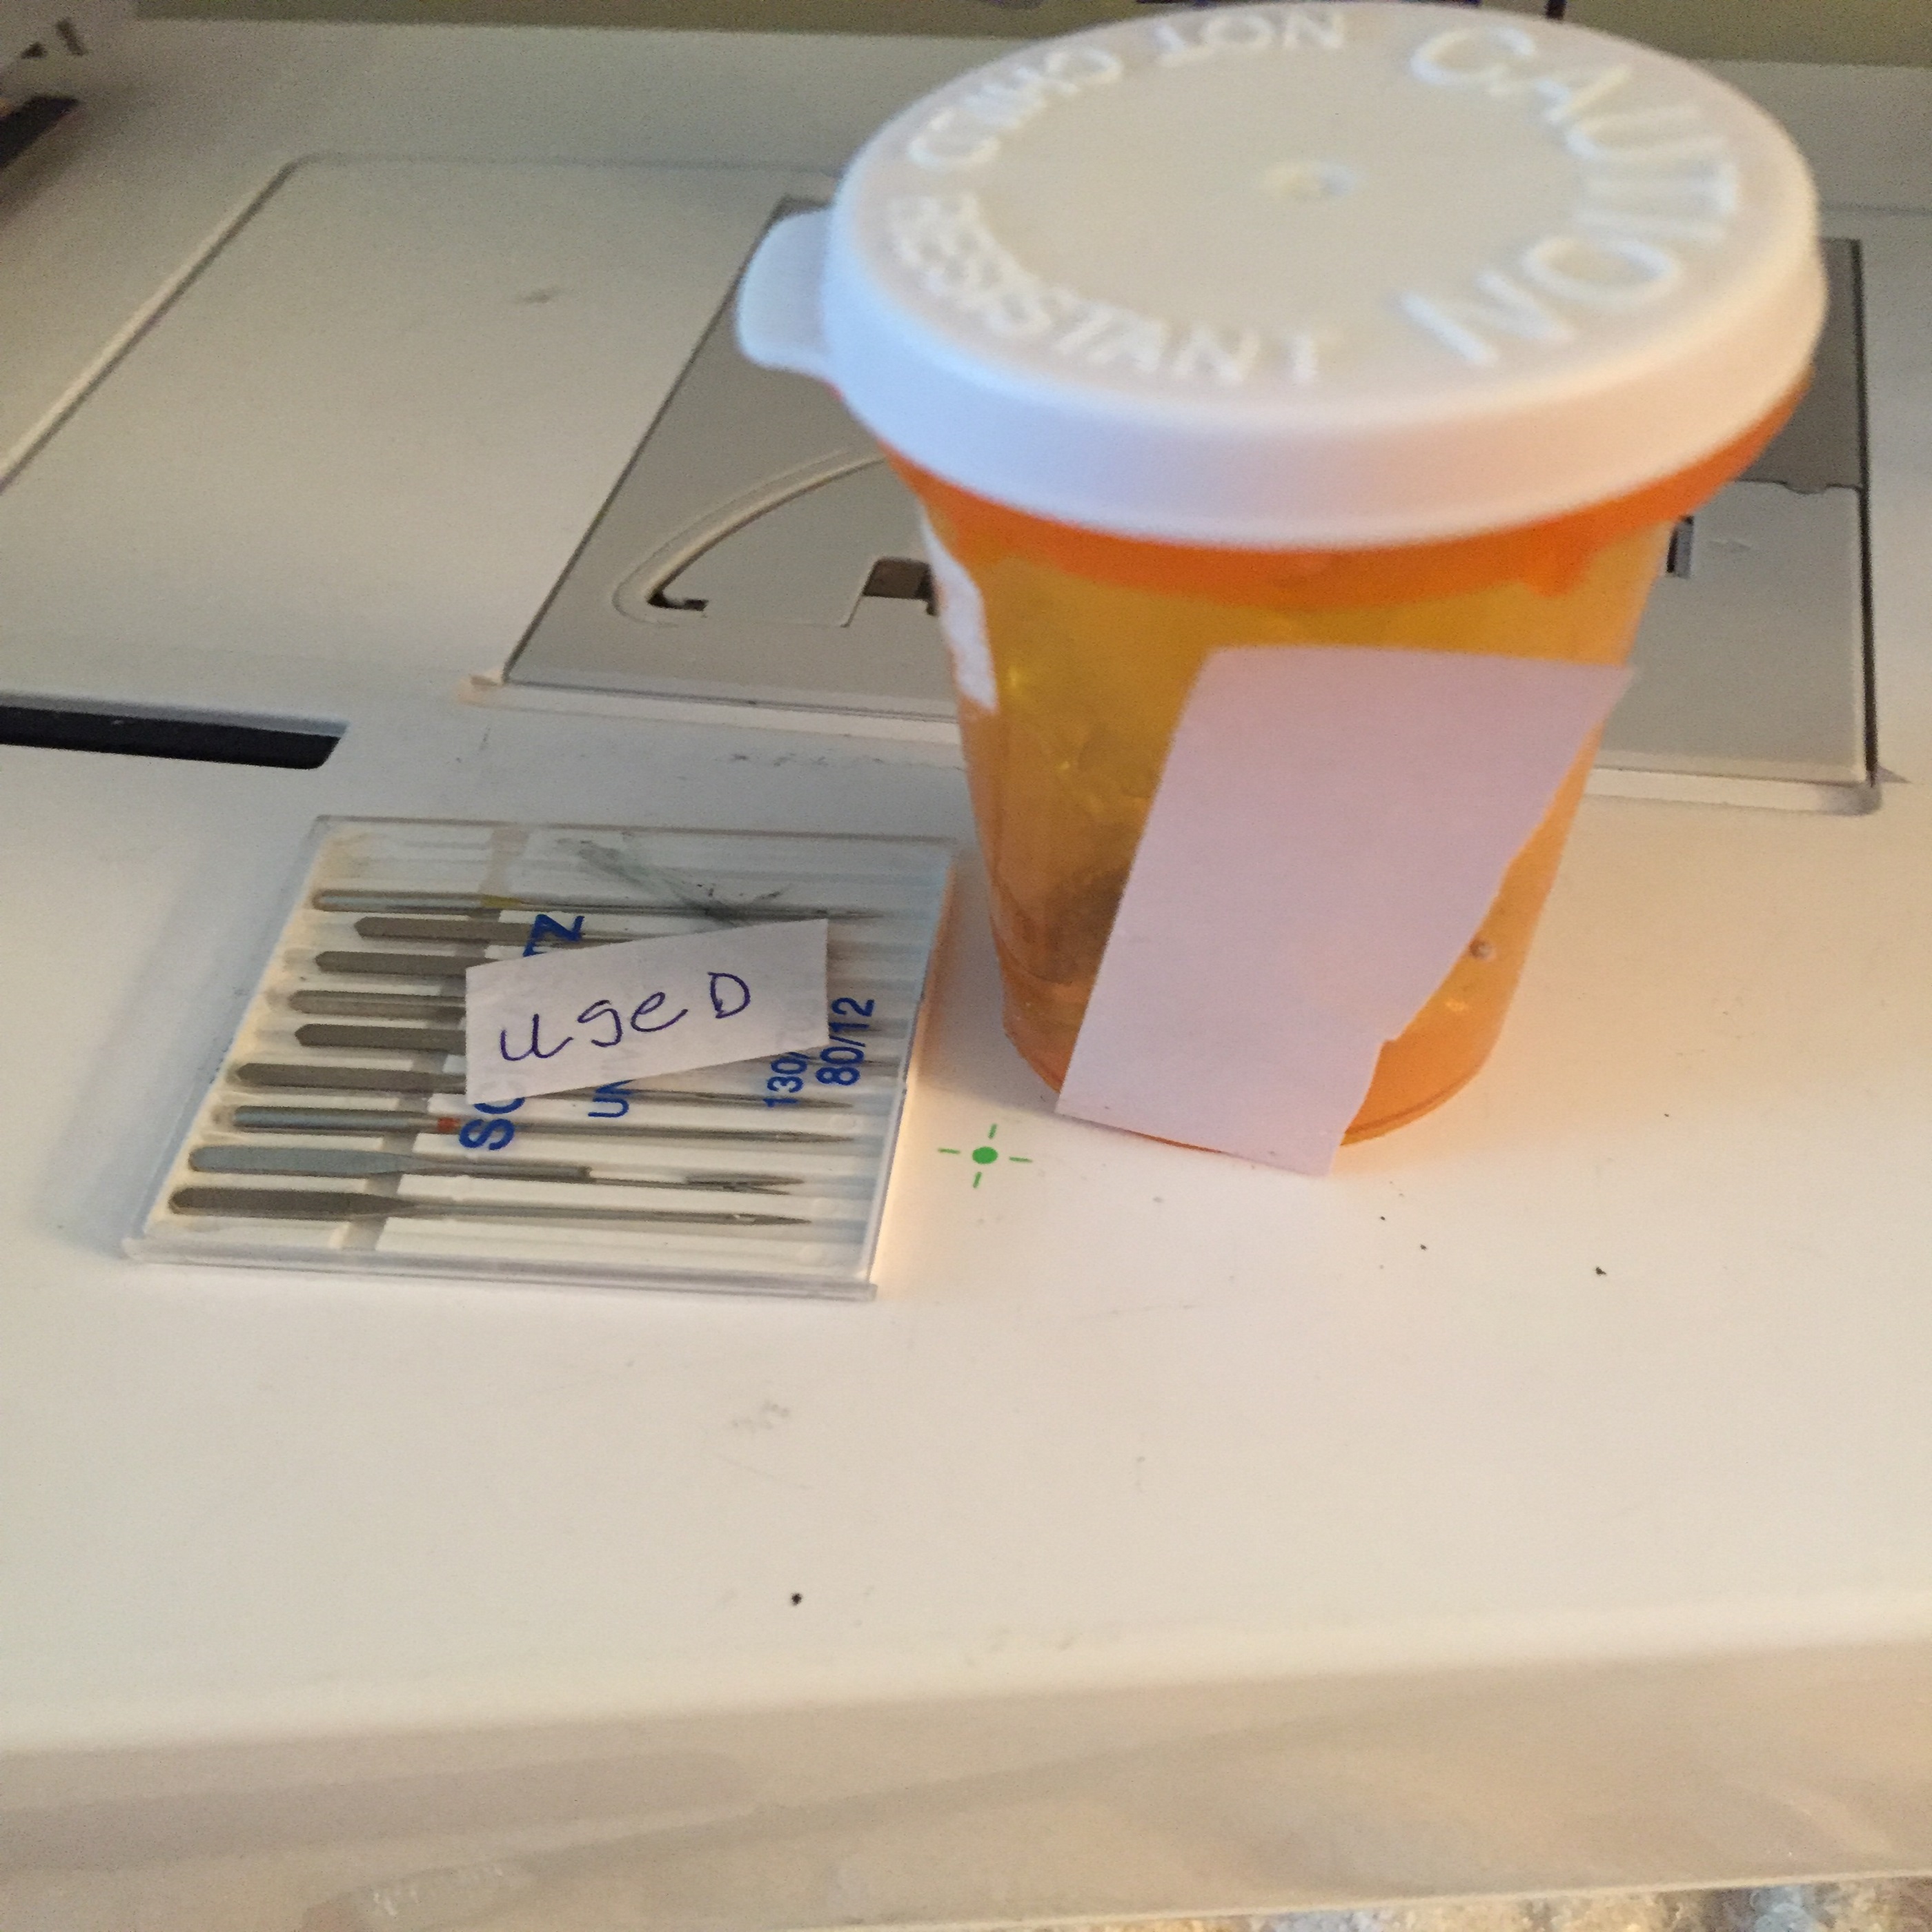
- Try to get used to the idea that needles are a renewable resource. Use one for a single project, or about 12 hours total stitching time. Then THROW IT AWAY and get a new one.
(Answers at the bottom of the Blog)
Here is a tip that I hear all the time, while not necessarily wrong, they are not necessarily right either, (huh??)
- Only use X (or Y or Z) stabilizer for Freestanding lace (FSL).
- This one makes me a little crazy.
- Any stabilizer is NOT "One size fits all." In the case of Water Soluble Stabilizers (WSS), there are so many variables that only YOU can determine which one is best for you.
- WSS is affected by the humidity available in the ambient air. If it is raining, that stabilizer is absorbing that humidity. If you live in the desert, that WSS is more dry, therefore, more rigid.
- WSS comes in various forms including, but not limited to woven, plastic, pressed, and paper types. They vary tremendously in weight and many of them even say "use two layers" on their package.
- I could write a lot more, but be aware of people who make "absolute" types of statements.
- You all know that I am a Badgemaster fan. For less than $60 (includes s/h), I can promise it will last you around 2 years. At under $30 per year, you will find it is very economical and, in a pinch, it may be usable for anytime you are out of another stabilizer. You can get a small sample at that same link. You can see my Blog on Badgemaster from several years ago. It still stands, as is, I have no changes at all.
There may be a recommendation for stabilizer, but when I see them say "only," I am skeptical.
Sometimes, no matter how well you stabilize your fabric, it can still slip. Here is a simple and 99.9% effective fix for that. (I know I can mess up things, no matter how 'fool proof' it can be.)
When I first saw this idea, it made a lot of sense to me and I wanted to pass it on to you. It is called a Hoop Collar and that is a great way to put it.
Use a piece of felt that is about 2" by 2" larger than the hoop your are working with. Felt is not only inexpensive (I remember when it was 10 for a dollar. . . ) but it also has some 'fill' properties. A flat sheet of cotton would not be as useful because we want to create a nice tight bond between the upper and lower hoop.
I hooped the felt and added the template. You already know that a 5"x7" (12.7cm x 17.8 cm) sews that approximate size but is larger than that so the needle does not hit the hoop. I am making a line to cut along the template's outer line where the stitching stops.
My felt is now a square within a square and ready for getting to work. I need to practice at squaring the inner square so that it fits correctly. The 2 main things that the felt does are:
Keeping the fabric in place with its rough fabric.
Making the long side of the hoop (always the weakest point) much more stable.
If you were to sew over a little piece of the felt, since it is not woven, it will likely be easily removable. It is sort of like lint that is all pressed together. When your collar becomes a little worn, creating a new one will be a quick and easy task.
You may notice that I have markings on either side of the points on the hoop. I always mark them with permanent marker because they are easier to see. My hankies are done, usually, on a corner, and matching them to the same mark on each side creates a well centered design/words.
Using a black brocade (which messed up the design-not the thread-is not shown) from another project, I used a tear-away stabilizer on the bottom and a heat-away on the top. I even ran my machine at 1050 spm and had only 2 breaks during the 17,000 stitches. (The things I do to test items for you. . . sigh) If you have not tried these metallic threads, you are in for a treat. They have a great sheen with excellent strength.
Answers for the quiz (I am keeping score of your grade!)
1. I am not sure I even understand this tip, but the error is in the "feed dog" and "darning foot" statements. Machines that are embroidery only don't have a feed dog, used to move fabrics in sewing. If you have a dual machine, sewing and embroidery, you need to be sure that your feed dog is in the down position. Why would you be using your darning foot? Is it recommended by your manufacturer? Your machine may have a manual lever in the back of the machine to move the 'feed dog' down and out of the way. Newer dual machines have no adjustment. As soon as you attach the embroidery arm, it puts down the feed dog. As usual, always check your manufacturer's instructions.
2. This one is interesting because it says to make your stabilizer extra large and then cut it off. I think that is how you make a blanket larger, cut off one end and sew it to the other end. . . But, that is not the problem here. The word 'tug' is an interesting one. In this sense, tug may just stretch one tiny spot that is invisible to the naked eye but show up after your work is done. If you really must tug, loosen the tightening screw until the fabric has 'relaxed.' At that time, many of us may curse the digitizer. Try the above 'hoop collar' for a more stabile project.
3. I think there is a phrase for this one, it is not 'Murphy's Law' but it could be 'an oxymoron' or. . . If needles are a 'renewable' (probably meant recyclable) product, why not recycle them? They may be small, but they are dangerous. I place my used needles in the plastic container they came in. For needles that may come in a paper wrapper, Mom used a pill container. I make sure they are secured with tape before placing with the recycles. The definition of 'renewable' may well be - resources which are naturally replenished on a human timescale, such as sunlight, wind, rain, tides, waves, and geothermal heat.