Sometimes I choose super simple projects with the sole
intent of letting one of my granddaughters help. Our ten year old loves sewing and
embroidering so these canvas embellishments were right up her alley.
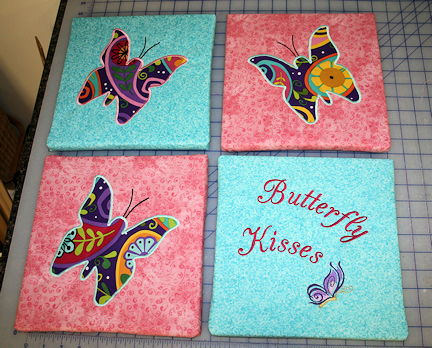
We transformed 4 store bought canvases by covering them with
applique adorned fabrics. These will add
the perfect touches of brightness and fun to any little girl’s bedroom. The inspiration for these came from these pricey canvases that we saw in a popular Kids decor store: https://www.potterybarnkids.com/products/butterfly-flower-plaques/
This is part 2 of a set of projects we are doing to redecorate one of the girl's bedrooms. To see the first project in the series go here. https://community.annthegran.com/post/2015/07/31/keeping-it-simple-framed-corkboard-makeover
Here are our completed canvases:
Here is what you need:
-art canvases (we used four 10”x10”)
-fabrics of choice cut to cover and wrap around the edges of
each canvas (we cut ours 14’X14”)
-40 wt. embroidery thread
-embroidery/applique design(s) of choice
-a stiff or heavier stabilizer (we used an iron-on since we wanted to be sure there were no puckers.)
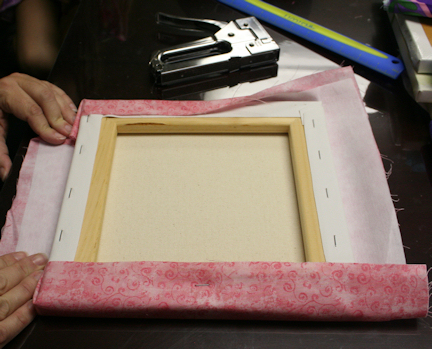
-staple gun (Yes, I know the image has a regular stapler - my granddaughter did not understand the difference and I did not notice until later.)
-lapel stick

Here is what you do:
1.
Find the center of one fabric square using your
preferred method. We simply folded the
fabric in half lengthwise and pressed a small crease in the center. Then unfolded the fabric and folded in half
again, this time widthwise, and pressed another crease in the center. When the fabric is unfolded you will see that
your two creases intersect providing you with a visual of the center point of
your fabric.
2. Choose your embroidery/applique
design, print a template (you can print templates from a number of embroidery
software products) and pin this to the center of your fabric. (You can download
our butterfly appliques and text design without the small butterfly design
below. The small butterfly is from an
Amazing Designs collection called Butterfly Wishes.)
3.
Hoop the stabilizer and fabric making sure to
roll and pin the extra fabric as needed so that it stays out of the way while
embroidering.
4.
Load your chosen design into your machine.
5
Slide the hoop into your machine, center the
needle and remove the embroidery design template. If using a lightweight or applique design it
is a good idea to match your bobbin thread to your chosen embroidery thread
colors rather than using plain bobbin thread.
6.
Embroider the design or, if using an applique,
sew out the first placement run.
7.
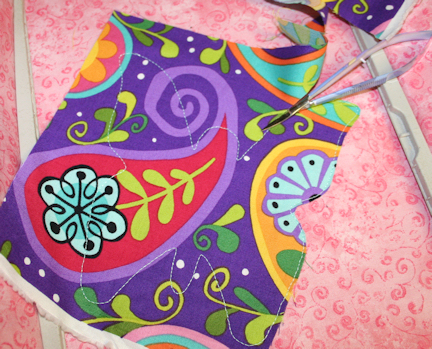
If using embroidery designs only, skip to step 10. If using an applique, place your choice of
fabric on top of the sewn outline, making sure to cover completely, and secure
fabric with a lapel stick or temporary adhesive of choice.
8.
Sew the
tack down run of design once more.
Remove hoop from machine and trim fabric around the outline.
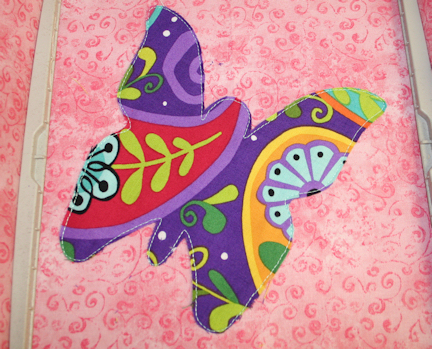
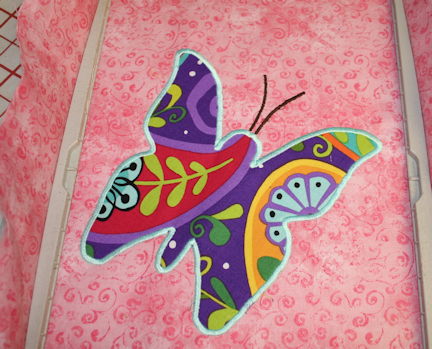
9.
Return hoop to the machine and finish the satin
run of the applique. Remove the hoop and
cut away any excess stabilizer. Iron.
10.
Fit the embroidered fabric around the canvas and
staple to the back (we wrapped ours similar to a gift package).
My granddaughter was able to complete the majority of this
project all on her own. What a great
sense of accomplishment, creativity, and pride she was left with! Come back in a couple of weeks for part 3 of the room makeover. Perhaps we will have everything done and can reveal the finished room.
Take care,
DB
Here is the download for the butterfly applique and wording design. These designs fit a large hoop. I have included a 5x7 version that you could use for smaller hoop projects.
Butterfly Canvas Designs.zip (1.1MB)