I have wanted to do this blog for about 5 months, but I figured that it would be too time consuming in my busy schedule.
Well, WRONG again. When it comes to machine embroidery, the actual sewing takes so little time. For me, the time is spent selecting the perfect design for my idea.
So it has been with my Pocket Topper project. My original idea was meant to have two parts to it. The first part would be placed on the pocket itself without closing the pocket. That would be done by removing the original shirt stitching, placement of the design, and replacing the original stitching. Then the topper, which would be attached above the pocket so it looks like a single design. Something like this:
Here is one from AnnTheGran that are very nice. You can see that there is stitching going down the pocket, it would be off the pocket to the left, or just on the pocket where the pocket stitching is already. However, I am always on the lookout for the WOW factor, and, IMHO, the two-part effect would be just a little more interesting.
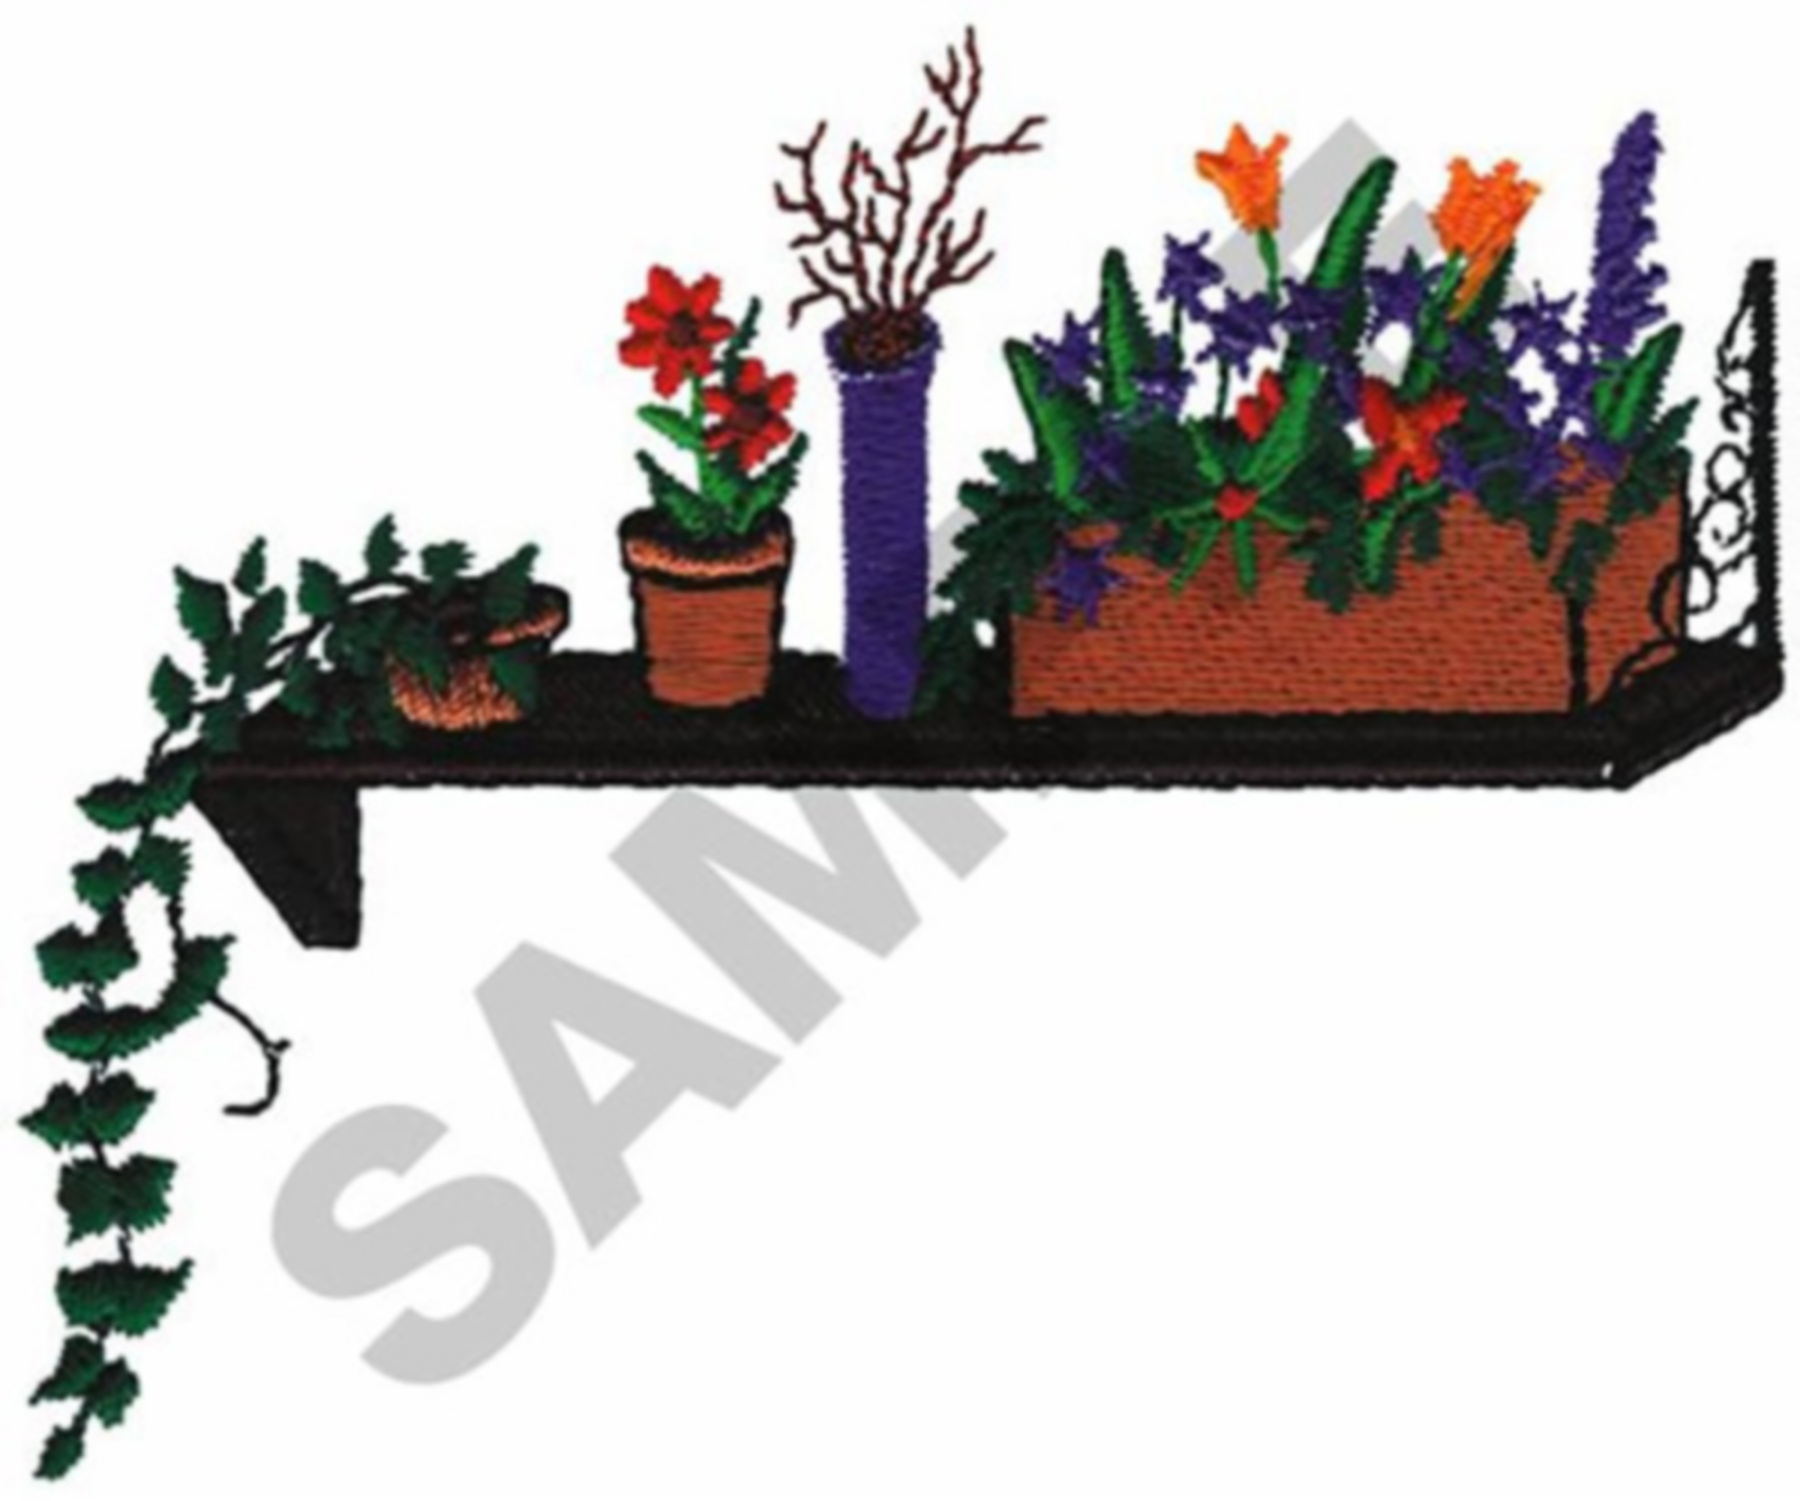
These are two of the terrific designs from Great Notions Pack. You can buy the designs individually or in the set. Click on the design for more information -

.
I have done a print out of the design (via my embroidery software) because placement on this one must be exact. With all the items available that help with placement, the printout is the most workable for this project.
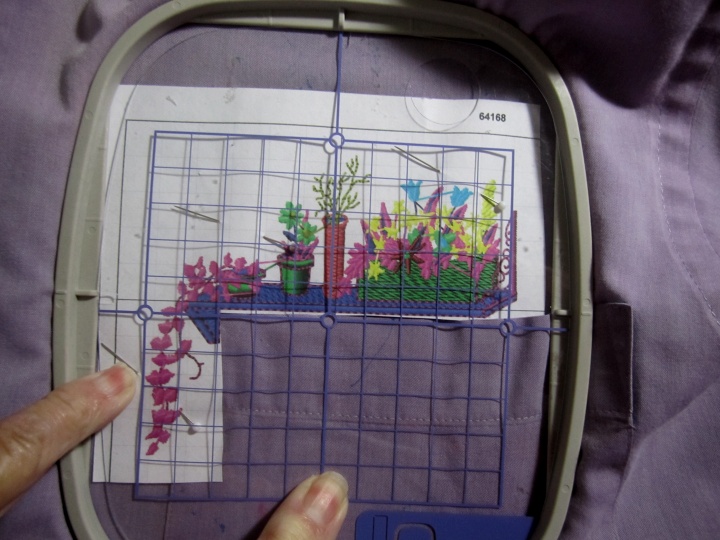
If you have misplaced your frame template, you can use a piece of clear plastic from the office supply store. Be sure to mark your template using the outer frame just like the originals that sit in the back/larger hoop. Make sure you create a left and right, top and bottom notch for placement in the frame. Use a permanent marker to make the vertical and horizontal lines. This particular project really requires that frame, because a miss is as good as a mile on a design layout like this.
With my design in place, I am working on the preparation to sew itself. It actually has 11 colors which tells me that it is a very detailed motif and I really like that. I am just doing my “discovery sew” (some people call this “sewout”) with this venture. I think the next item will be my favorite ‘boyfriend shirt’ (those are wonderful shirts!!) which will be terrific.
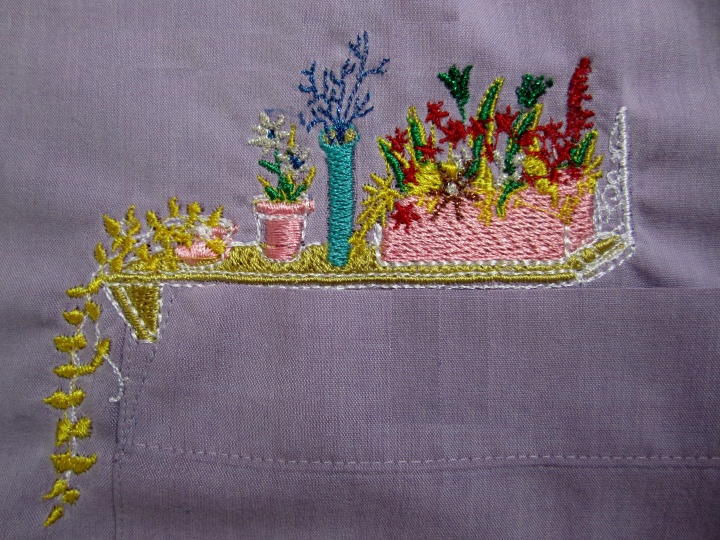
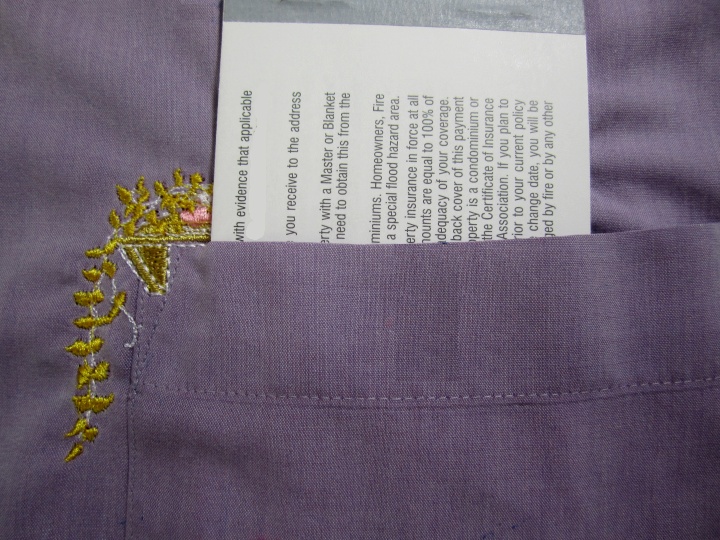
I just love how it turned out!! I used some metallic thread for some of the flowers - metallic thread is not just for the holidays. The project looks fabulous in person. I did have a little bit of the design close the pocket, but not enough to be a problem.
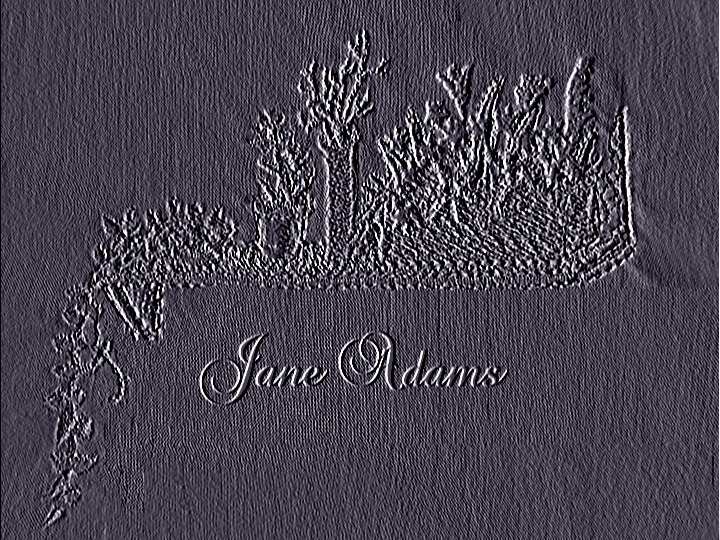
I can see placing this type of design on the back yoke of a shirt or above a ruffle or pleat. I can see using this as a 'corner' for placing someone's name. I can see it on a denim book cover and I love pieces in a single color -
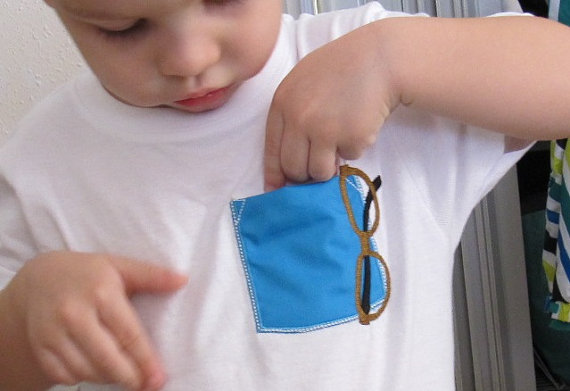
How about something for that adorable toddler in your life! He has a place for all his treasures!! Thank you Anna for this precious photo ☆◠‿◠☆
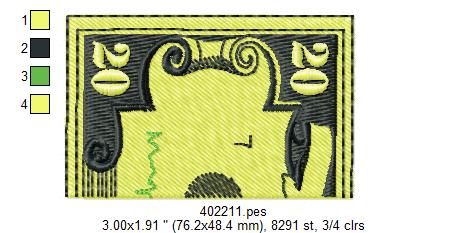
Here is more from the Great Notions Pack. Won't that $20 bill make a great game table border, and the pizza as well.

Tip: Clean and help sharpen your garbage disposal blades with these simple items. Fill an ice cube tray with 2 parts water and 1 part vinegar. Cut up a lemon and drop a small piece of the lemon rind into each slot it will help with odor. Drop the frozen ice cubes down into the disposal and turn it on. Run water as usual and completely finish the grinding.
Happy New Year to all❣ May you be blessed in ways you have not yet imagined.