If you are a newbie at embroidery, you may be thinking about
the up-coming holidays and giving gifts of your beautiful craft. But what
will you do for decorating? Who has the time to create 60,000 stitch
designs that have 20 color changes and need to be framed?
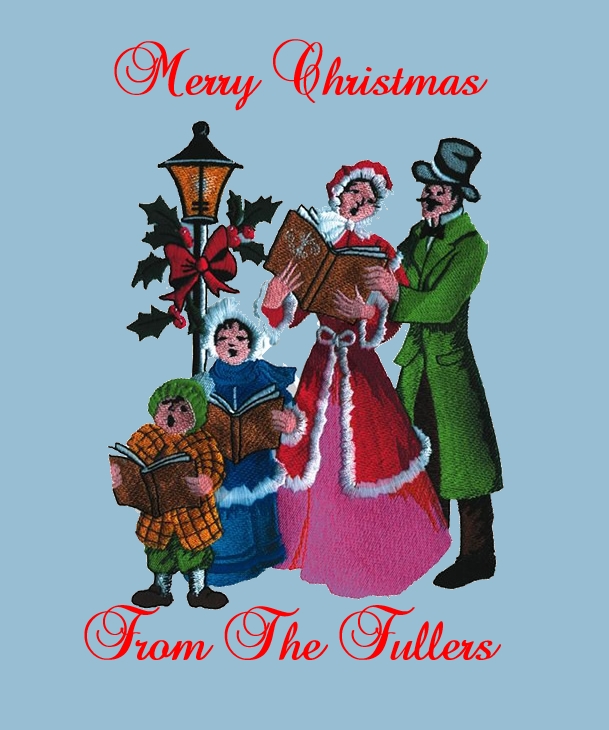
You can do this one from Great
Notions in your spare time. It has
46,000 stitches with 20 color changes and don't forget to add your names and a
greeting for 10,000+ more stitches. . . .
(The stitching and color changes are what make this really well detailed
and shaded.) This time, don't add the year because your recipient will want to use it every year thereafter.
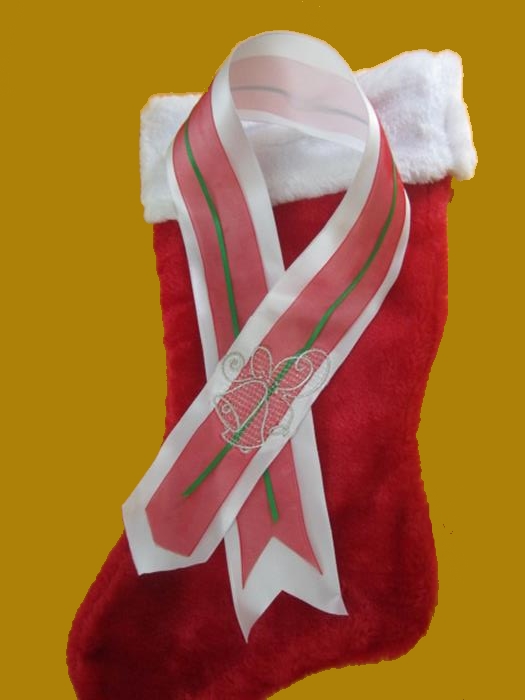
This time I am making ribbons that will totally look expensive, but with a little hot glue, embroidery and imagination, you will be very happy with these at a much lesser price.
The thinking of what I wanted to use took the longest. I added, subtracted and kept moving things around until I had something I liked. I found an old design of an outline 'Christmas Bell' and that fit my plans very well. Since I may be doing a lot of the bells, I wanted very few stitches to give the look of the bells. *
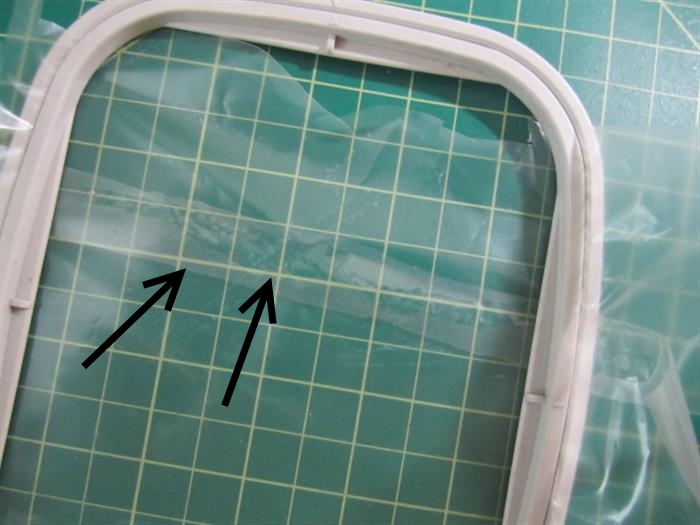
As you know, I am a big fan of Badgemaster and I am using that for this project too.
This is a scrap - OK, you got me, I am a cheapskate. You may be able to see where I took 2 pieces and with a couple of drops of water smeared on the edge, put them together. This is as strong as the original Badgemaster. As long as the design is small and the sides are snug, I short-sheeted the backing.
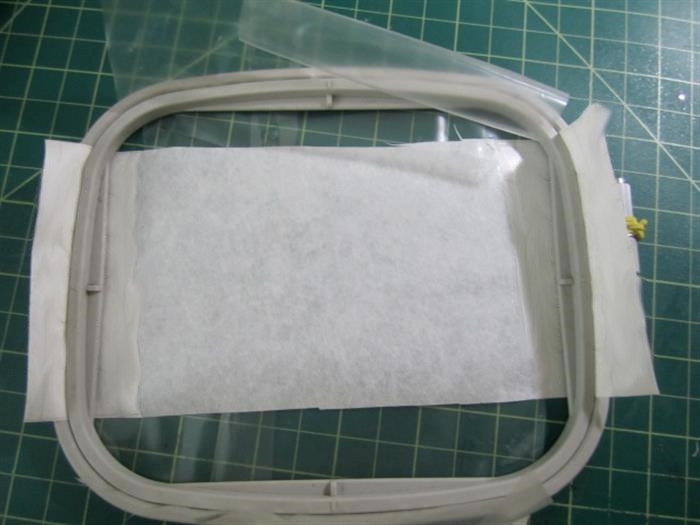
Added a piece of adhesive stabilizer. Again, I sincerely to prefer Ann's stabilizers.
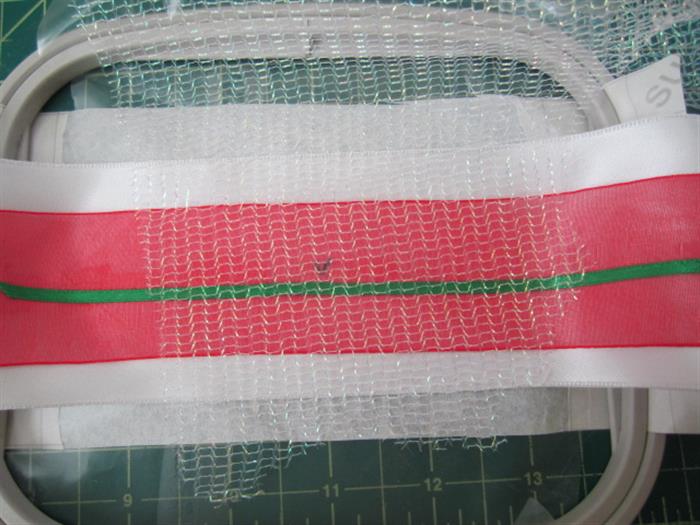
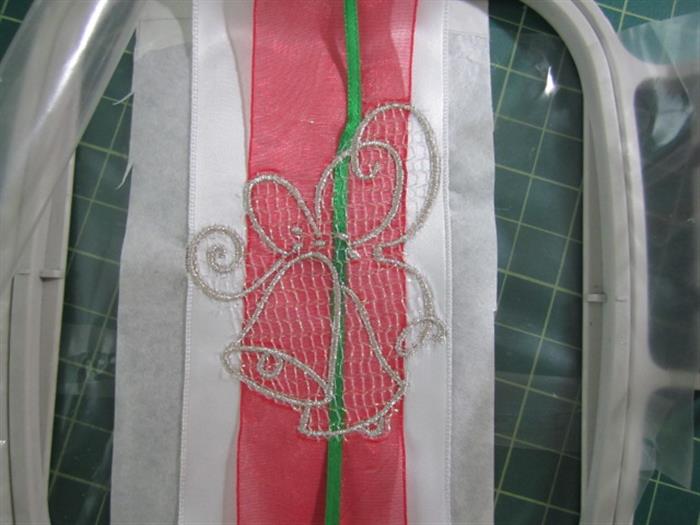
My final configuration and ready for embroidery has 3 ribbons. The red ribbon was a voile and ended up looking pinkish and not red. The green was fine but would have been better a little wider. Each project is a change to learn and this is no exception.
My bell was a little large but I was able to adjust it on my machine. If I were going to do something larger, I would add each successive embroidery at about 6 to 8" on center. I might even turn the bells and possibly use different bells too.
I do like how it turned out.
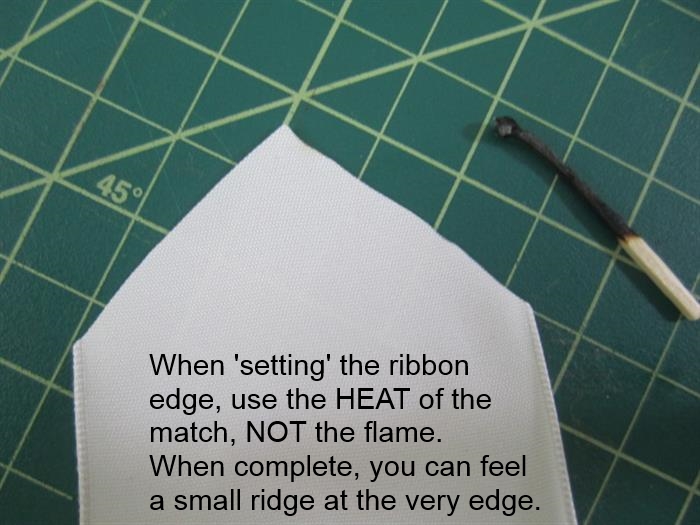
BTW, to keep the ribbon(s) from fraying, just try this tip:
You may have enjoyed my blog about creating a three
dimensional ornament. It is fast and
easy, but today's idea is even faster and I think you are going to love it!!
For quick and really beautiful decorating, nothing beats some
ribbon, embroidery and glittering things to go with them.
You can check out my other 'ribbon'
blog. It has some other ideas that may work for you.
* I have recently begun renaming my designs as they are downloaded. Frequently the designers call their work by letters and numbers which won't help me when I need something specific. Here is what I am doing now:
- Using the 'rename' on the mouse or keyboard, I make sure I keep the original numbers from the designer. That helps in the event I need to get a replacement for a corrupt file or look for similar designs, etc.
- I place my cursor before their name and use one or two words to describe the design. For instance, on this bell, I wrote, "Christmas Bell" (without the quotes of course.
- After reviewing the design, I select the size, perhaps 3x4. Then I add the number of stitches, perhaps 5k (for 4,852 stitches). Lastly, I add the number of colors, perhaps 5 colors.
- So, the ending design name will look like this:
Christmas Bell 3x4 5k 5color A8254.dst
When I need a bell, I can do a search and see the size that is about right for my project. I may reject some designs for too many or too few stitches. It makes looking through my 5,000 designs a lot easier.