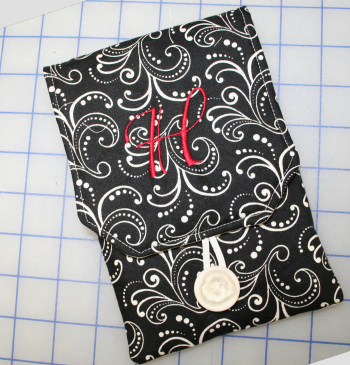
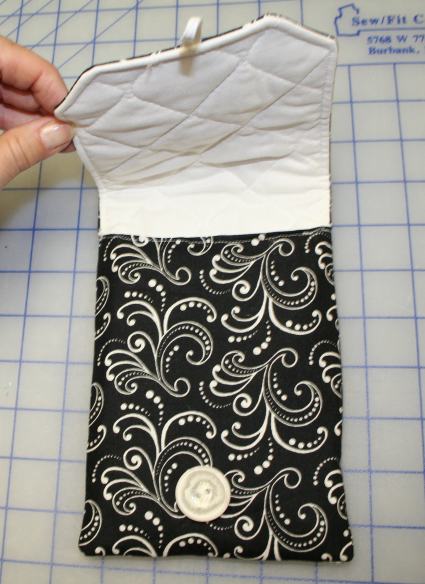
My friend received one of the new smaller Kindles for Mother's Day. She loves crafty things but has little time right now and she just couldn't bring herself to pay the price for the one she liked. As you know I have lots and lots of scraps in my sewing room just waiting for little projects like this. I told her to email me the measurements and I would see what I could do. Here is the finished case:
Here is what you need:
Note: This is for the new smaller Kindle. At the bottom are the fabric requirements for the original one.
One rectangles of cotton fabric 13" X 5 1/2" for the outside.
One rectangle of cotton fabric 7" X 5 1/2" for the outside.
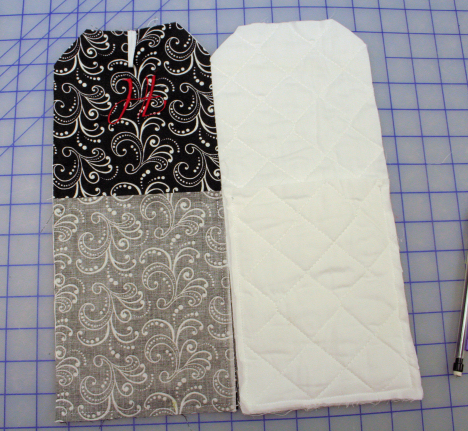
One rectangle prequilted fabric 13" X 5 1/2" for the lining
One rectangle prequilted fabric 7" X 5 1/2" for the lining
three inch length of 1/4" wide elastic
One large button
Sewing thread
Initial that is about 1 1/2" high ( I made mine in Alphabet Xpress using the Precious Font)
Cut away stabilizer
Lapel stick or other temporary adhesive
Embroidery thread
Here is what you do:
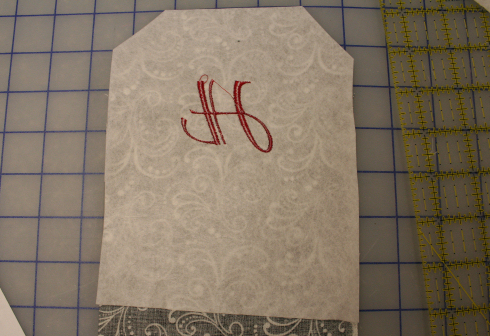
0. This is optional but is what I did. Layer the two 13" X7" pieces and cut the top two corners at an angle using a choice from your quilting ruler so that both sides are the same. If you prefer a square top flap you can omit this step. If you want a curved top use a CD and trace the edge and cut it.
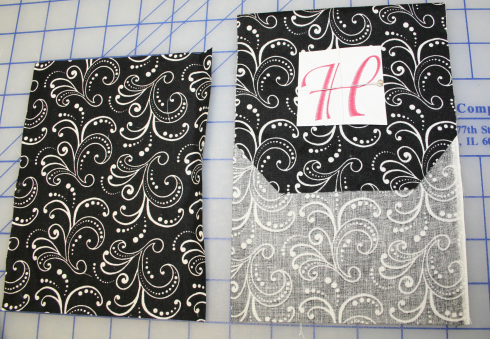
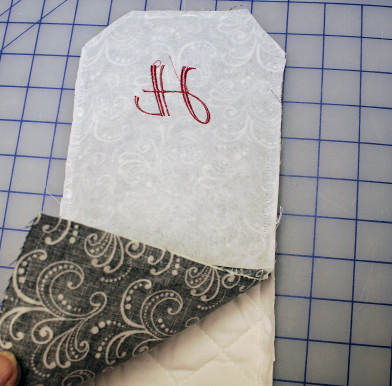
1. Lay both outer pieces face up, with bottom edges aligned on your workspace. Fold the longer piece down about 5" and center your design here. (In Alphabet Xpress you can print a template to use.) If using a template pin it in place through the top layer of the folded fabric. Open the fabric flat.
2. Hoop your cut away stabilizer. Center your fabric with the template and use the lapel stick to adhere it to the stabilizer. Slide the hoop onto your machine and make sure the needle is over the center of the template. Remove the template and embroider your design. Remove from the hoop and cut away the excess stabilizer.

3. Place the embroidered rectangle face up with the embroider at the top on your workspace. Fold the elastic in half. Center and align raw edges along the top edge and pin. Sew in place about 1/8" from the edge with several passes to secure.

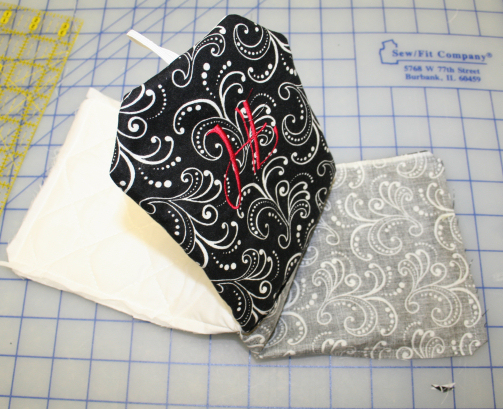
4. Place the embroidered rectangle face up with the embroidery at the top on your workspace. Layer the 7" X 5 1/2" outer fabric rectangle face down aligning the bottom edges. Mark this piece on each side 1/4" from the top edge. Using 1/4"seam sew around the edge beginning and ending at these marks. Repeat this step for the lining rectangles.
5. With right sides together pin the flap of the outer fabric to the flap of the lining. Fold the 1/4" that you did not sew earlier on the pocket out of the way. Using a 1/4 seam sew the flaps together beginning and ending where the pocket seams begin and end. (do not sew over the previous stitching.)

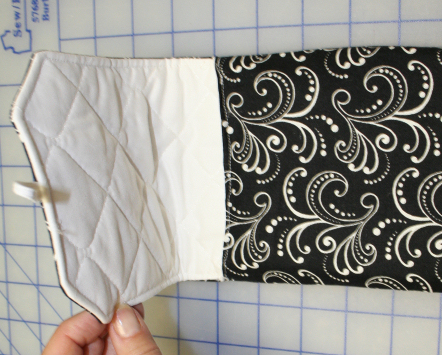
6. Trim all corners. Turn flap right side out. Push corners out.
7. Turn outer pocket right side out. Tuck the lining pocket inside the outer pocket. Fold in the 1/4" edges and top stitch just across the pocket top edge. (This was the hardest part of the whole project) Then topstitch about 1/4" around the outer edge of the flap.
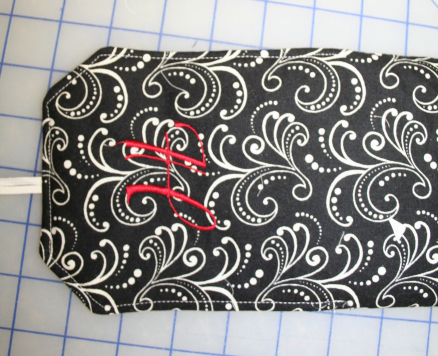
8. Measure up about 1" from the bottom and center your button. Sew in place being careful not to sew through the pocket.
 Click here to download a pdf file of these instructions.
The little cozy is really easy to make and provides the perfect protection while traveling around in a purse or backpack. And it can be personalized to match the personality of the one you are making it for. My granddaughter wants one in hot pink - with a horse on it of course. An I might put a pretty ribbon strap on hers since she rarely carries a purse.
If you have a regular Kindle here are the fabric measurements:
For the long rectangles 14 1/2" X 6 1/4"
For the short rectangles 8 1/2" X 6 1/4"
This would be a great little case for lots of things that go inside a purse, so try it even if you do not have a Kindle to sew for. If you like making purses and bags try here are some other tutorials you might enjoy.
Designer Grocery Bags
Reusable Snack Bags
Totes made from placemats
Really big all-purpose tote
A quick wristlet
A little pocket with strap (great for keepin pacifiers clean and close, storing the camera lense and much more)
Have fun sewing and take care,
DB