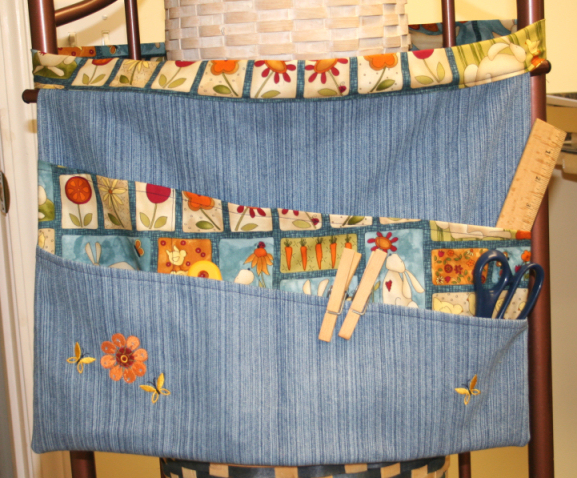
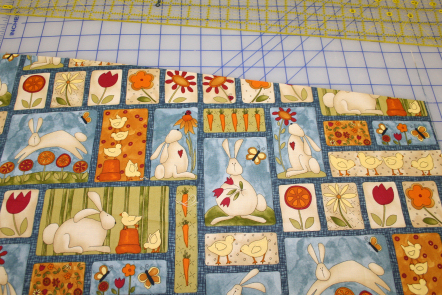
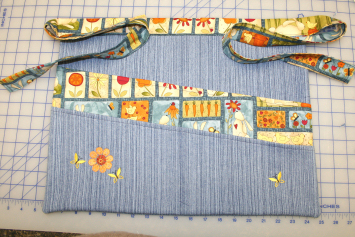
It is just time. I need an apron - one with pockets. I am always wondering where I laid things regardless of whether I am sewing, gardening or scrapbooking. Even when I am cooking I lay the pot holders down and am always looking for them. And when I clean I am forever picking up little horses or other items left behind when little ones are over. So, today I decided I to make an apron or two. Here is the first one made out of an old denim skirt and leftover Easter fabric (from several years ago).
What you need:
Base fabric:
Two rectangles fabric 22"wide X 15"tall
One rectangle 22"wide X9 "tall
Contrasting fabric
One rectangle 22"wide X 12"tall
two strips 18" wide X 4"tall
one strip 22" wide X 4" tall
sewing thread
Design of choice (You can download the one I used at the bottom of this blog)
tear away stabilizer or cut away stabilizer
embroidery thread
What you do
1. Place the 22"x9" rectangle on the table face up. Measure down 3" on one side and mark. Draw a line from the top of the opposite corner to the mark. Cut along this line.
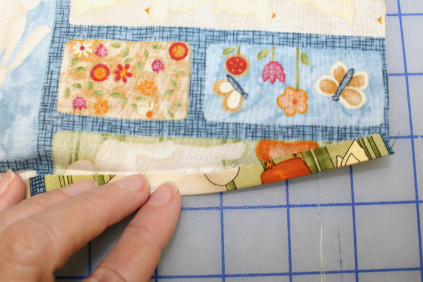
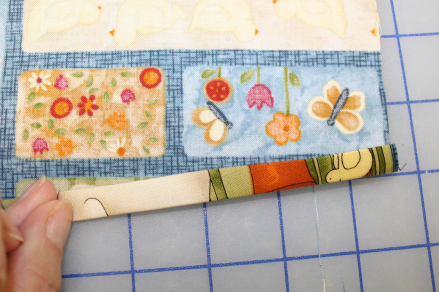
2. With wrong sides together fold 1/4"and press the top edge. Fold 1/4" and press again. Sew along open edge. Set aside.
3. Place the 22"X12" rectangle on the table face up. Measure down 3" on one side and mark. Draw a line from the top of the opposite corner to the mark. Cut along this line.
4. With wrong sides together fold 1/4"and press the top edge. Fold 1/4" and press again. Sew along open edge. Set aside.
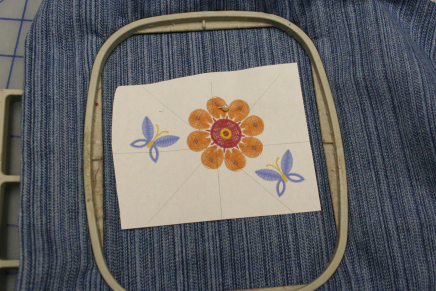
5. Embroider the design on the base fabric strip that began as 22"X9".
-Determine placement for your design (printing a template from Catalog Xpress is helpful for this).
- Hoop the tear away or cut away stabilizer and fabric centering your placement as desired. Embroider the design. Set aside.
6. Lay one 22"X15" rectangle face up on the table. Position the rectangle that began as 22"X12" face up on top aligning the bottom edge. Pin in place. Measure in 6 1/2" from each side and sew creating pockets. Remove any pins.
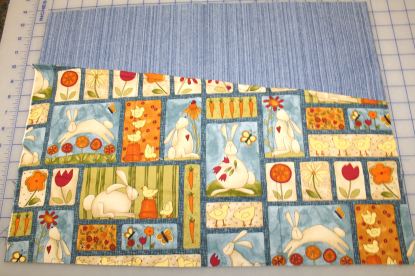
7. Position the embroidered rectangle, face up, on top aligning the bottom edge. Pin in place. Sew a line down the middle. Measure 6 1/2" from each side and sew again creating pockets. Remove any pins.
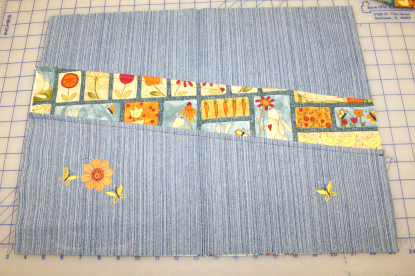
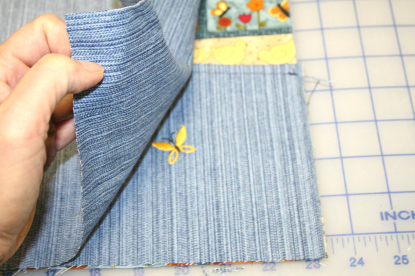
8. Lay the second 22"X15" rectangle face down on top aligning all sides. Pin sides and bottom. Sew sides and bottom using 1/2" seam . Remove pins. Turn right side out and press.
9. Sew the strips together at the short sides to create a long strip. With wrong sides together fold short ends in 1/4" and press. Fold in 1/4" again and press. Sew along open edge.
10. With wrong sides together fold sides in 1/2" all along and press. With wrong sides together fold the strip in half lengthwise and press. Pin if desired.
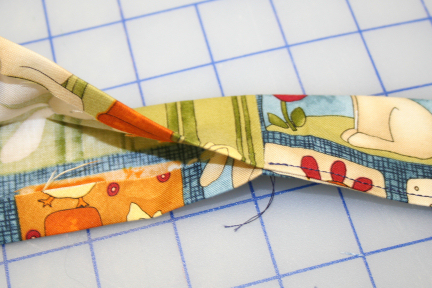
11. Using 1/8" seam sew the strips closed across ends and down the sides to the seam where you sewed them together to create the ties. Leave the 22" section open.
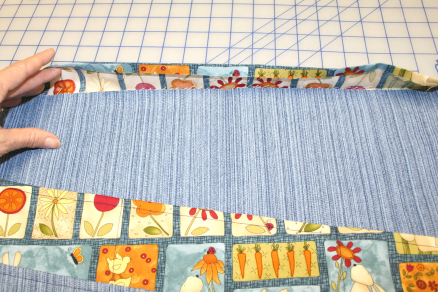
12. Inset the top of the apron into the opening and pin in place. sew 1/8" from open edge making sure you catch the fabric edges of the waistband on both sides as you sew.
These were fun to make and didn't take any time at all.
You can download the little butterfly flower design here.
Happy Spring!
Take care,
DB