November 2, 2011
sewblest
Not rated yet
The new Merry and Bright collection from Amazing Designs incorporates blinking lights with embroidery for an adorable holiday accent unlike anything I've ever seen.
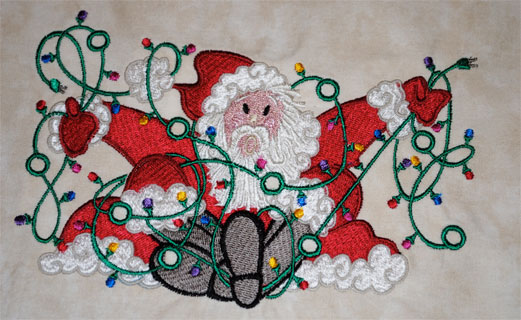
Ten eyelets are embroidered within 14 different designs. Eyelets are then cut out for placement of 10 LED Fabric-Lites. You can use hot-fix crystals instead of the blinking lights if you like.
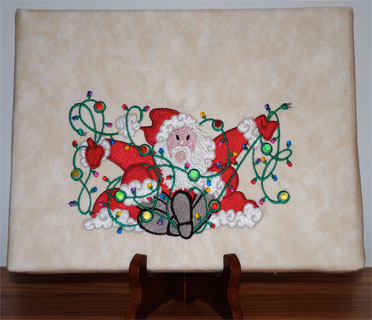
They have a wonderful instruction sheet on their website showing a reindeer on a Christmas stocking, but I decided to use the Santa and make a picture that could be hung on the wall or displayed on an easel. The design was stitch heavy with 17 color changes (48,525 stitches) but well worth the time involved.
Materials Needed:
Neutral cotton fabric 10.5" x 22"
Amazing Designs ADC-214XMAS605
Thread of choice
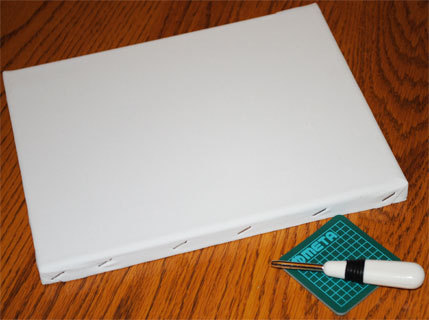
8" x 10" framed canvas
Sheer fusible or textured nylon stabilizer
Adhesive tear-away stabilizer
Fabric-Lites (set of 10) or 7mm hot-fix crystals
Keyhole cutter and mat
Hot glue gun
- Apply a sheer fusible or textured nylon stabilizer to the back of your fabric according to instructions.
- Hoop an adhesive tear-away stabilizer. Llightly score inside the hoop edge, careful to cut through only the paper backing. Tear the paper away from the hoop to expose the adhesive stabilizer. Finger press the fabric in place, centered on the hoop.
- Stitch out the design, clipping jump stitches along the way.
- Remove the design from the hoop and carefully tear away the adhesive stabilizer.
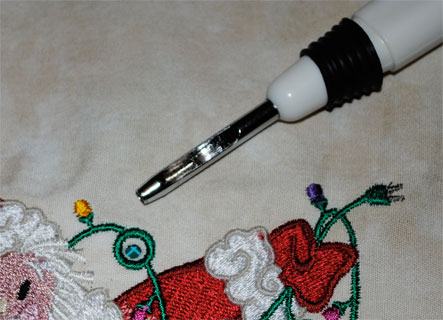
- Use the keyhole cutter on the right side of the design to cut out the eyelet holes for lights. Make sure to place the cutting mat behind the design to prevent injury to self or table surface (especially self).
- Center the design over the surface of the canvas and mark all eyelet holes.
- Carefully cut holes in the canvas with the keyhole cutter.
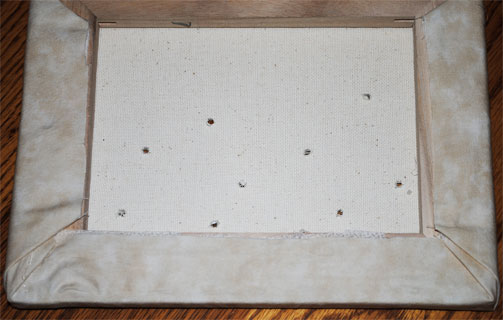
- Center the design over the front of the canvas and fold edges around the back of the canvas, securing with hot glue and smoothing out as you go.
- Press lights through the canvas and embroidered eyelet from behind. Check Amazing Designs' instruction sheet here.
- Attach the battery pack to the back of the canvas with velcro.
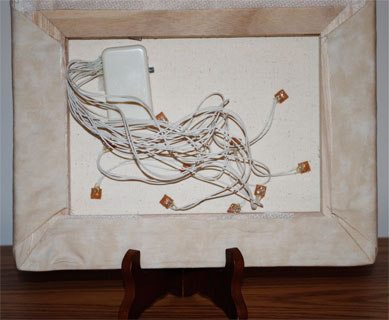
- Hang the canvas on the wall or place it in a display stand, then switch the lights on for a multi-media embroidery experience.
Tips:
- Personalize with a child's name, family name, or "Merry Christmas."
- Incorporate into a wall hanging or door banner.
- The designs can also be used on clothing. Lights can be removed for laundering, in which case, fray check should be used on the eyelet openings.
Keep checking back for more holiday ideas!
Debbie SewBlest