When you first started to learn machine embroidery, there was so much to learn that it was a very daunting (well, it was for me!).
Along the way, and even at the very beginning, I thought of things that would make the process and/or problems easier to deal with. For instance, I don't sew (heaven knows that is a blessing for the rest of the universe) but I had so much in the way of snips of thread that I was going nuts. I have two methods to keep them in control. One is to have a small, shallow dish of water by my machine. It is actually a dish for use under a plant to catch the excess water. I can drop tails into it quickly. Then, at the end of my project, I take an adhesive rolling lint remover to pick up all that remains. Between the two, I usually don't have too many threads hanging around.
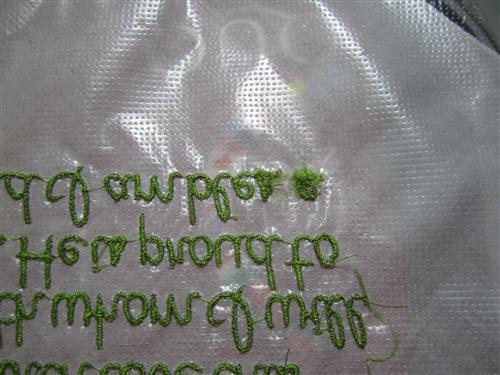
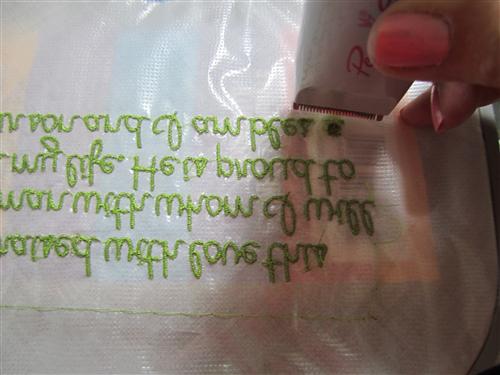
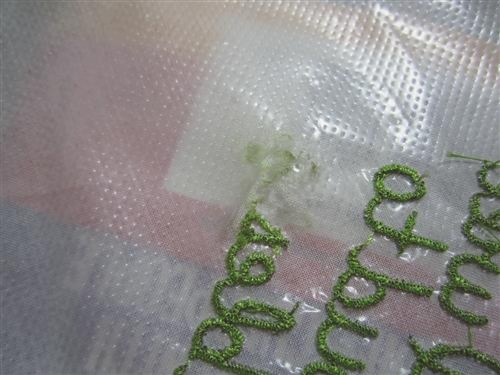
Last week I had an order for a hankie that ended up being over 50,000 stitches. There was an intricate design and writing as well. There was a moment when my machine snarled up some thread on the underside of the hankie. It was really a large rats nest and, of course, very near the end of the project - - - Ugh! This wording was done with my FAVORITE font - AlphabetXpress, Darling.
I realized that I had to fix that issue without messing up the project.
I recognized that one tool would not be able to do the whole job. Interestingly, there was very little nesting on the front, it was all on the back. So, here is how I did it -
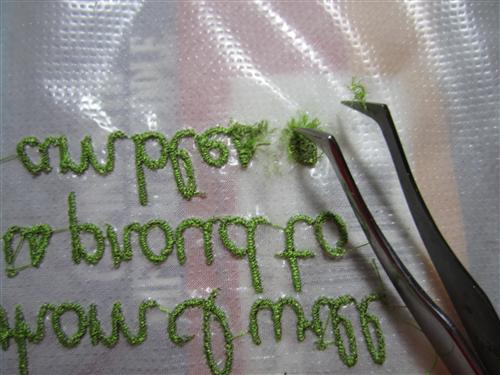
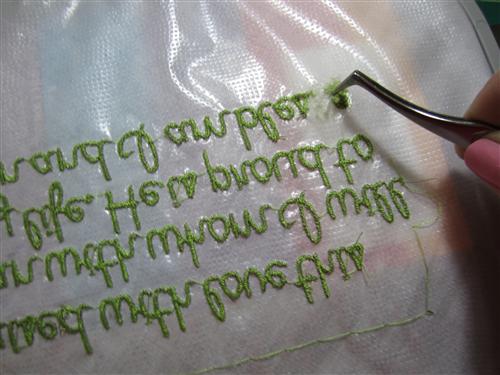
I started with picking out any stray threads with my tweezers. In this case, I spent a little extra for these tweezers so that I had a really tight point with which to pick up the smallest of threads. Of course as I went along, I was using my favorite scissors.
My next tool is "Peggy's Stitch Eraser." If you have one, you know how well they work. Remember to make sure that you use it in more than one direction. It needs to be able to cut stitches and some stitches are left to right, up and down or anywhere in between.
You want to just touch the stitches. If you press down, you risk cutting your fabric. These blades are different than the ones in a standard shaver, trust me, I tried to use a standard shaver.
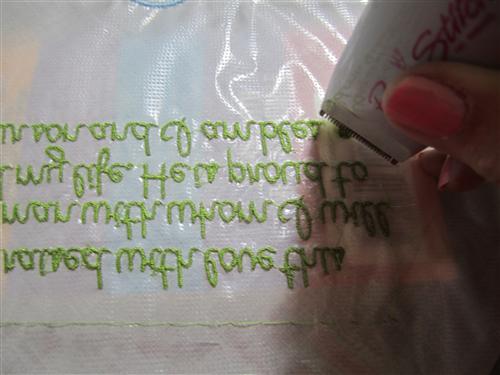
Remember to keep the shaver upright. A little practice is essential just like with embroidery. . . .
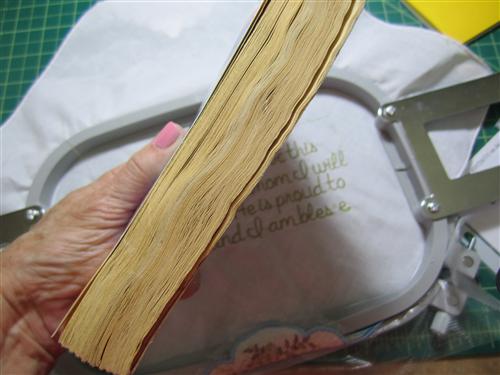
Now for my super - duper trick. This is an old book that is water damaged. But, I am just using it as a cushion. When I turn over my embroidery, there is a ‘space' which causes my embroidery fabric to ‘move' if not properly supported. I put the book in the ‘hollow' of the embroidery hoop and I have enough support to be able to put a little pressure on the stitches I want to remove.
The next tool I use is the adhesive lint remover. It will get out mini fibers that cause me not to be able to see where a section can be damaged. I consider that lint remover to be one of my most important embroidery tools.
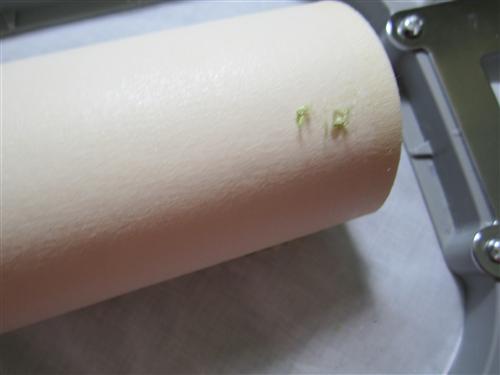
Keep your area clean to aid in determining if more needs to be removed. Frankly, I never think it is necessary to remove 100% of the thread. Depending on your project, perhaps much of it can be left behind when it is covered by new embroidery.
I hope you learned a few tricks on this blog. Thank you for reading it, I love writing it just for you! Pat