Good Night! SleepTight! Now that is something we all hope to do each night. Whenever we don’t get enough sleep, there is usually something we can do about getting more and sounder sleep so we can stay in dream land longer each night.
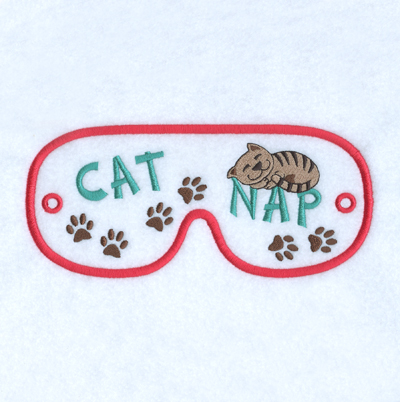
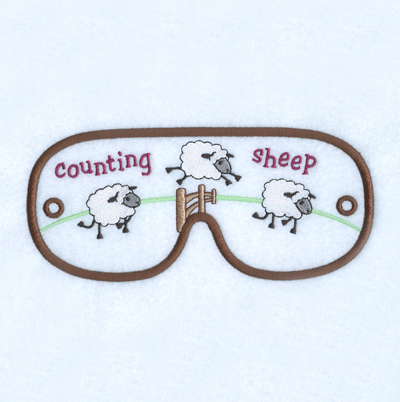
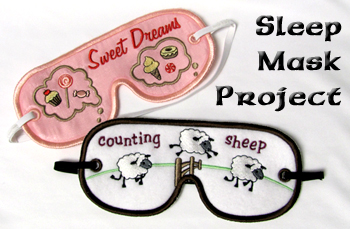
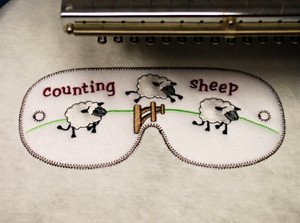
Some people prefer to have it totally dark to get a good night’s sleep. To help achieve total darkness, sleep masks are one way that can be used to accomplish this. If you would like to embroider your own sleep mask, then you need to check out the new Sleep Mask Designs from Starbird Stock Designs. These stylized sleep masks have added flair to them along with a little humor mixed in. Instructions on how to create your own sleep masks are shown on the bottom of this blog.

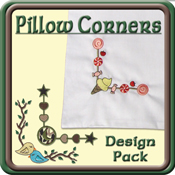
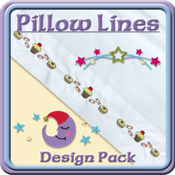
So now that you are going to embroider out a cute sleep mask, you might as well jazz up the pillows you are going to be sleeping on as well. Starbird Stock Designs has just released new fashionable pillow corner and line designs which are perfect for sewing on your pillows that will spruce up your whole bedroom decor. All of these new design packs are currently on sale for 50% off so please make sure and purchase them at these reduced prices and start sleeping like royalty.
SLEEP MASK PROJECT INSTRUCTIONS:
Materials:
1 Sleep Mask Design
2 pieces of applique fabric
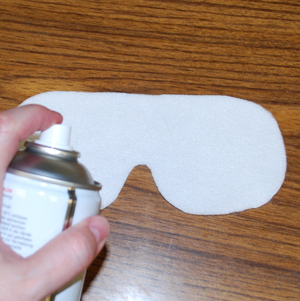
Spray Adhesive
Braided Elastic ¼” wide
Tear away backing
Sewing Machine
Scissors
Bobbin thread to match the last color stop thread color
Cutting the applique pieces.
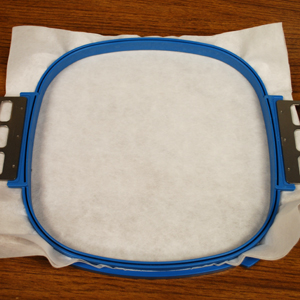
Step 1: Create a template by hooping a piece of paper, backing or scrap fabric.
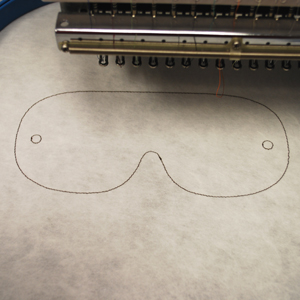
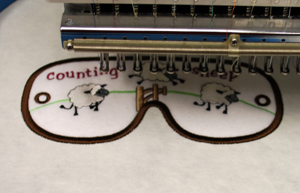
Step 2: Embroider the first color stop of the Sleep Mask design.
Step 3: Write the word “top" inside the mask template that has been embroidered.
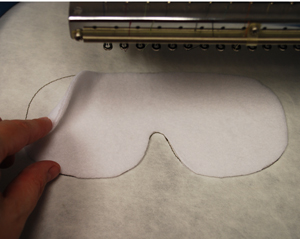
Step 4: Remove from the hoop and cut out the mask along the stitches. Cut out the holes on both sides of the mask also.
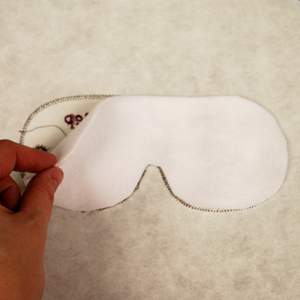
Step 5: Place the mask on top of your top applique piece and trace the mask and holes.
Step 6: Then place the mask upside down on the top of the back applique piece, trace the mask and the holes.
Step 7: Cut along the outline stitches and holes of each applique piece and set aside.
Using the steps above conserves your applique fabric. To save time you can skip the step of creating a template by placing your 2 pieces of applique fabric back to back. Hoop the 2 pieces with the top applique fabric facing up and the bottom applique piece facing down. Embroider the first color stop; remove the fabric from the hoop and using a scissors cut along the stitching. Separate the 2 applique pieces and set aside.
Step 1: Hoop 2 pieces of tear away backing.
Step 2: Embroider the first color stop.
Step 3: Take the top applique piece and turn it over. Spray the entire backside with your spray adhesive.
Step 4: Color stop 2: Place the applique piece inside the dielines and press down.
Step 5: Embroider the design until you come to the next color stop that states Stop Lay down applique.
Step 6: Remove the hoop from your machine. Do not un-hoop the design. Turn the hoop over so you are looking at the back of the design.
Step 7: Take the bottom applique piece and turn it over. Spray the entire backside with your spray adhesive.

Step 8: Place the applique piece within the outline of the mask. The applique piece will cover the back of the mask. Press down firmly.
Step 9: Carefully return the hoop to your machine and embroidering the rest of the design.
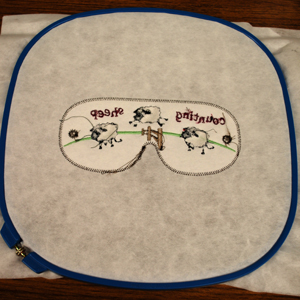
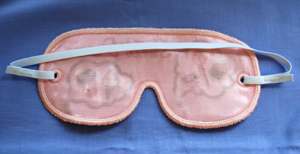
Step 10: Remove the hoop from your machine. The picture below shows how the back of the mask should look.
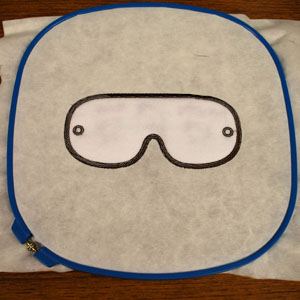
Step 11: Now gently remove the backing from outside of the sleep mask and inside the holes.
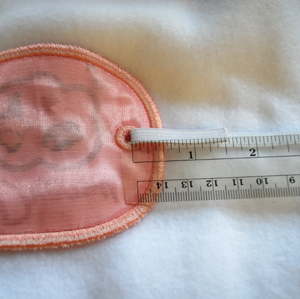
Step 12: Cut a piece of the Braided Elastic cord. We cut ours 16 1/2” for an adult size. The size may vary slightly from person to person. Place one end of the cord through the hole in the front of the mask and fold it over so 1 ½” is showing.
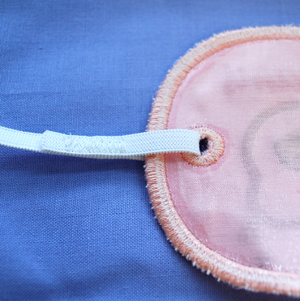
Step 13: With a zig zag stitch sew the elastic together.
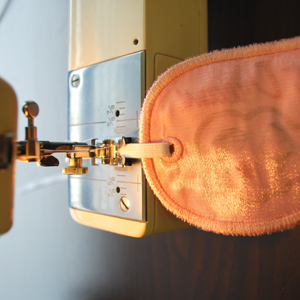
Step 14: Thread the other side of the elastic through the front of the mask and sew it together also.
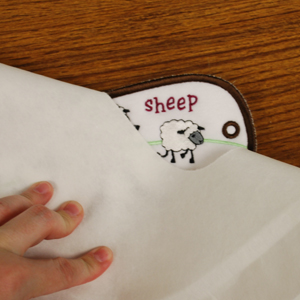
You have now completed your sleep mask. It is time for an afternoon nap, go to your couch, lie down, slip your mask over yours eyes and relax into an enchanting dream.
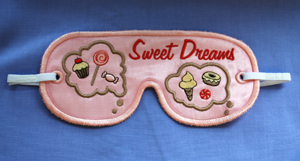
SWEET DREAMS!