Remember as a young child and one of your parents, or grandparents, would cuddle up next to you and read you a story before bedtime. You would listen to your favorite story until your eyes slowly closed and you drifted into fairy-tale dreams. Now that you have grown up and have children of your own, you probably have continued with that tradition. Those moments are very important for children as it helps educate them and creates a special bond with the storyteller that will last a lifetime.
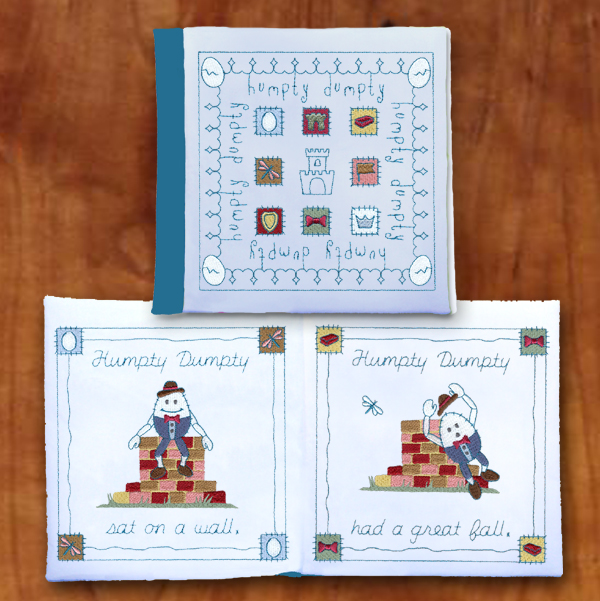

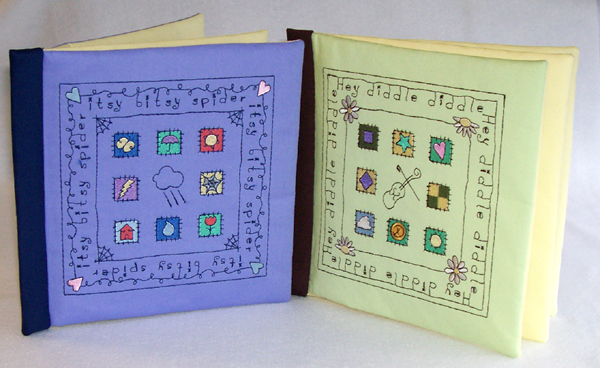
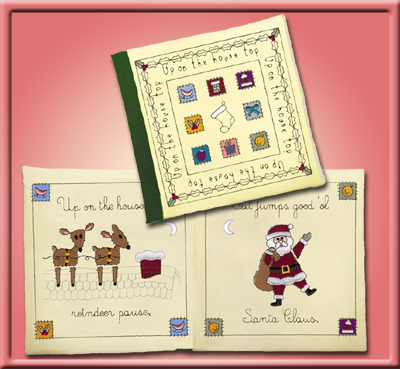
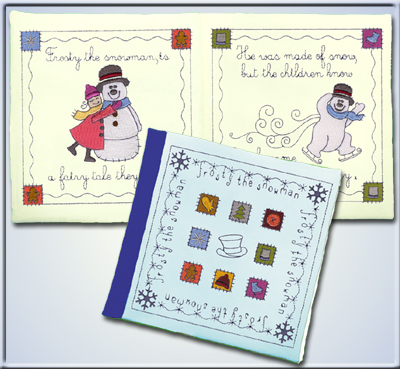
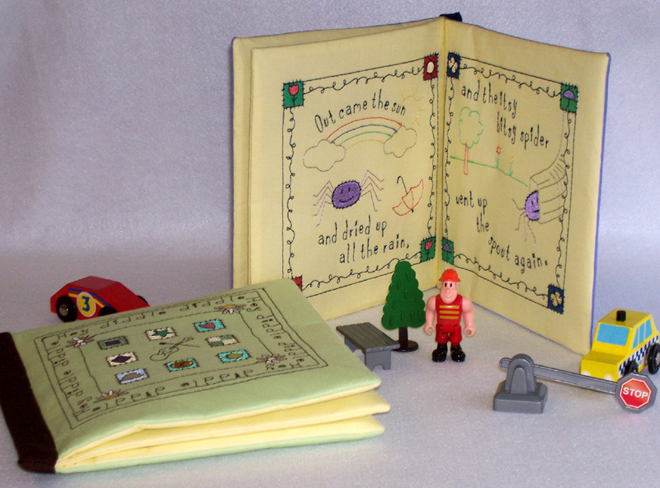
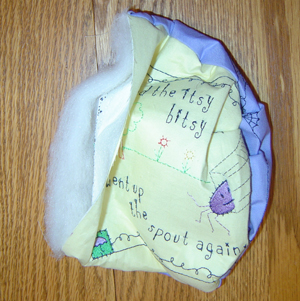
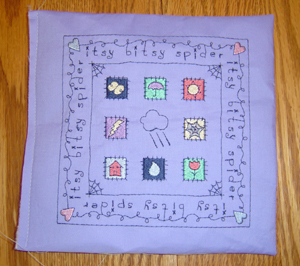
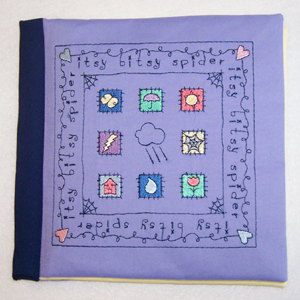
Wouldn’t it be great if you were able to create your very own story books to read to your children? Starbird Stock Designs has just what you need to make this happen below. Two new story books have just been released, which are Humpty Dumpty and Jack & Jill. These classic stories add to our collection of 6 previously released story books.
The fact you actually embroider these story books for your child, or grandchild, makes them all that more special. When the children out grow them they can be kept to be handed down when they grow up and have children of their own. There are free project instructions which are the same for all 8 story books and are shown below.
STORY BOOK PROJECT INSTRUCTIONS:
Materials Required:
o 1 pkg. of ¾” double folded bias tape
o 3 pieces of 12x12 inch quilt batting
o 2 pieces of 12x12 inch of broadcloth (front and back cover)
o 4 pieces of 12x12 inch of broadcloth (inside pages)
o Thread to match fabric colors
o Fabric chalk or marker
o Straight pins
o Scissors
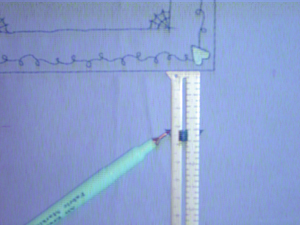
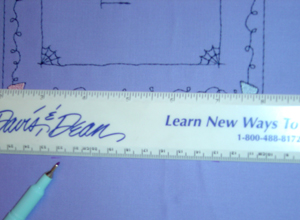
o Ruler
Step 1: Embroider each page on separate 12 x 12 fabric broadcloth pieces of the story book you have chosen to make. Add 1 1/4 inches to each of the four sides of each book cover and page design.
Step 2: Cut out the front and back cover and pages with the 1 1/4 inch addition to each
side of the design. Also cut three pieces of quilt batting same size as covers and pages.
Step 3: Trim away backing fabric to the edge of each design on all four sides of the design.
Pin the front cover and page one with right sides together. Also attach a layer of quilt
batting to the underside.
(Note: Sew with batting against the machine plate to avoid machine foot getting caught in the batting.)
Step 4: Sew a 1/4 inch seam around three sides, leaving the side to be bound open.
Trim sewn corners to eliminate bulk.
Zig-zag seam edges together to finish seams; avoid raveling.

Step 5: Turn front cover and page one right side out.
Repeat steps 4,5,6,7, and 8 sewing pages 2 and 3 together and page 4 to the back cover.
Step 6: Assemble book with covers and pages in order.
Pin book together along unfinished edge.
Step 7: Using a deep zig-zag stitch, sew pages together.
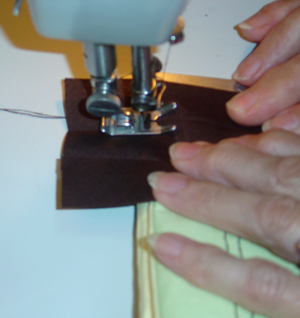
Step 8: Cut a piece of 3/4 inch double folded bias tape 2 inches longer than the side of the book
being bound.
Pin bias tape to the side of the book to be bound, extending 1 inch of bias tape beyond the top and bottom of the book.
Tuck the 1 inch extensions of bias tape to the inside of the binding.
Fold the binding over the book edge to be
bound and sew close to the edge of the
binding.
Note: The edge of the book that is being bound may be quite bulky. If so, machine
stitch the binding to the front side of the book. Fold the other half of the binding to
the back of the book and attach it to the back cover with hand stitching; a blind stitch.
You now have a Finished Sew Story Book!